Calman 2019 includes support for Canon Reference Monitors. These displays are calibrated using an internal 3D LUT.
Calman Required Version
- Calman 2019 5.10.0 or higher
Calman Compatible Models
- DP-V2410, DP-V2411, DP-V2420, DP-V2421
- DP-V1710, DP-V1711
- DP-V3010
Step 1
- From the Calman Menu in the top-left, choose Open Workflow Template and then ColorCube (3D LUT) Workflow
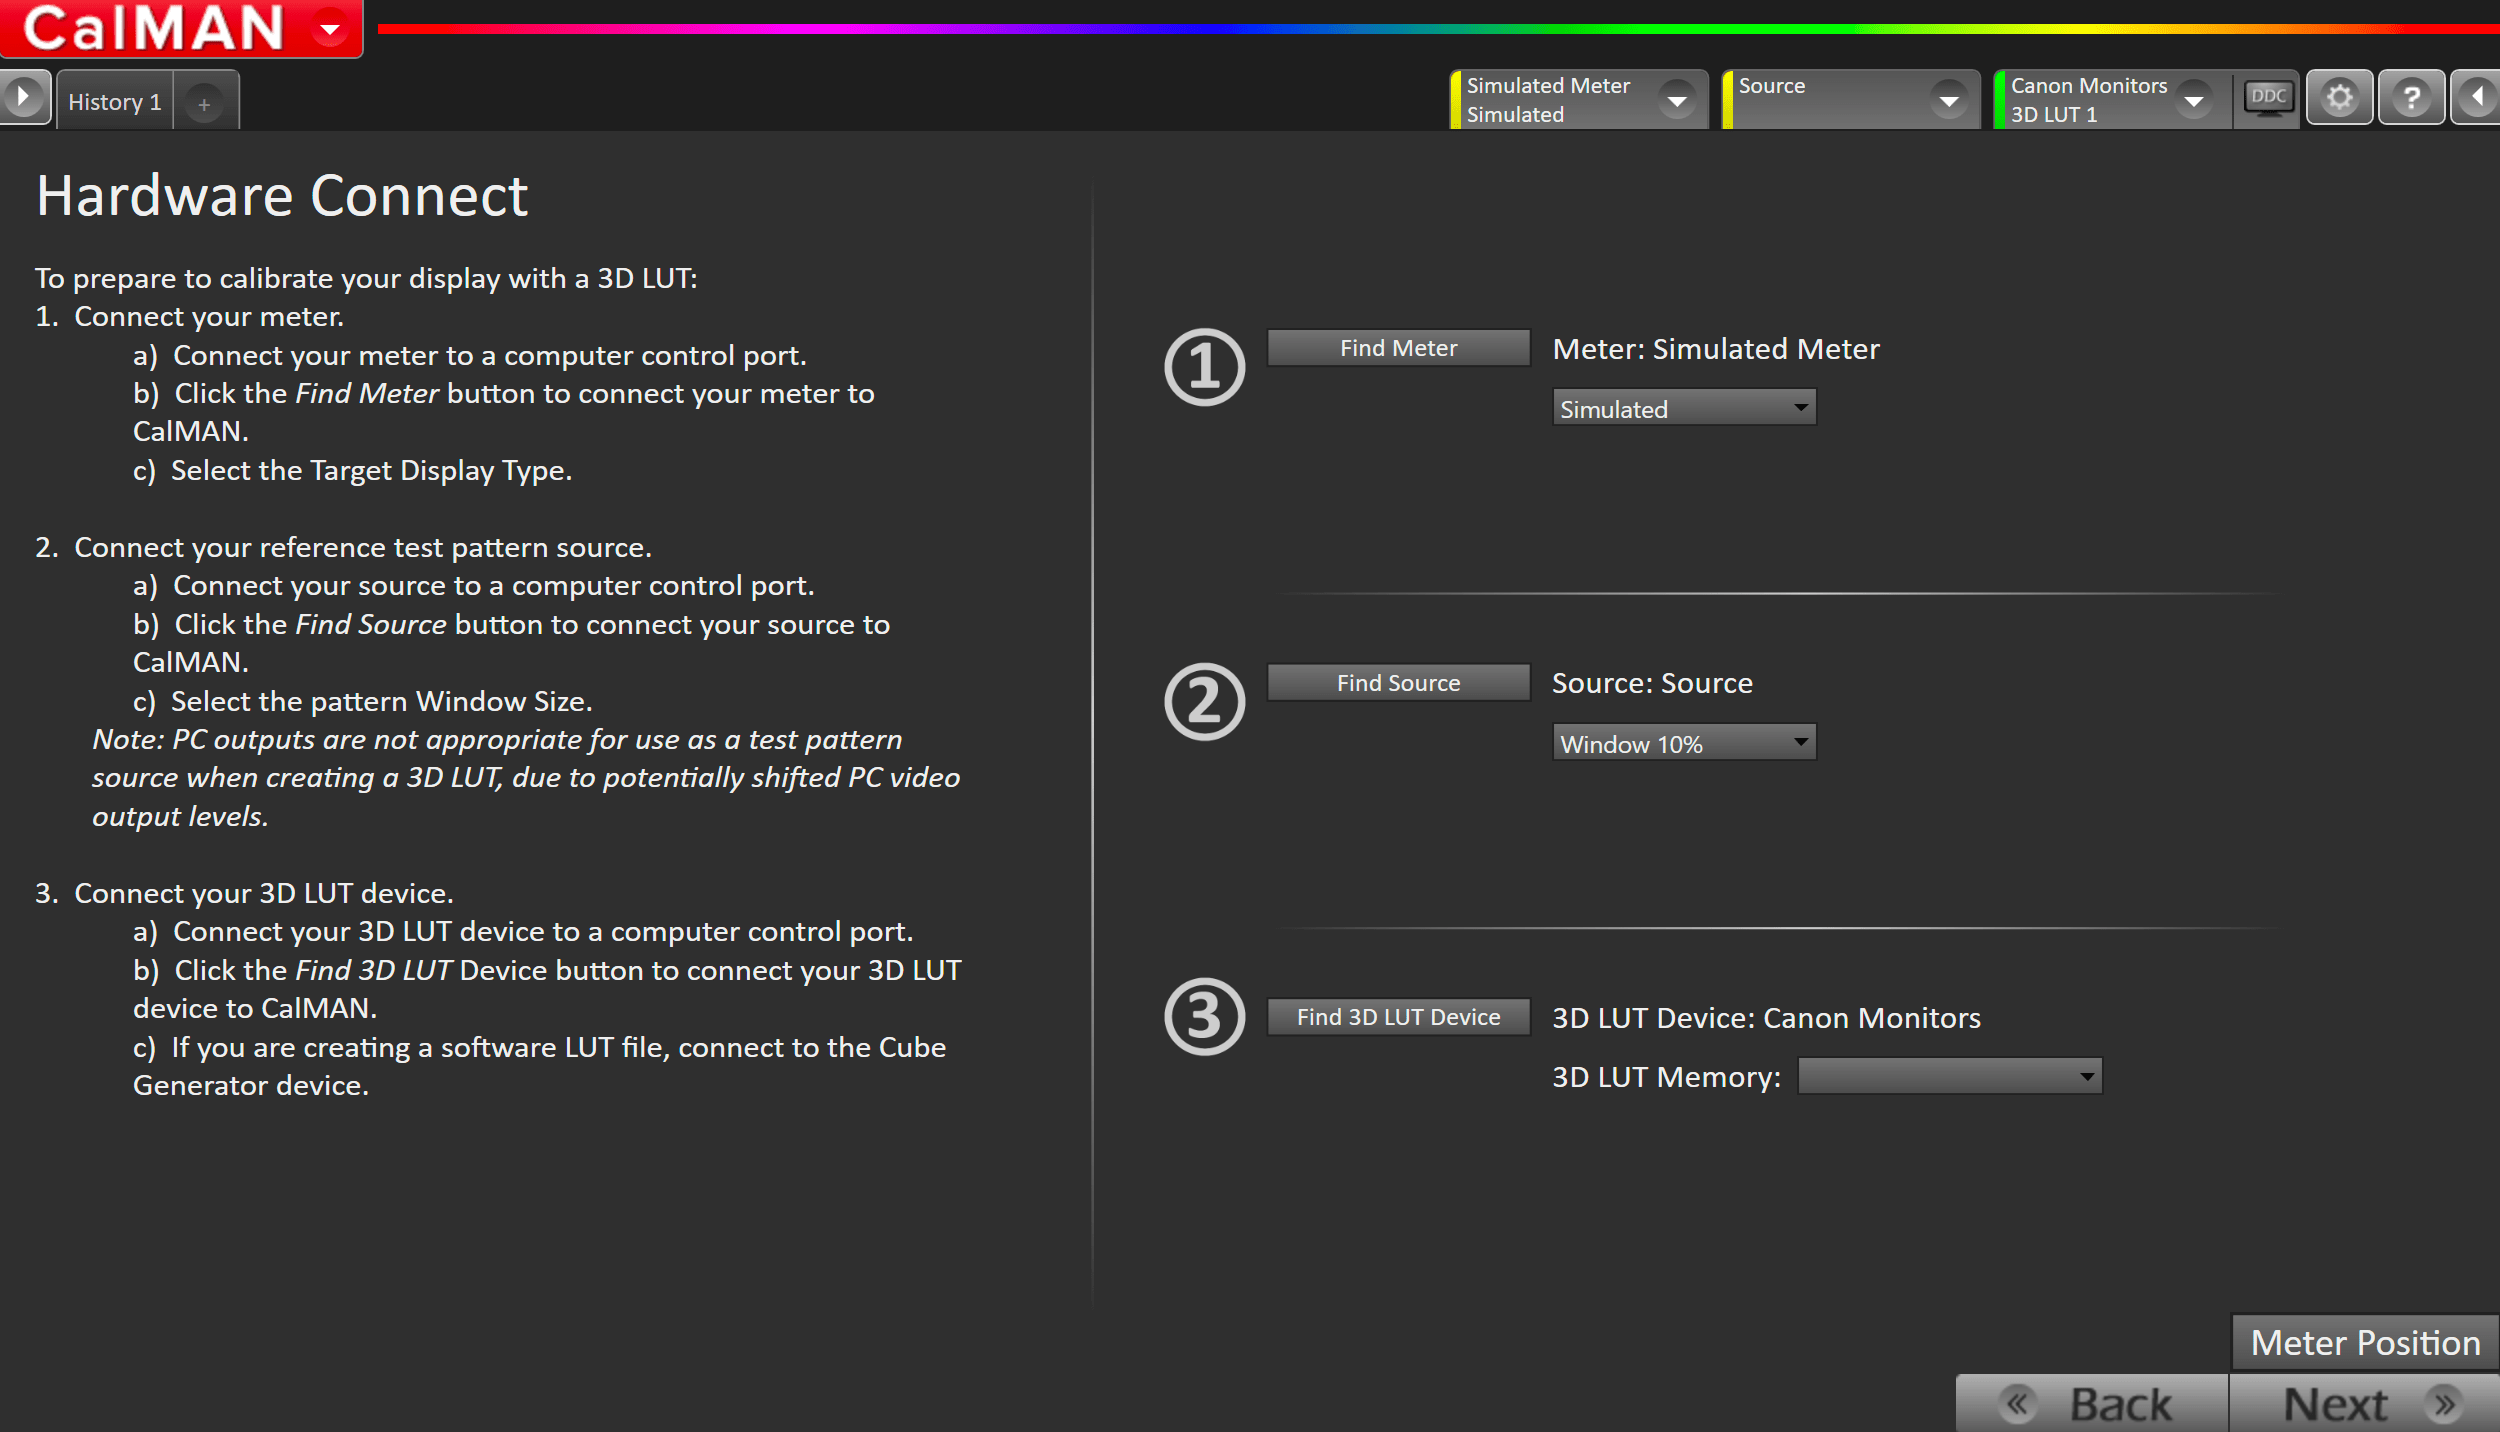
- Click Next on the first page to proceed to hardware connection
Connect your Colorimeter and Pattern Generator to Calman.
- Plug your meter into a USB port on the computer and press the Find Meter button on the left
- When your meter is connected, select your display type from the dropdown (this will vary by meter)
- C6 Meters – LCD (LED RGB)
- When your meter is connected, select your display type from the dropdown (this will vary by meter)
- Connect Pattern Source to your computer.
- Click the Find Source button then select your source
- Select the pattern window size
- Window 10%
Connect to, and prepare your Canon Reference Monitor for calibration
- Connect the Calman computer to the same network to which the Canon is connected.
- This must be done via an ethernet connection, unless your Canon display has a built-in or add-on wireless module.
- In the Canon on-screen menu, navigate to System Information and note the IP Address
- Click the Find 3D LUT Device button and select Canon – Reference monitors
- Enter the monitors IP Address
- Click Connect
- In the Canon on-screen menu, navigate to Adjustment
- Select Picture Mode: User 4, User 5, User 6, or User 7
- Select target Color Range (Limited or Full)
- Make sure your Pattern Generator is in the same video range as the monitor
- Using this menu, Full Range calibrations can be scaled down to Limited Range.
- In our testing, for best results calibrate to Full Range and then switch to Limited after the calibration to accomplish a limited range calibration.
- In the Calman Display Control Menu click Full DDC Reset to pre-configure the display for calibration
Note: For models DP-V2410, DP-V1710 and DP-V2420 when using limited range there is a compatibility setting that needs to also be adjusted. The Color Range needs to be changed from “Normal” to “Compatible”. This setting is in System Settings – Compatible Settings
Step 2
Select your calibration targets
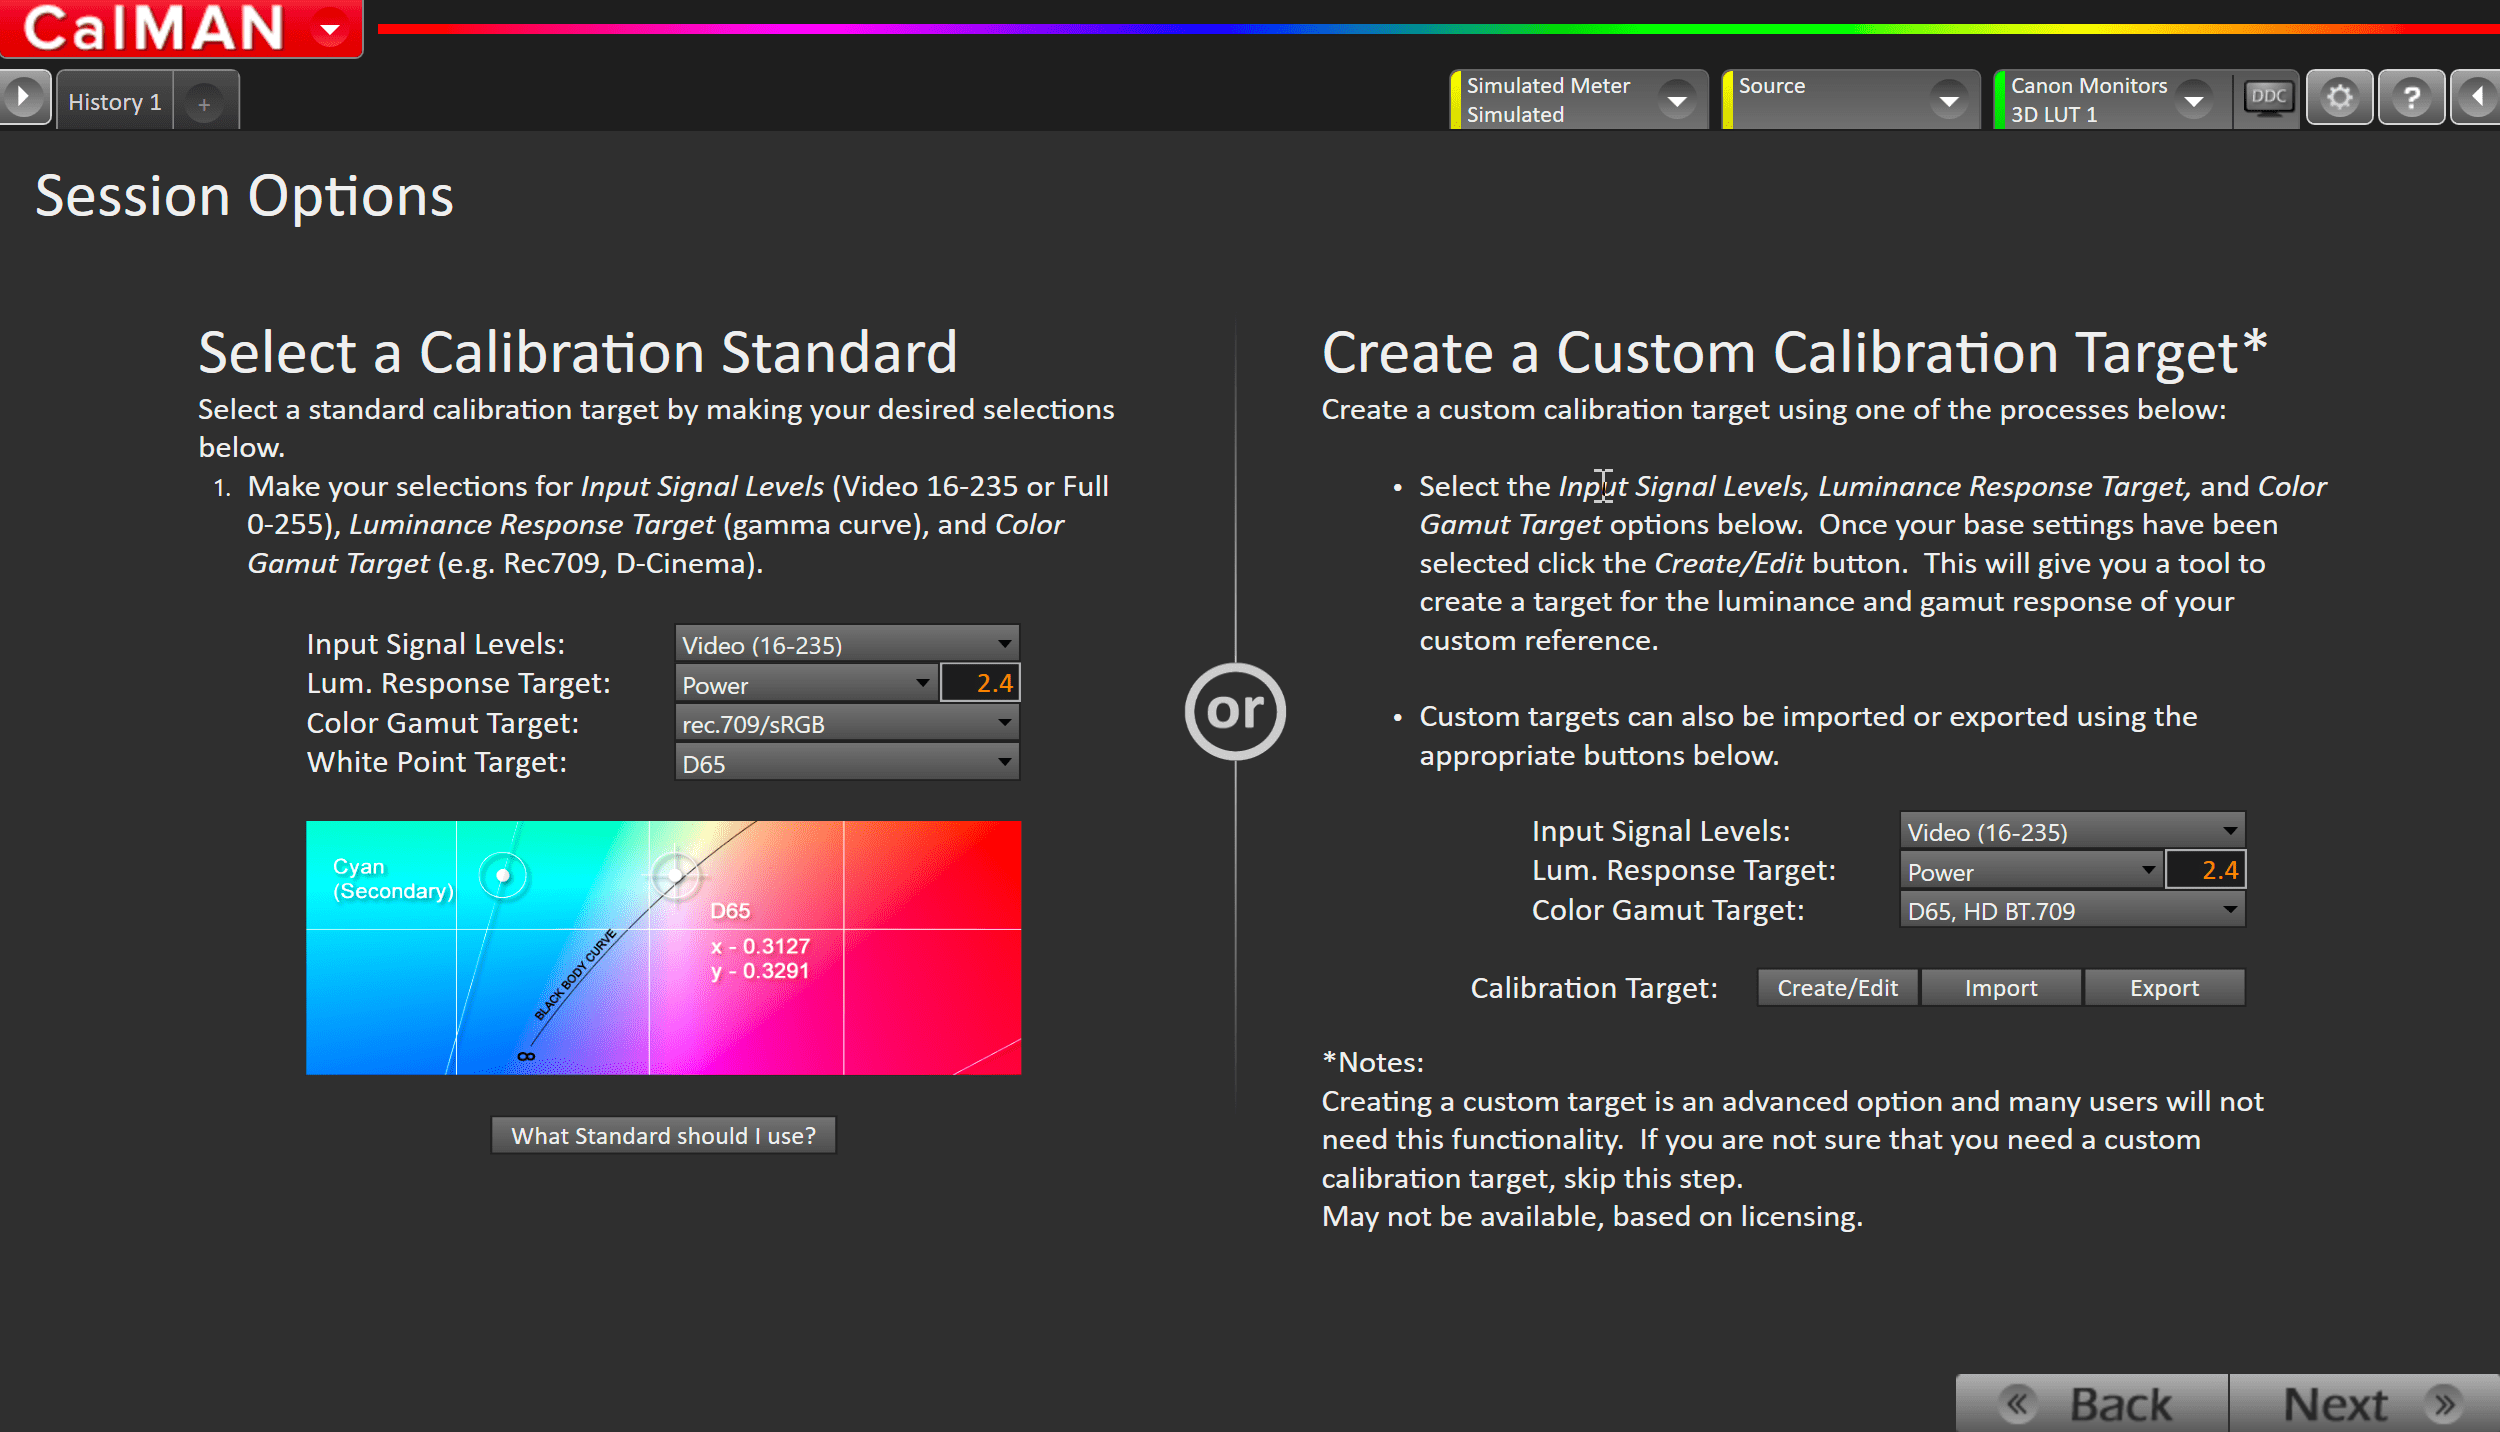
- Select:
- Input Signal Levels: Match the settings you configured the display to in Step 1
- Lum. Response Target: Choose Power and enter 2.4
- DDC Reset automatically sets gamma to 2.4 on the Canon monitor. If you need an alternate gamma, make sure that you choose that target gamma on this page and in the Canon on-screen menu or via DDC window.
- Color Gamut Target: Rec.709/sRGB or desired target
- White Point Target: D65 or desired target
Step 3
In this step, you’ll take readings of your display before the calibration. These will be used to compare your calibration results
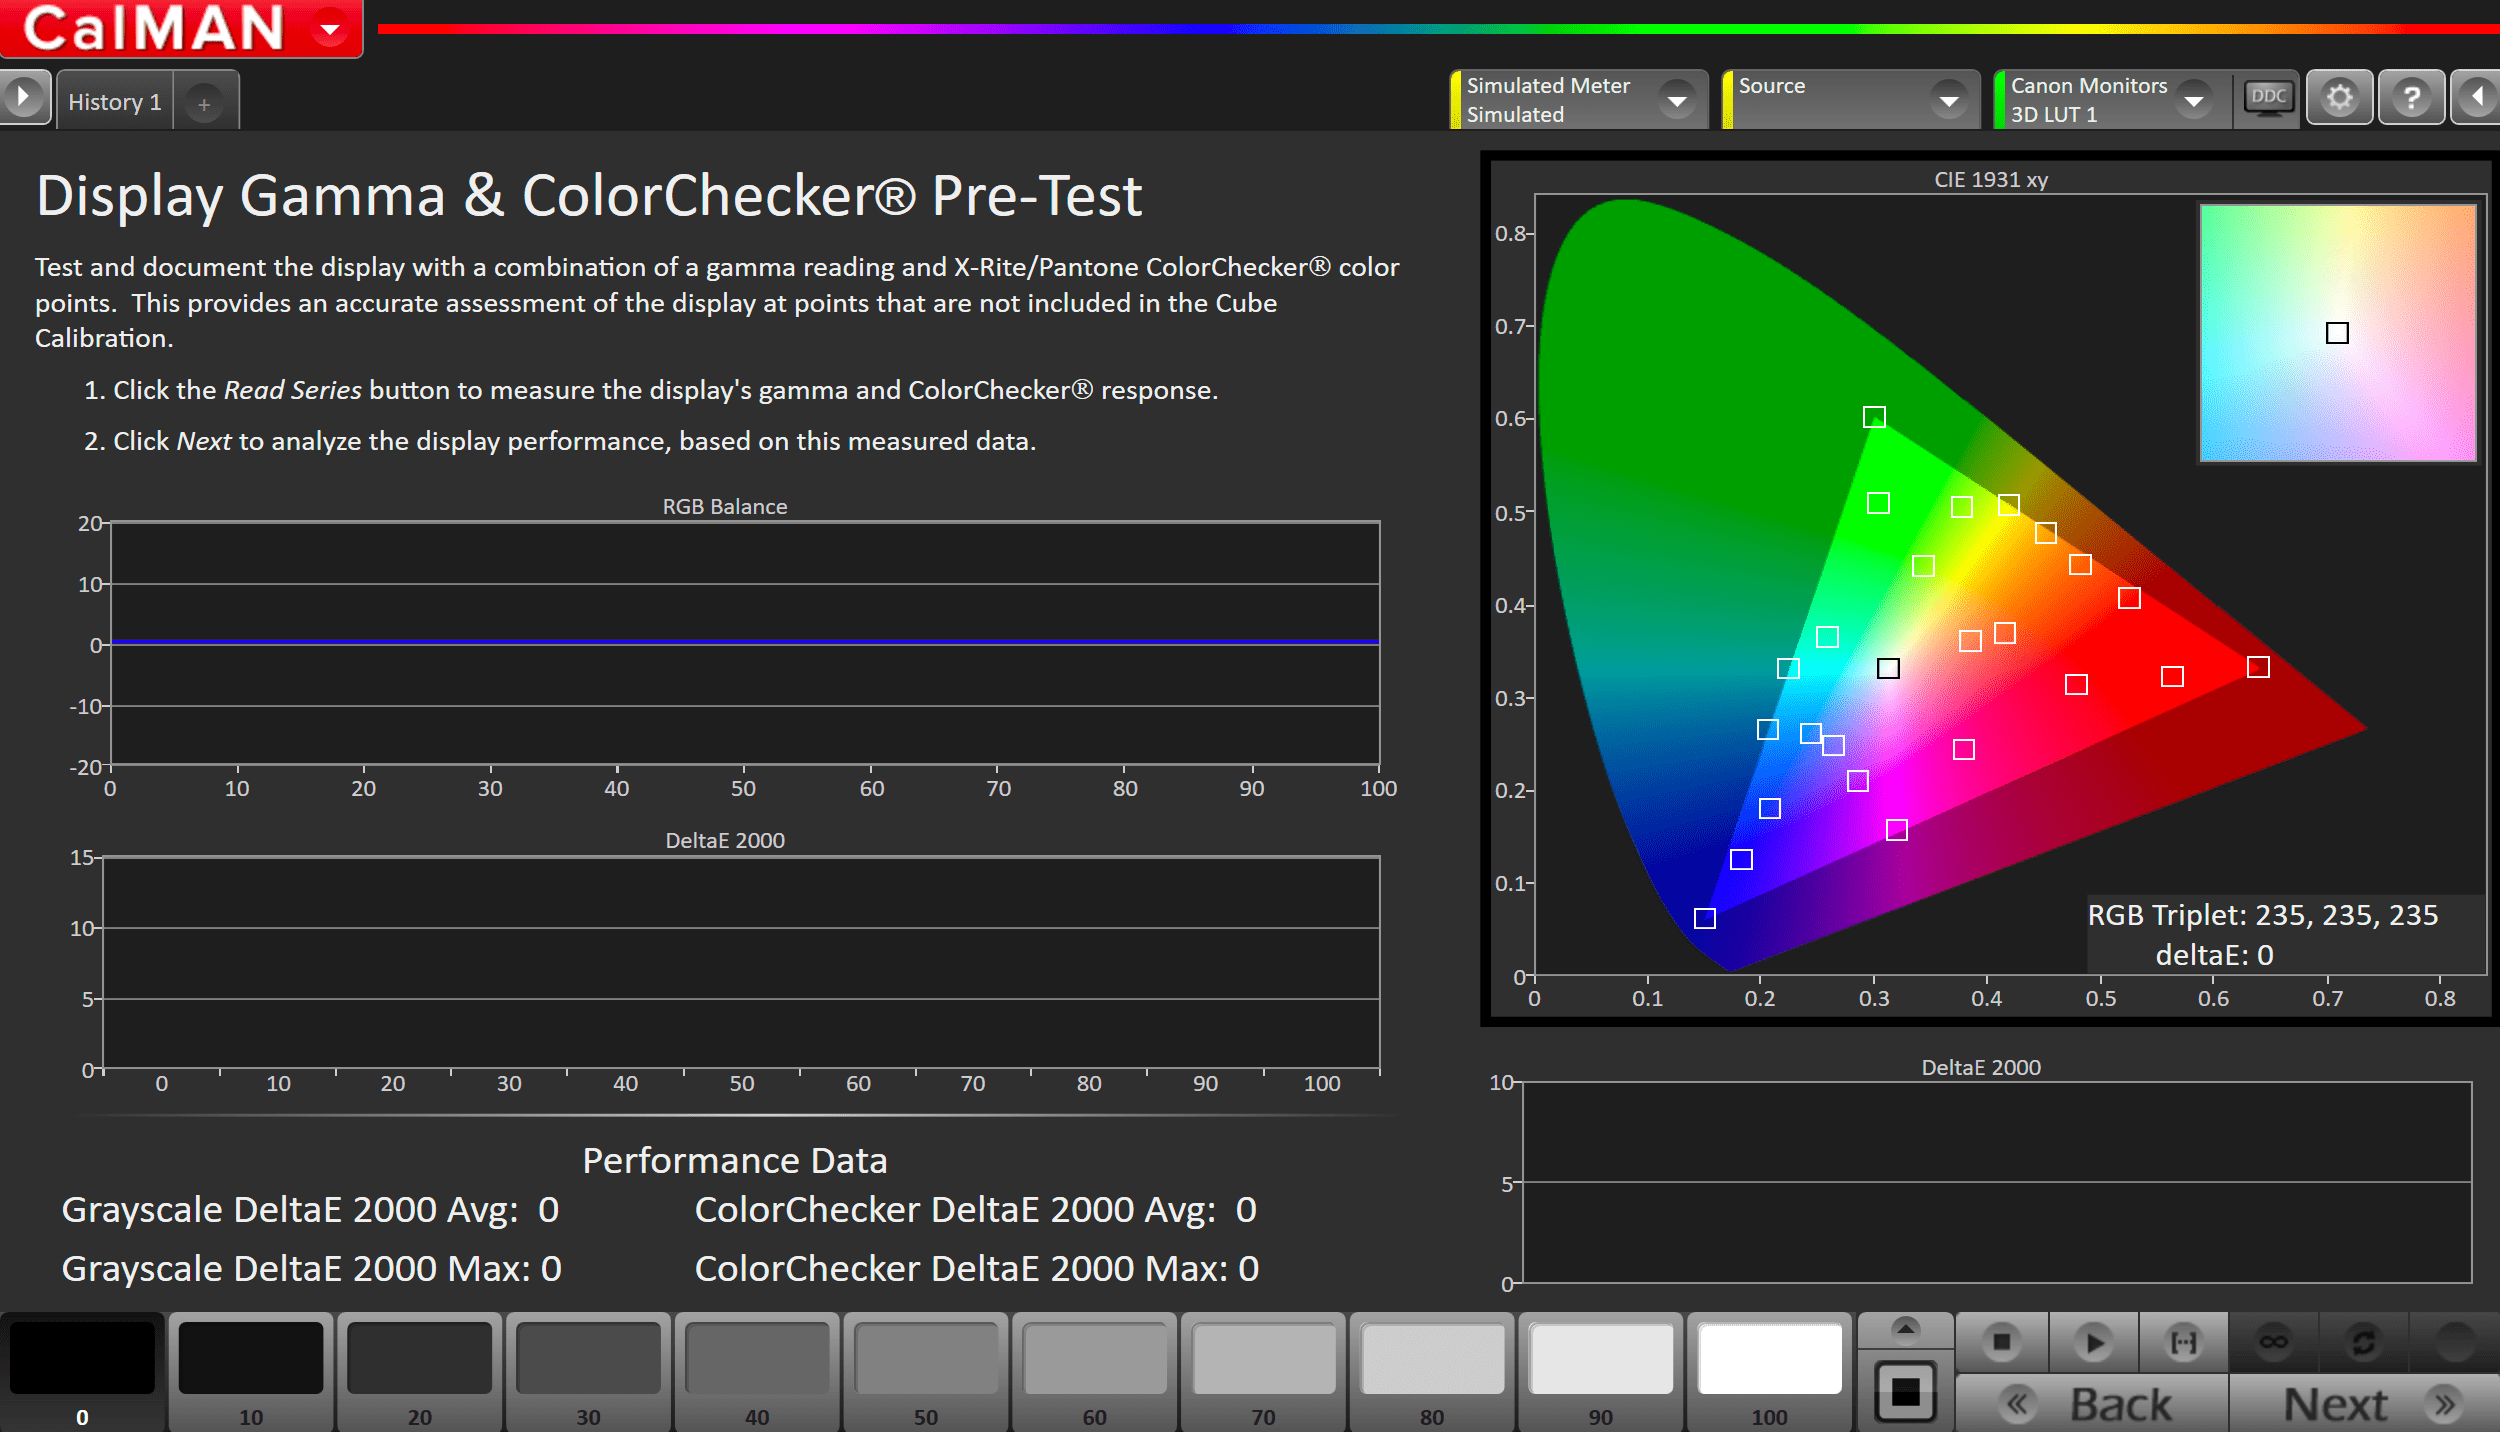
- To take Pre-Calibration Measurements click the Read Series […] button to measure the display’s grayscale and ColorChecker response
- This will provide a point of reference to compare your calibration results
Step 4
This page gives an estimate on the ability of the displays current state to be calibrated by a 3D LUT
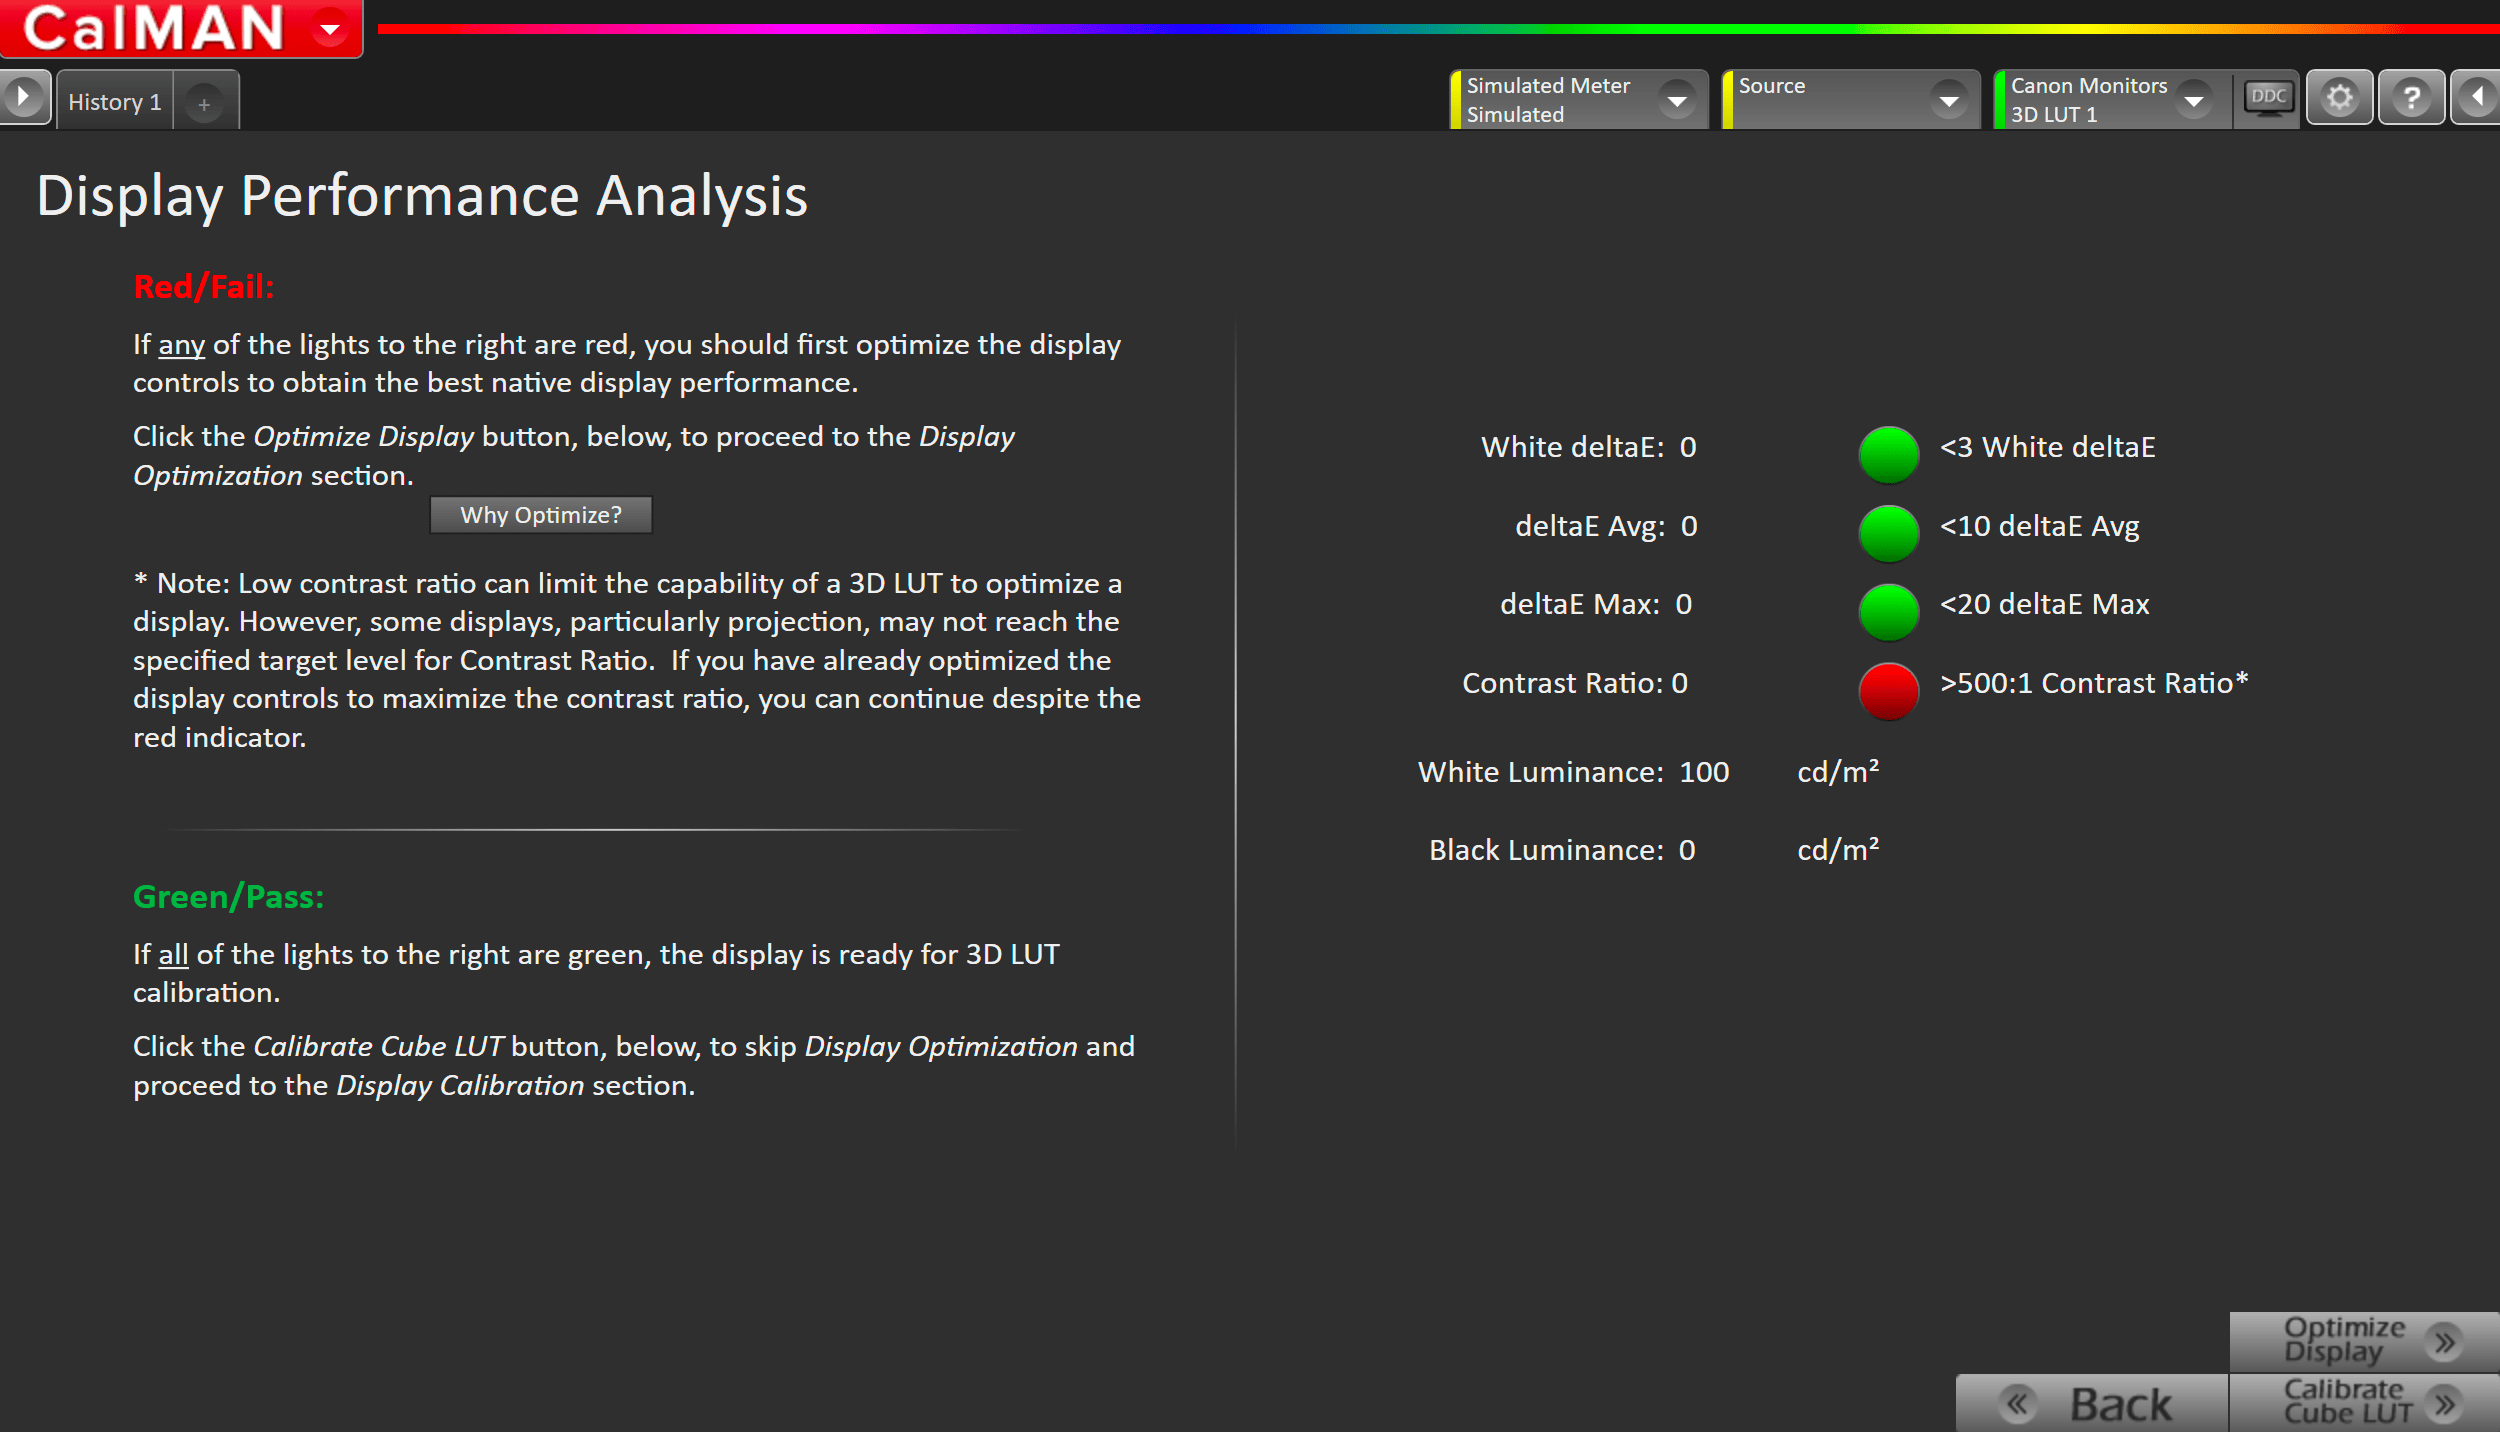
- Check the indicators on the right-hand side of the Display Performance Analysis page. If the indicators are red, click Optimize Display in the bottom right-hand corner and follow the instructions in the workflow for adjusting your display’s built-in settings where applicable.
- If the indicators are green, click Calibrate Cube LUT
Step 5
NOTE: Skip the 1D LUT page, the 1D LUTs on Canon monitors are not set up for calibration purposes.
Here we will create the 3D Calibration LUT

- Click the AutoCal button in the bottom right-hand corner of the Create 3D Cube LUT page
- On the AutoCal Setup dialog choose:
- Calibration Type: Choose the desired LUT generation type.
- For an explanation of the different types of 3D LUTs Calman can create see THIS ARTICLE
- Video Range: SMPTE for limited range calibrations, Full for full range calibrations.
- Calibration Type: Choose the desired LUT generation type.
- Click OK to begin AutoCal process
Step 6
Post-calibration readings to document the post-calibration condition of the display.
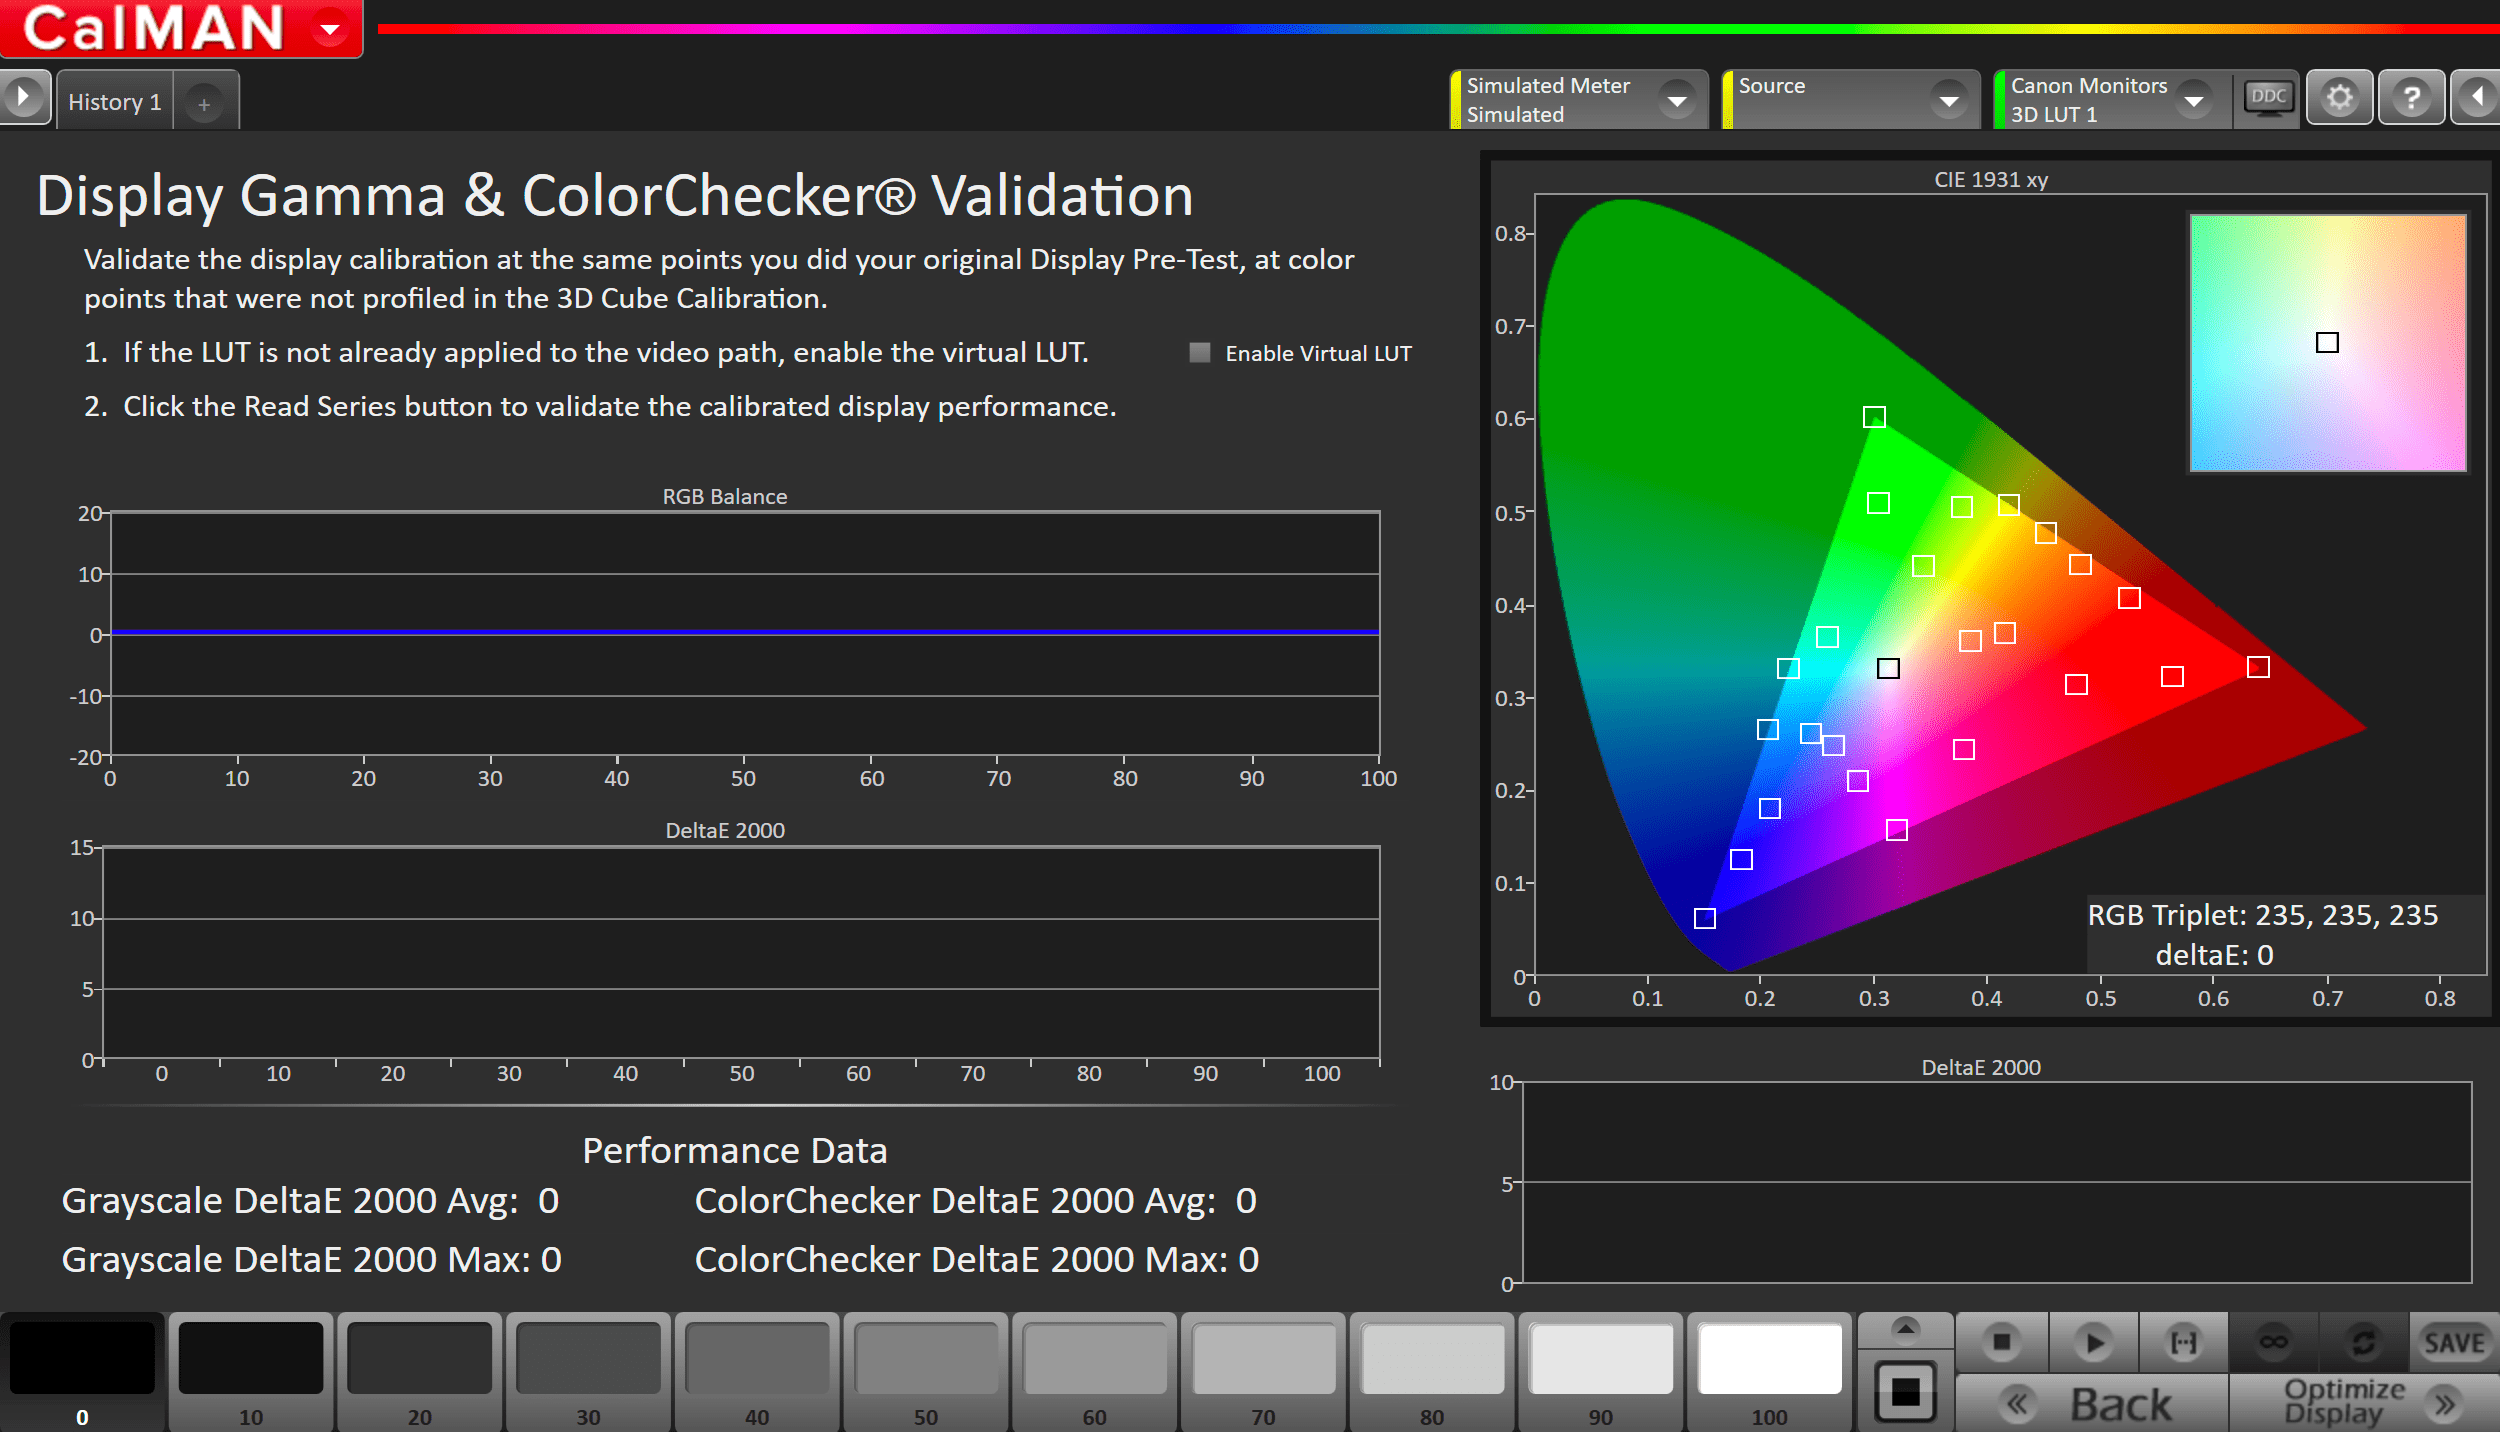
- Click the Read Series […] button