For the Panasonic 2019 OLED models, Calman can automatically calibrate the TV’s two-point white balance controls, the 12-point grayscale controls, and the CMS color gamut controls in Standard Dynamic Range (SDR) mode and High Dynamic Range (HDR) mode. This assures the most accurate rendering of both SDR and HDR picture content.

Each step of this workflow has been optimized to display relevant information, and automatically configure common settings. Both Pre-Calibration and Post-Calibration measurement steps are included for comparing pre- and post-performance.
Calman Required Version
- Calman Studio, Video Pro, or Ultimate
- Calman 2019 v5.10.0
- For instructions on Calman Home for Panasonic see This Article
Calman Required Workflows
- AutoCal – Panasonic
- Panasonic SDR Workflow
- Panasonic HDR Workflow
Required Hardware
- HDR and Dolby Vision Compatible Pattern Generator
- HDR Compatible Meter
Jump To
SDR Calibration
Step 1
- From the Calman Menu in the top-left, choose Open Workflow Template -> Display Specific and then AutoCal – Panasonic
- Click SDR Calibration on the first page to proceed to hardware connection
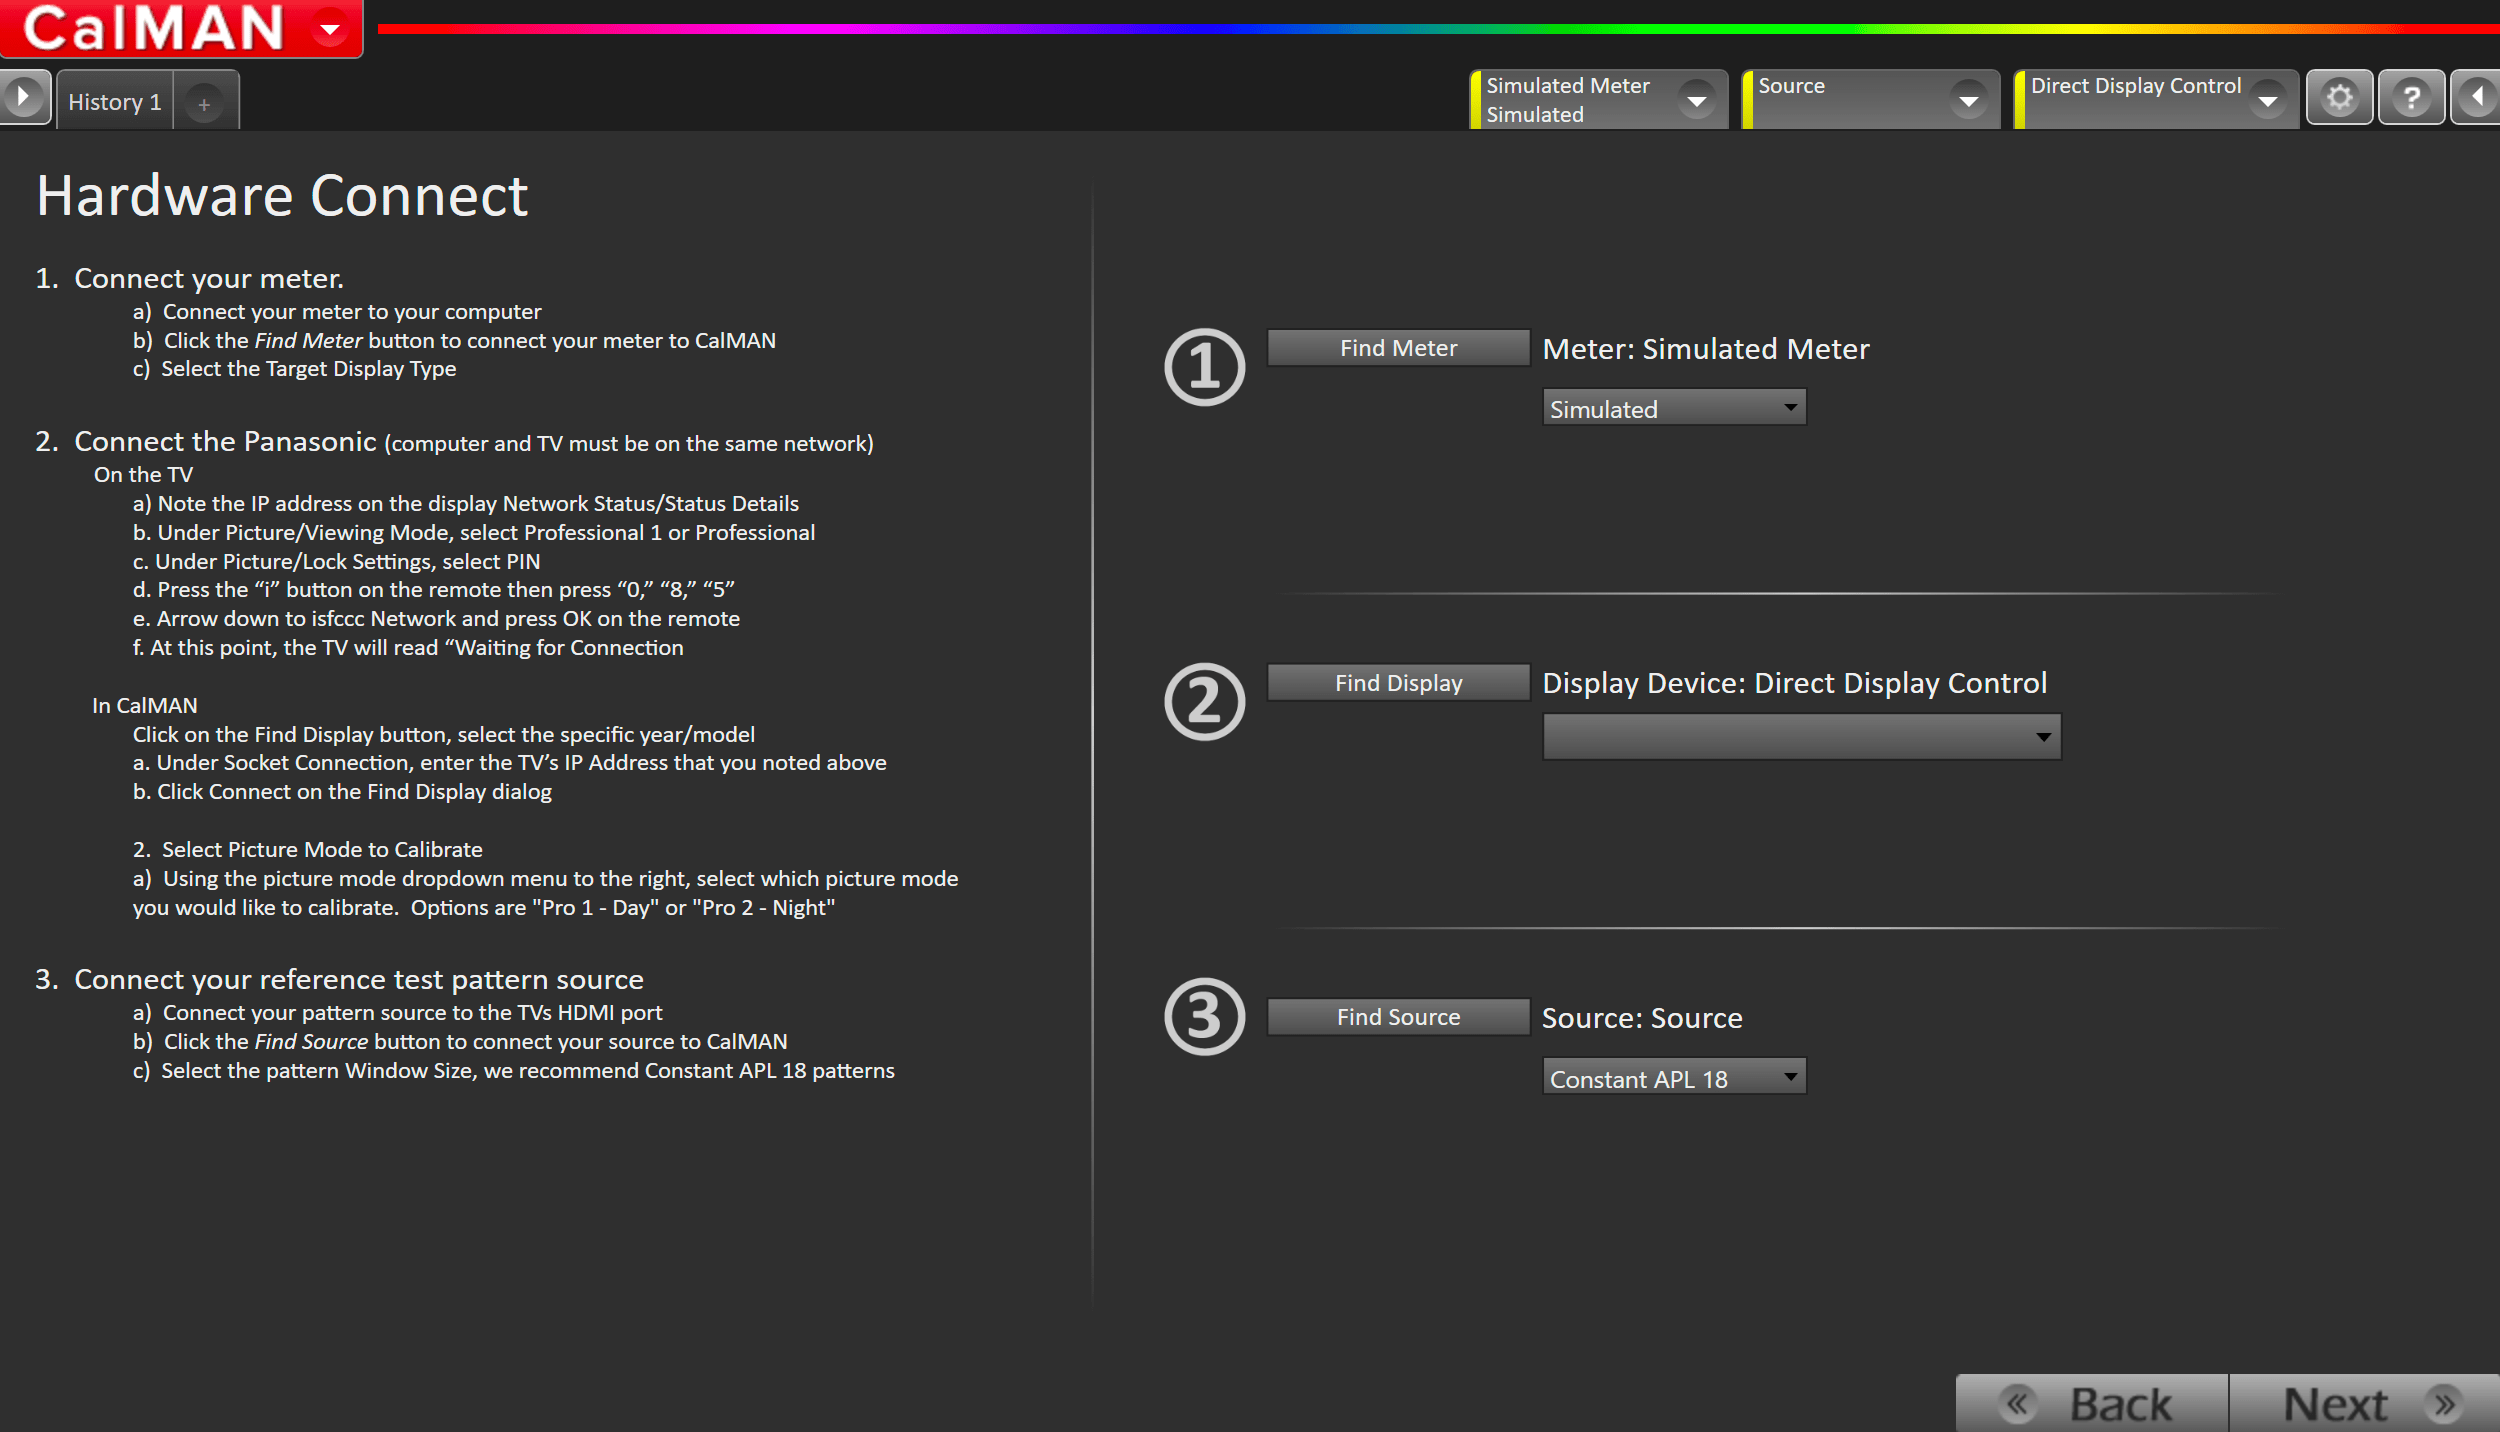
Connect your Colorimeter and Pattern Generator to Calman.
- Plug your meter into a USB port on the computer and press the Find Meter button on the left
- When your meter is connected, select your display type from the dropdown (this will vary by meter)
- OLED: White-OLED (OLED (White) LG, Panasonic, FSI 2018 for C6 Meter)
- When your meter is connected, select your display type from the dropdown (this will vary by meter)
- Connect Pattern Source to your computer. If you are using the 2019 Panasonic internal pattern generator, see this article for setup instructions
- Click the Find Source button then select your source
- Select the pattern window size
- Window 10%
Connect to, and prepare your Panasonic TV for calibration
- Connect the Calman computer to the same network to which the Panasonic TV is connected.
- Under Menu\Network\Network Status\Status Details note the IP address.
- On the Panasonic TV, open the Picture menu
- Under Picture\Viewing Mode, select Professional 1 or Professional 2
- Under Picture\Lock Settings, enter PIN i-0-8-5
- Arrow down to ISFCCC Network and press OK on the remote.
- An HDMI signal must be fed into the TV and selected as the input.
- The ISFCCC Network option does not display when you are using one of the App inputs, like Netflix
- This option will be disabled if the PIN is not set to i-0-8-5
- In some regions, this option may be disabled in firmware. Contact Panasonic support for your region for more information.
- An HDMI signal must be fed into the TV and selected as the input.
- At this point, the TV will read “Waiting for Connection“
- Click on the Find Display button, select Panasonic – GZ Series
- Under Socket Connection, enter the TV’s IP Address that you noted above.
- Click Connect on the Find Display dialog.
- Select Picture Mode to Calibrate.
- Using the picture mode dropdown menu to the right, select which picture mode you would like to calibrate.
- Options are Pro 1 – Day or Pro 2 – Night
- Using the picture mode dropdown menu to the right, select which picture mode you would like to calibrate.
Step 2
Confirm your calibration targets and prepare TV
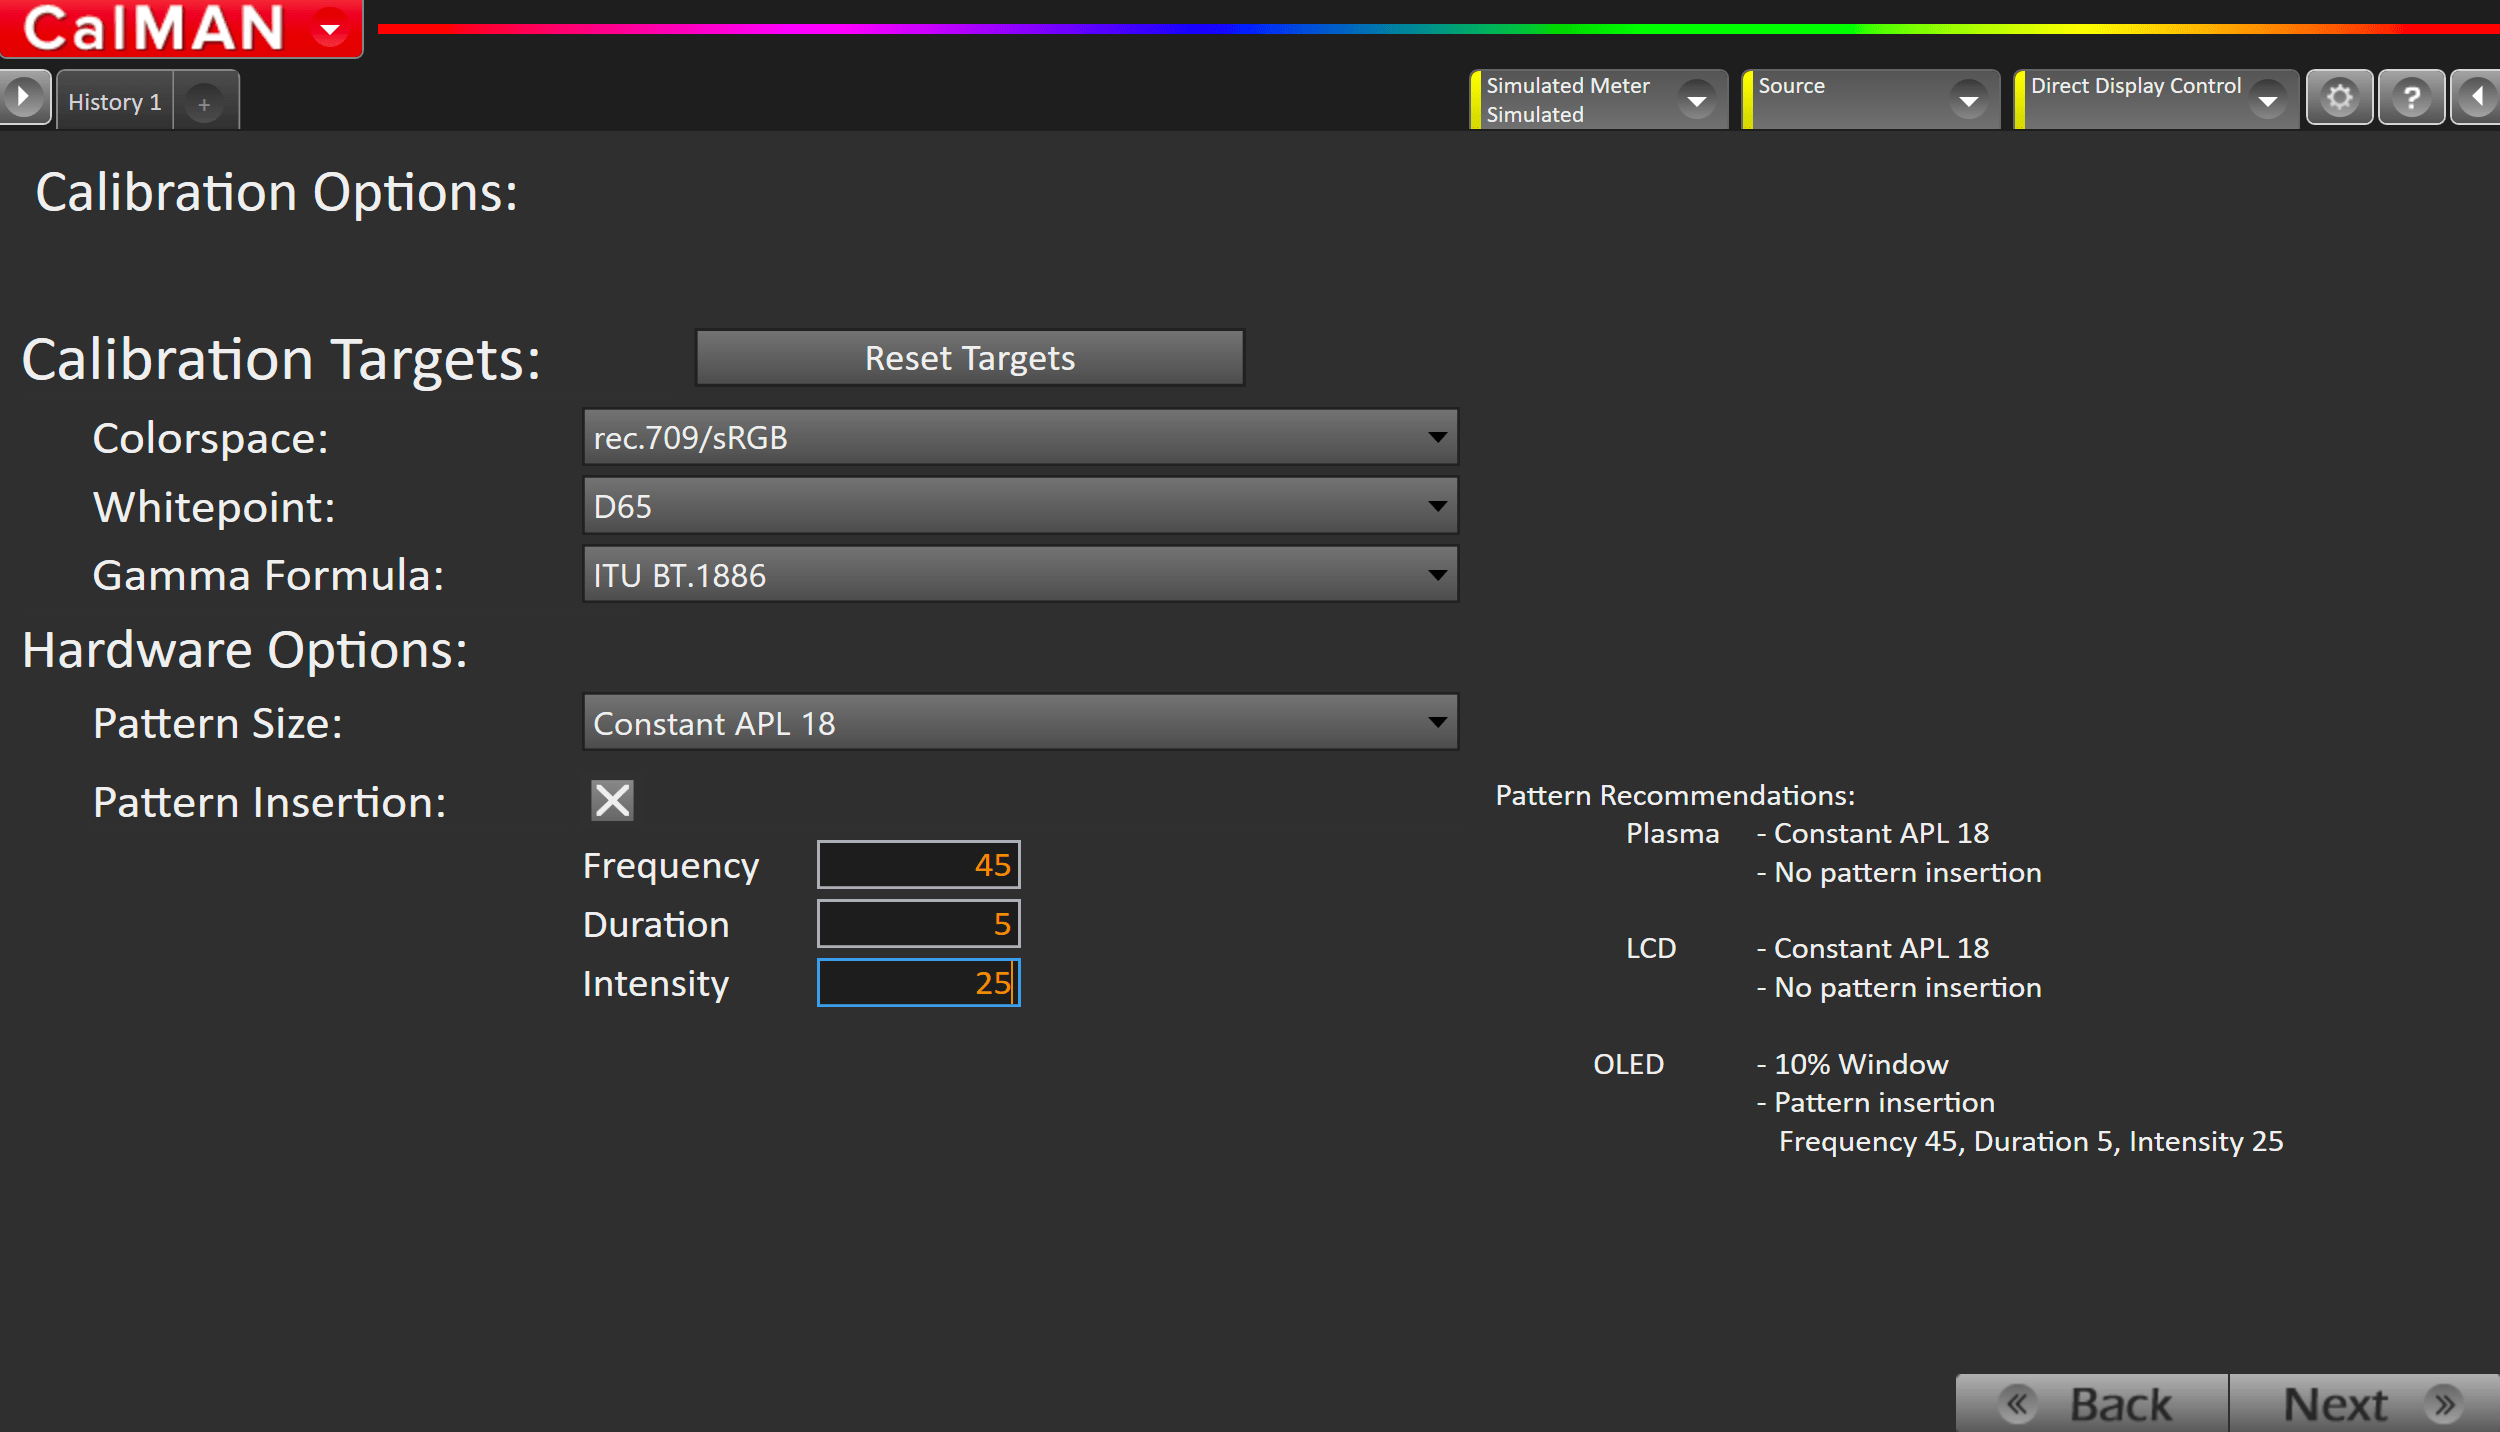
- Press Reset Targets
- For SDR, calibration targets should be:
- Rec709
- D65
- BT.1886
- Hardware Options
- Pattern Size: Window 10
- Pattern Insertion: ON
- Frequency 45
- Duration 5
- Intensity 25
Step 3
In this step, you’ll take readings of your display before the calibration. These will be used to compare your calibration results
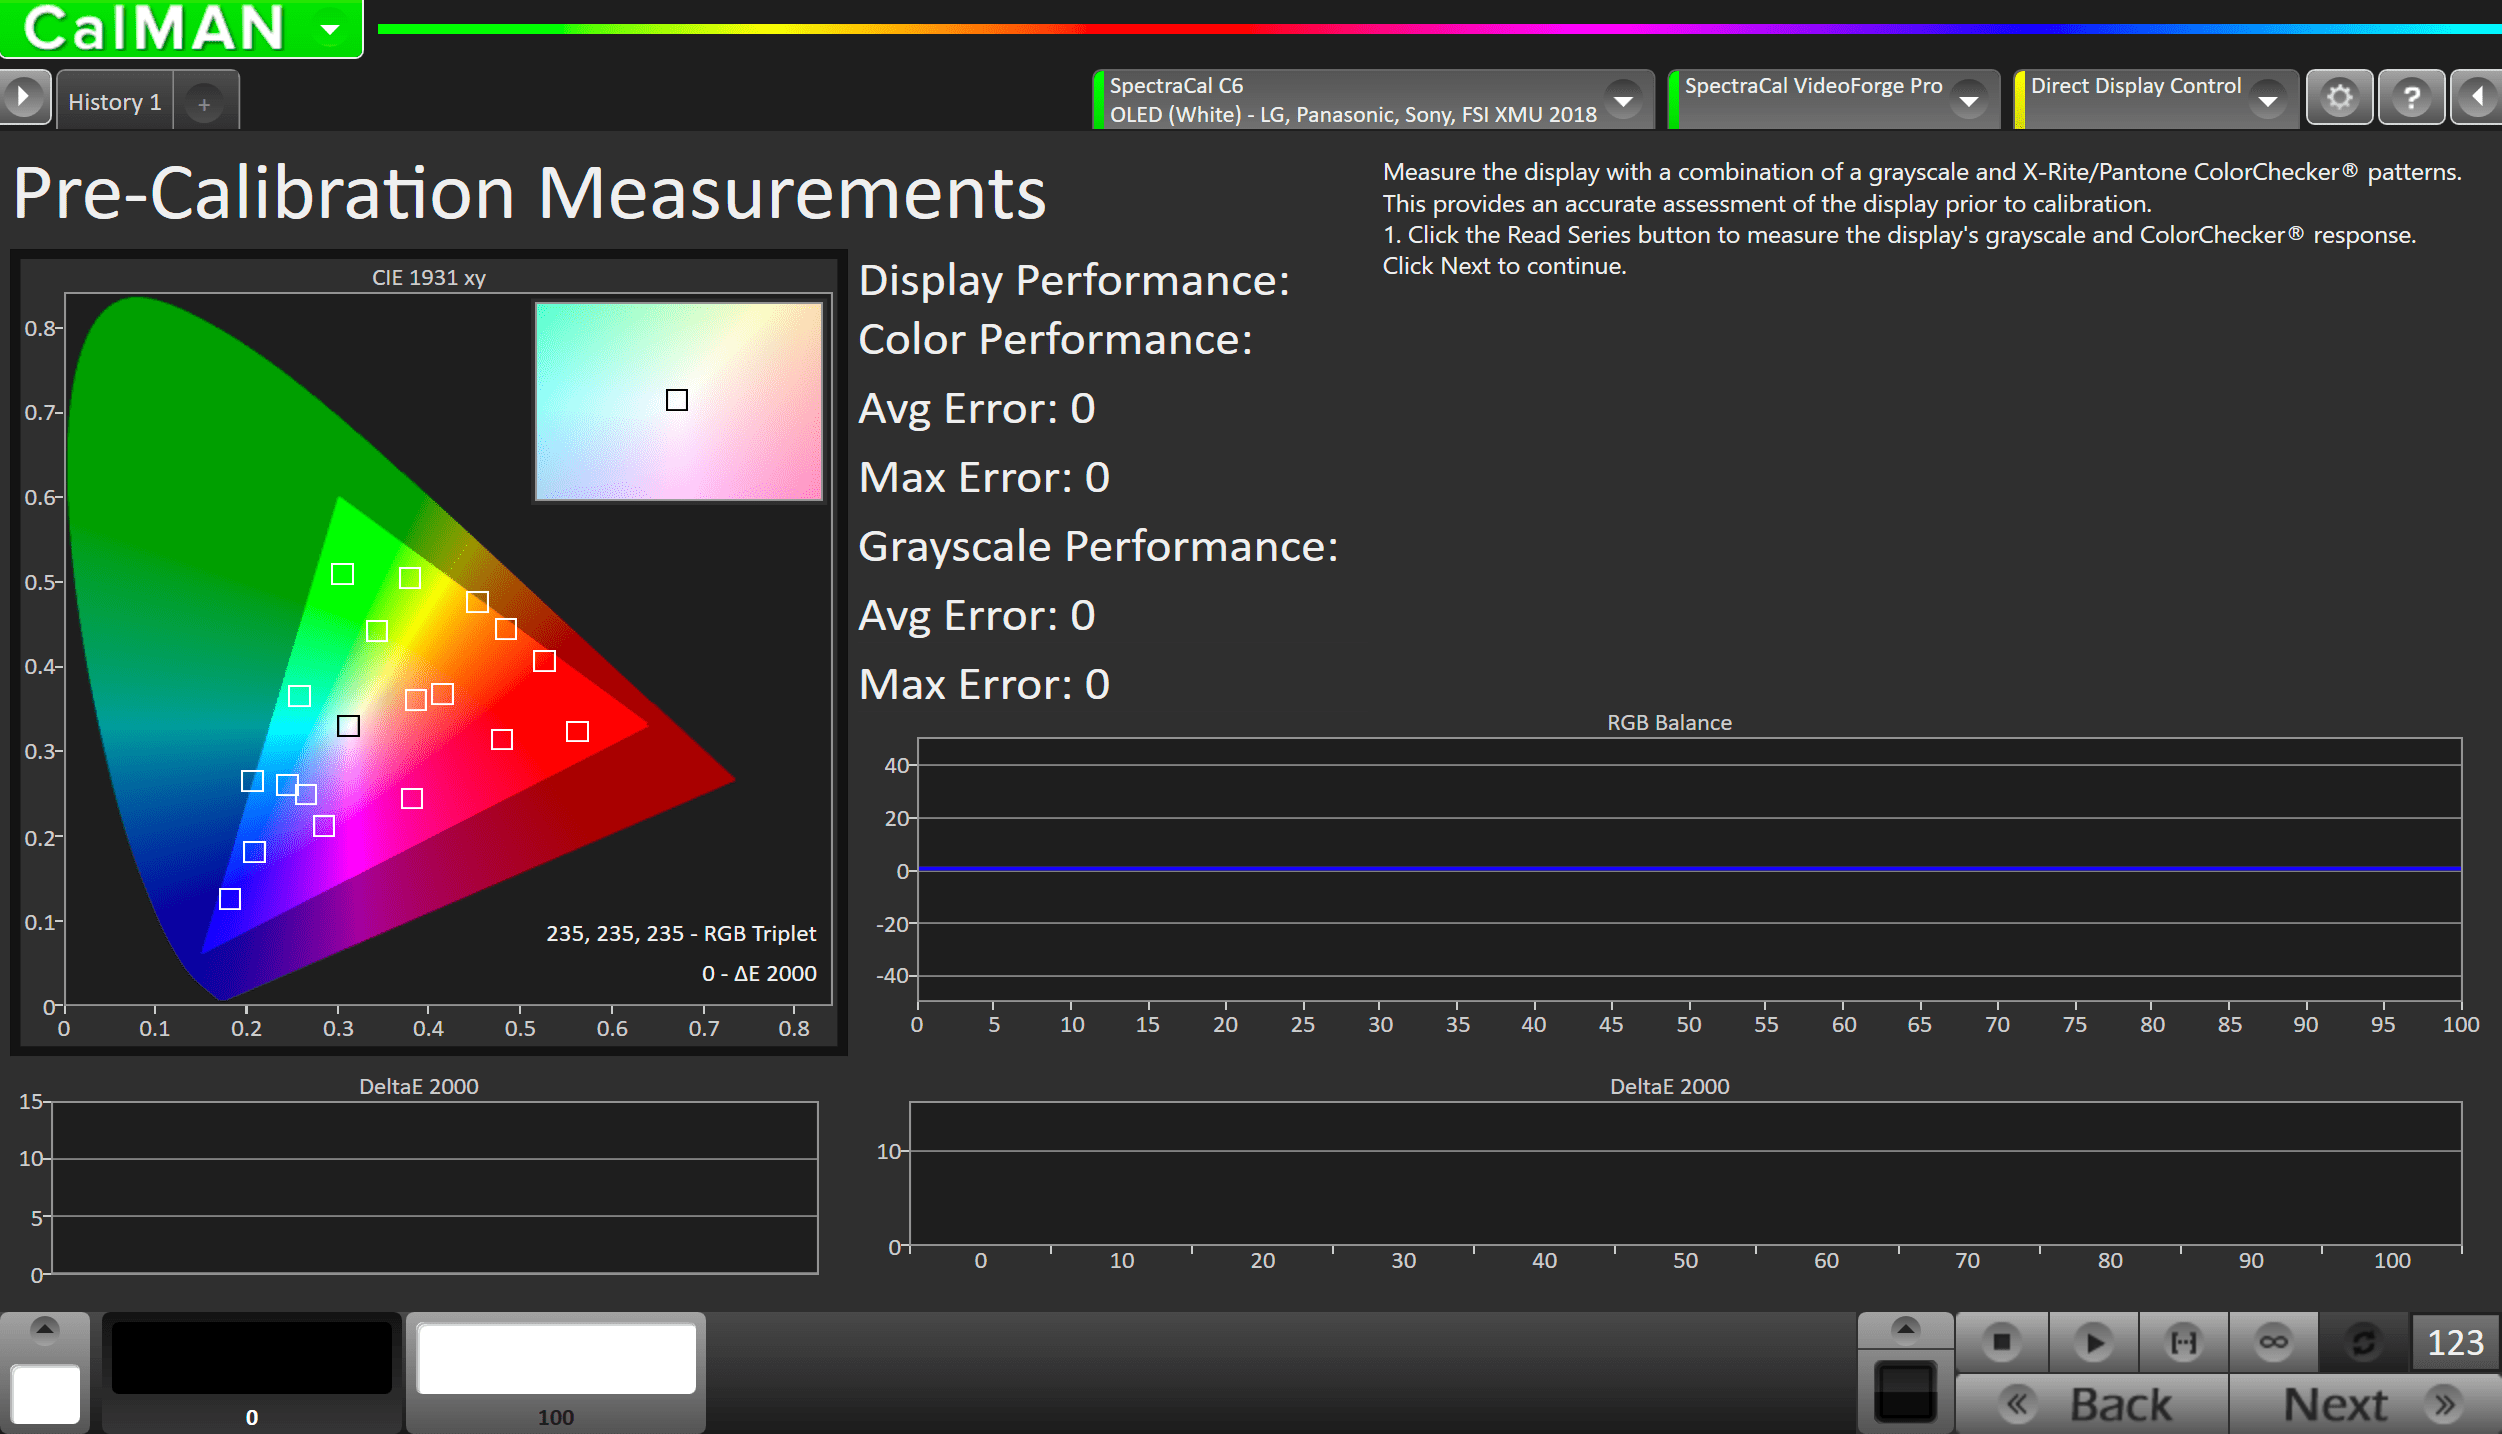
- To take Pre-Calibration Measurements click the Read Series […] button to measure the display’s grayscale and ColorChecker response
- This will provide a point of reference to compare your calibration results
Step 4
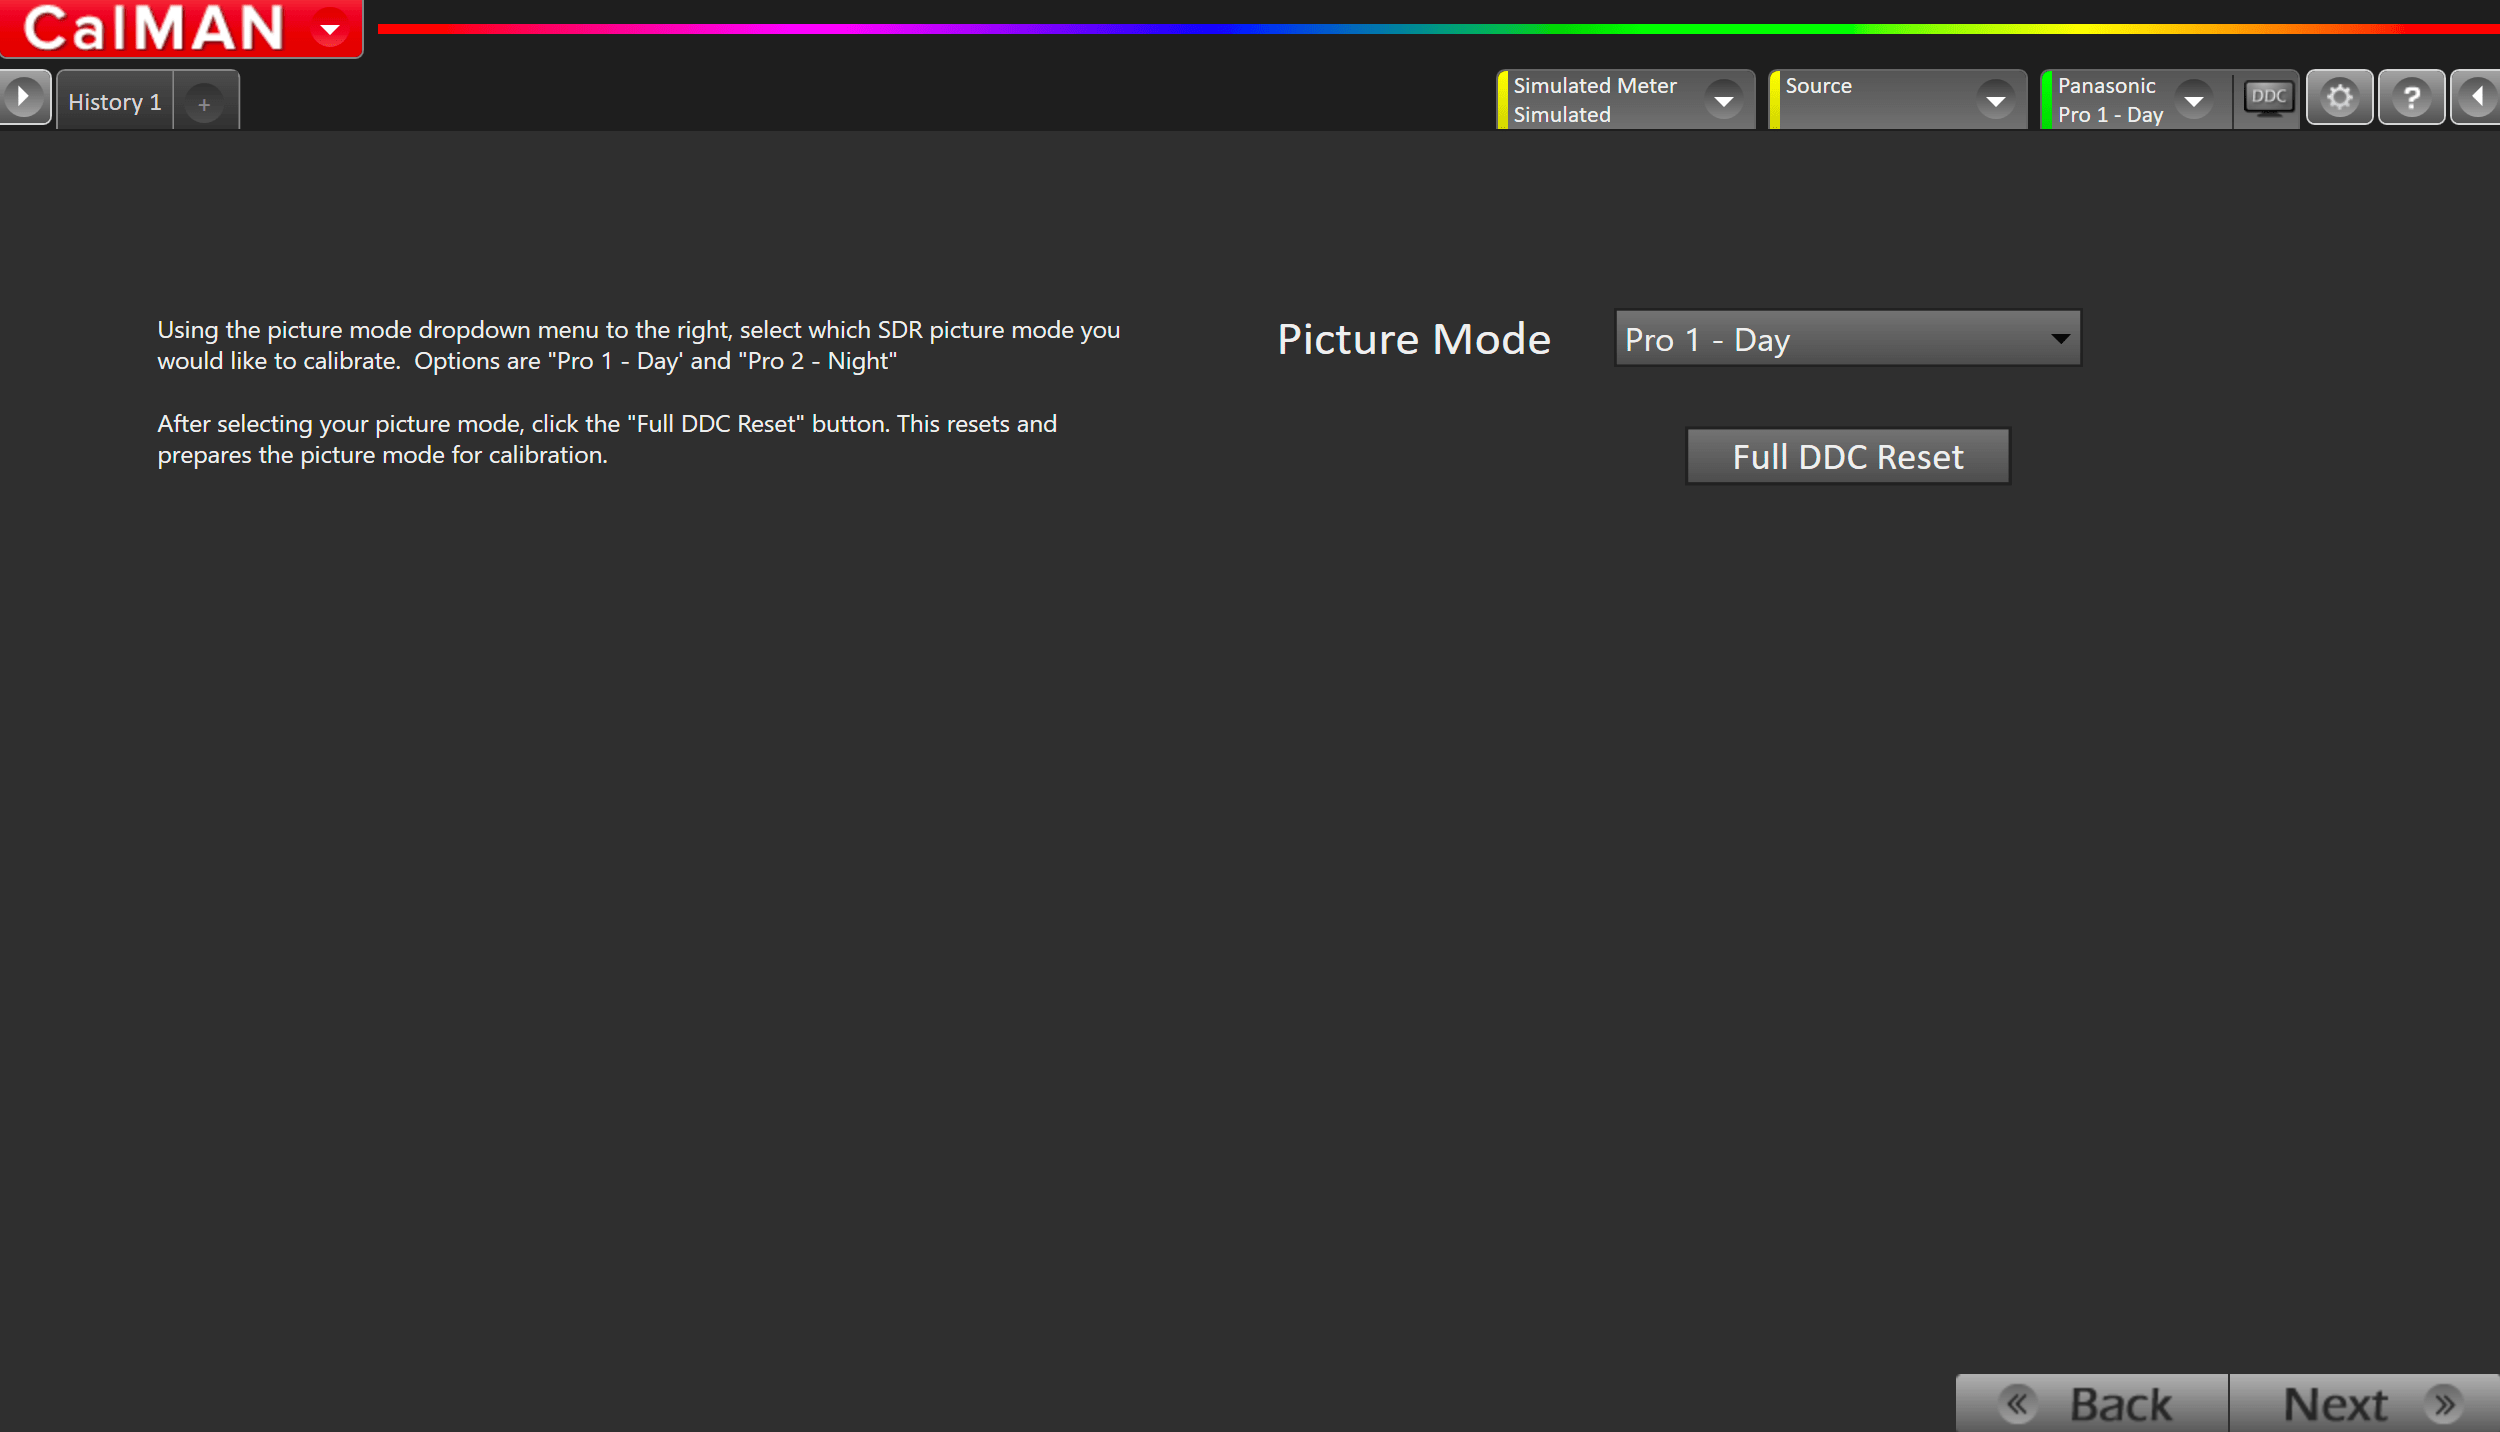
- Select your target picture mode
- Options are Pro 1 – Day or Pro 2 – Night
- Press Full DDC Reset
- This will configure several of the TVs settings to the ideal values.
Step 5
In this step, you will be able to adjust the Luminance of your display to match your desired target. Luminance is a subjective target. SDR reference luminance is 100cd/m2, but you may need to target higher to account for the ambient light in your environment.
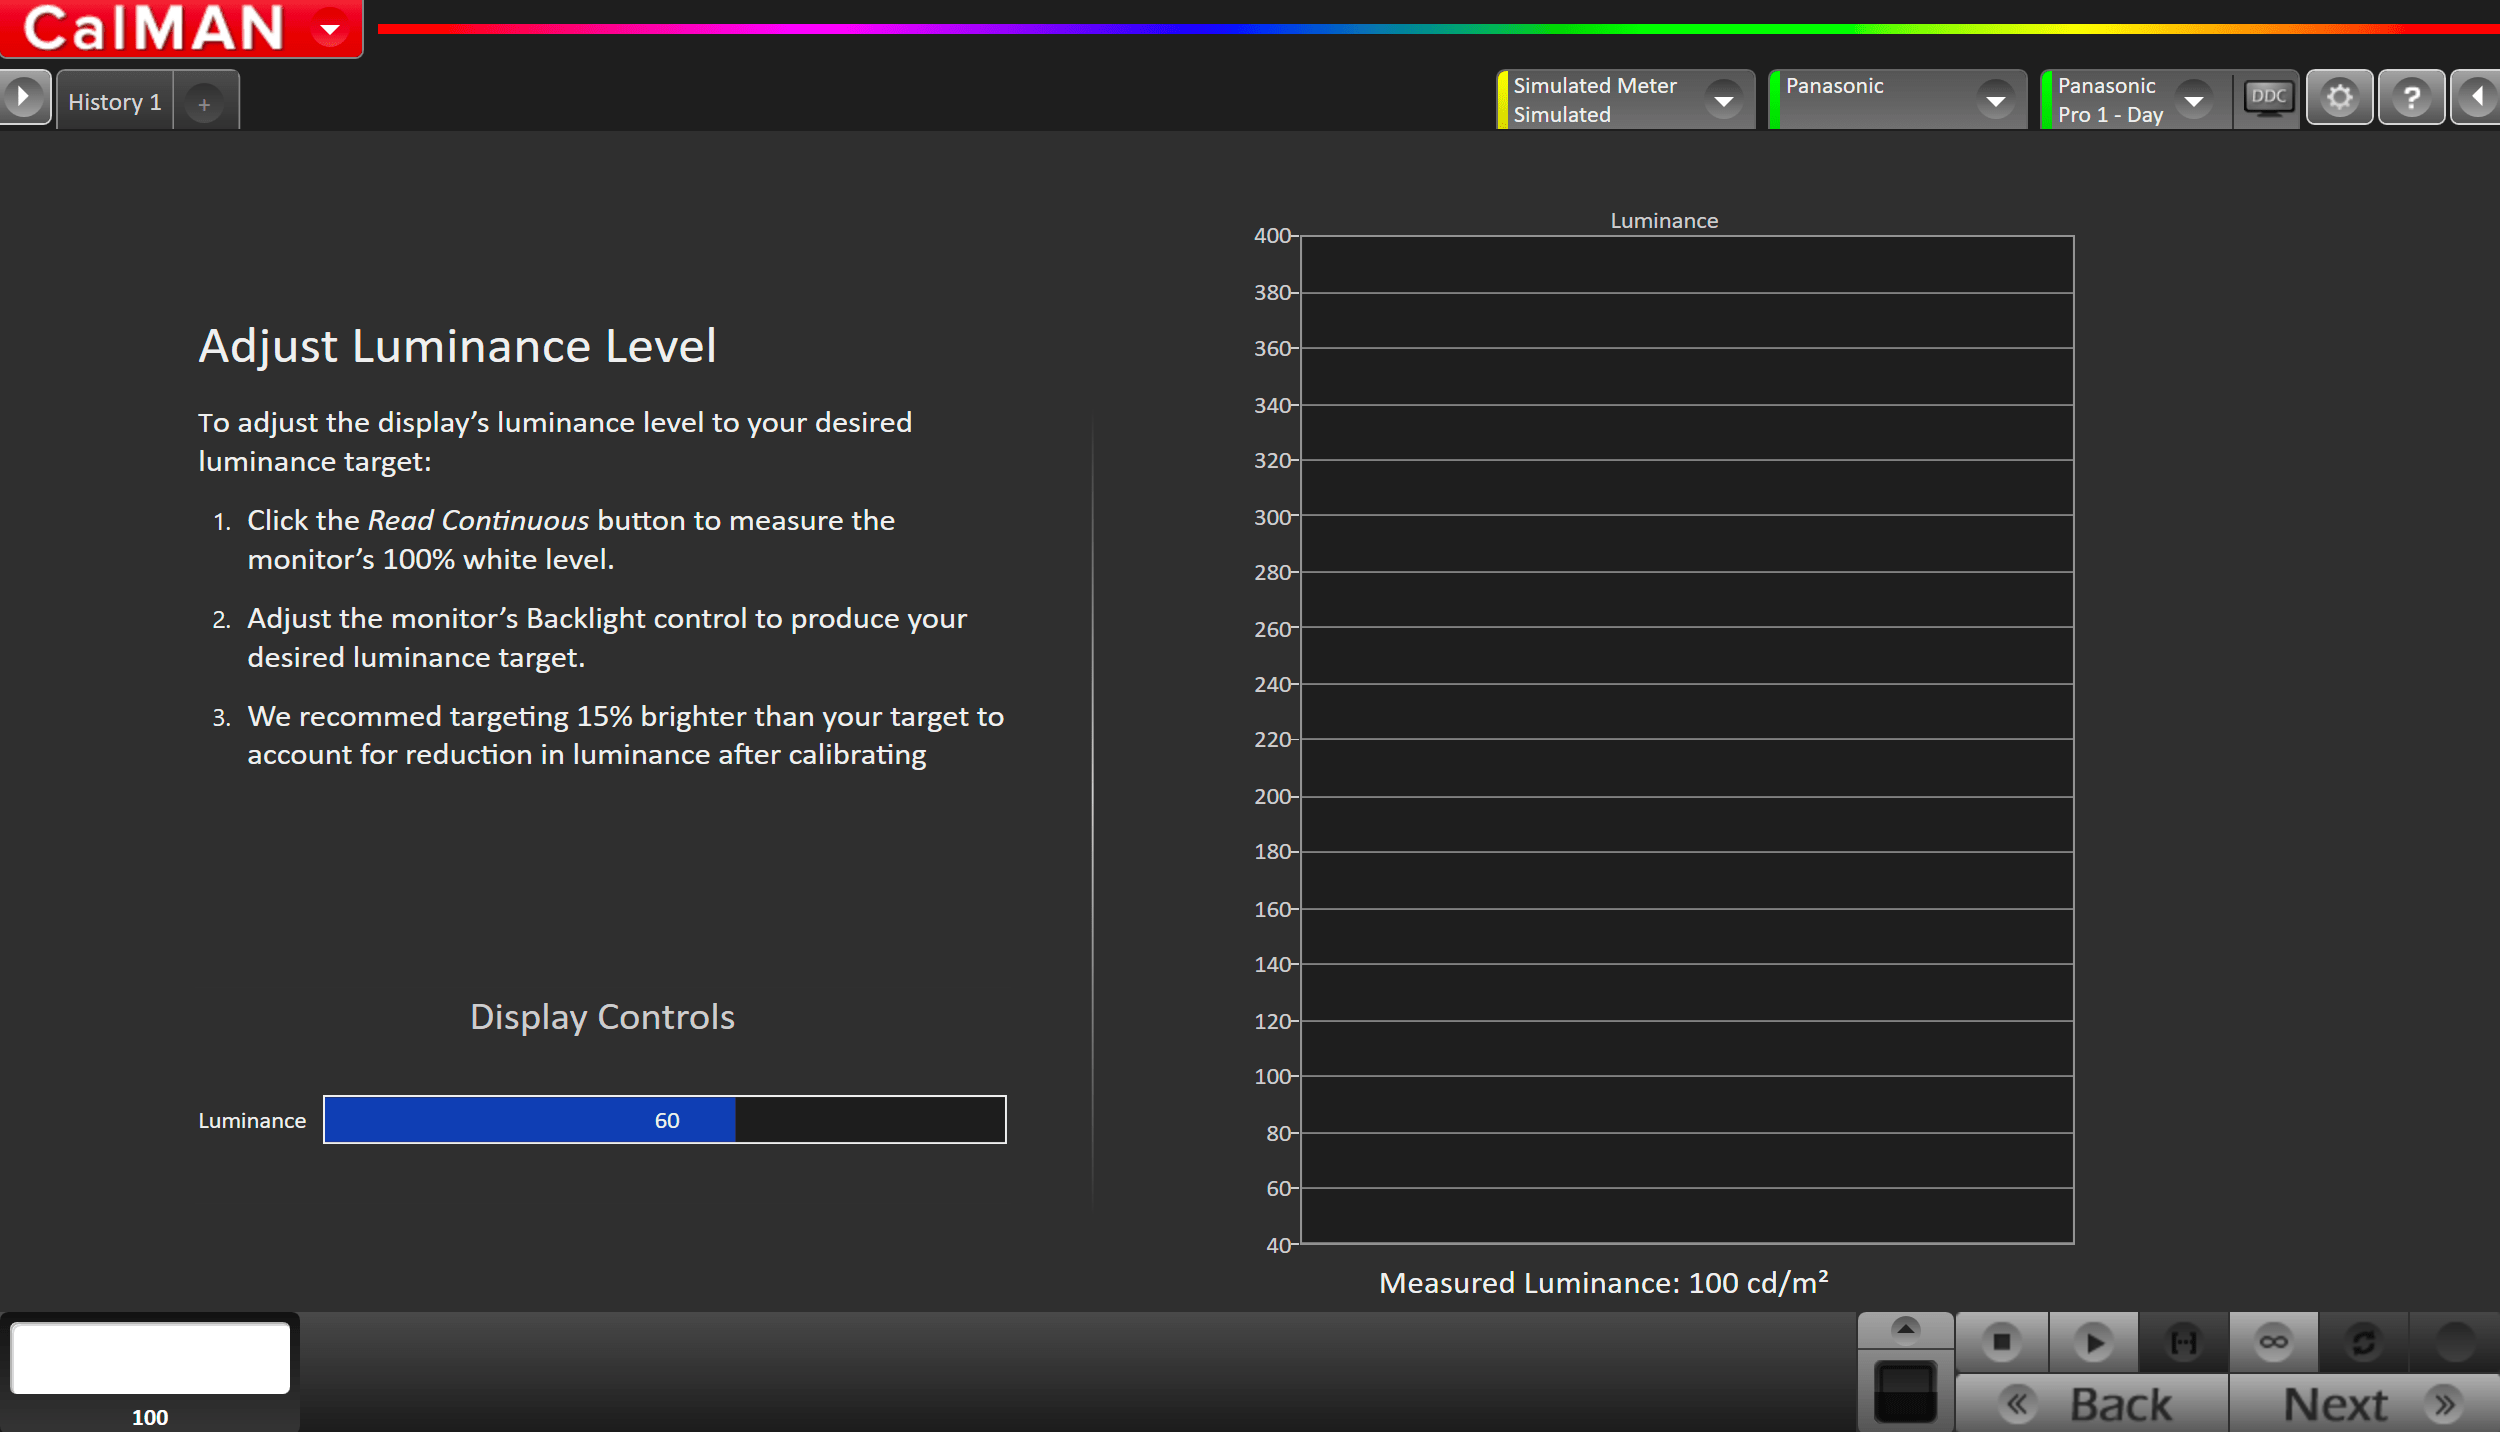
- Click the Measure Luminance button to measure your TV’s light output at 100% white and adjust the display’s peak white to the desired luminance.
- Luminance is a subjective target. SDR reference luminance is 100nits, but you may need to target higher to account for the ambient light in your environment.
- Adjust your TV’s backlight/OLED light control so your TV is about 15% brighter than your final target to account for a reduction in luminance when calibrating the 1D LUT in the next step
- Press Stop when luminance adjustment is complete
Step 6
On this page, Calman will adjust your display’s White Balance
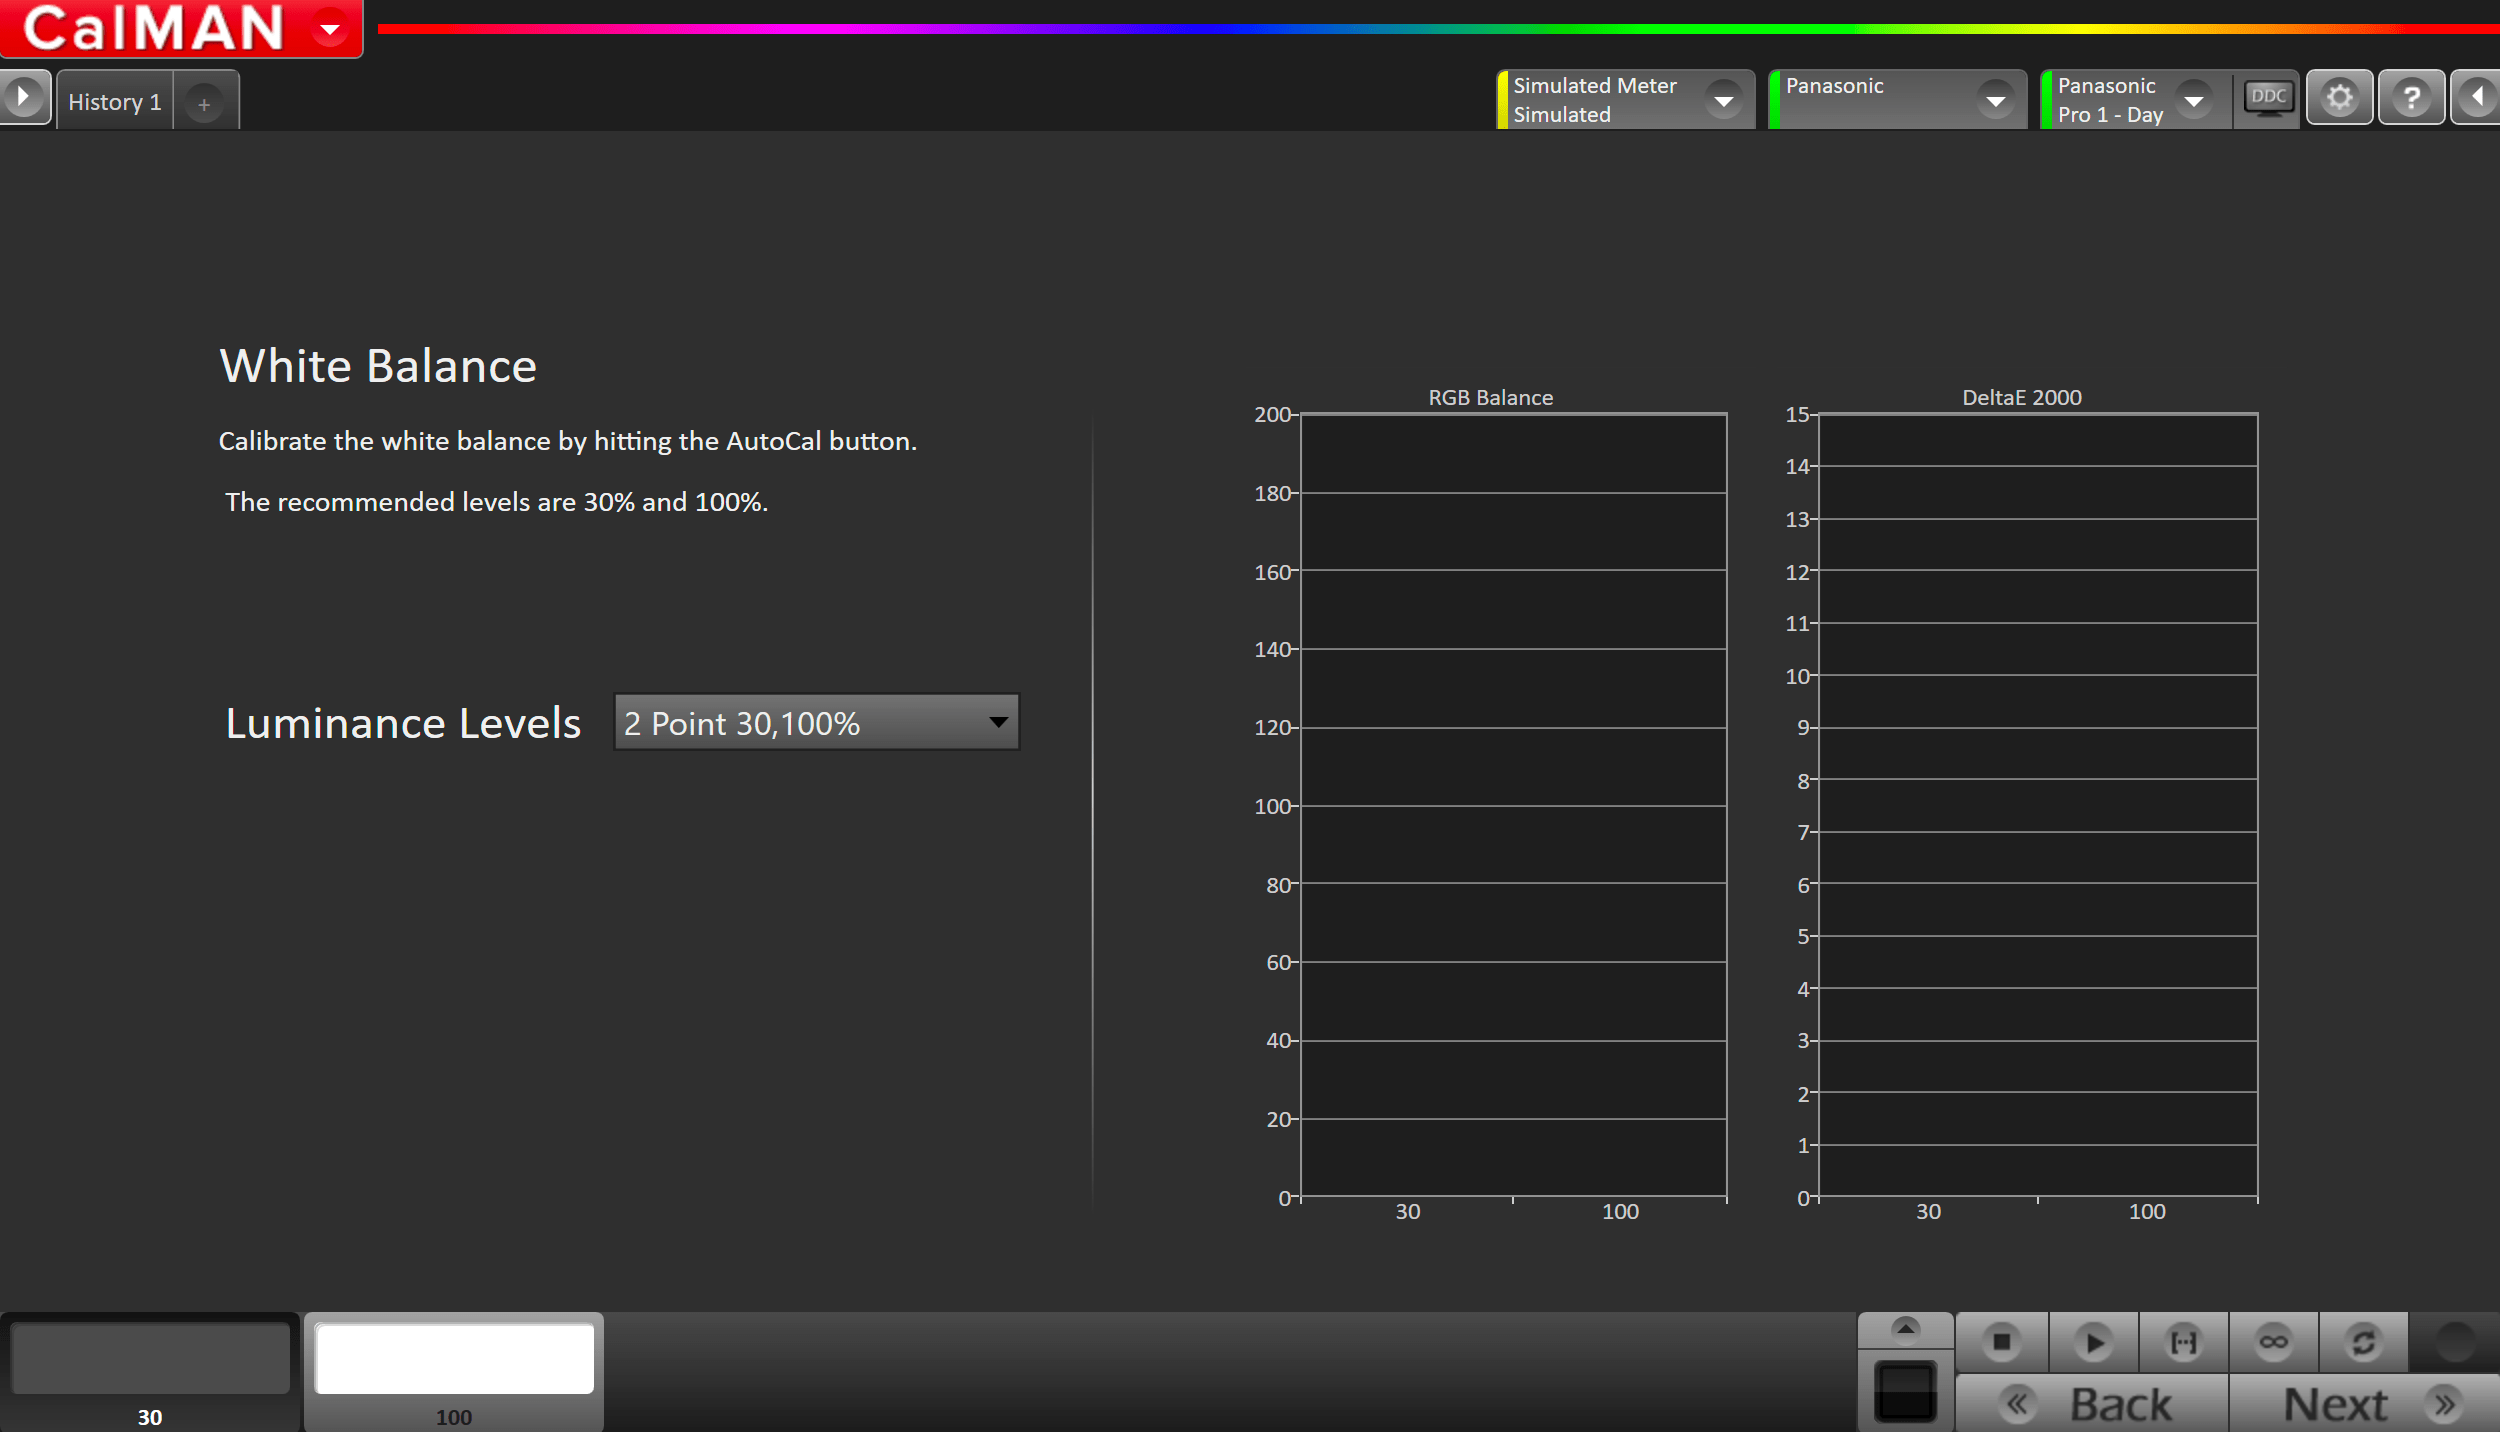
- Click the AutoCal button to perform the 2pt greyscale AutoCal
Step 7
Here Calman will adjust the Multipoint Greyscale of your display.
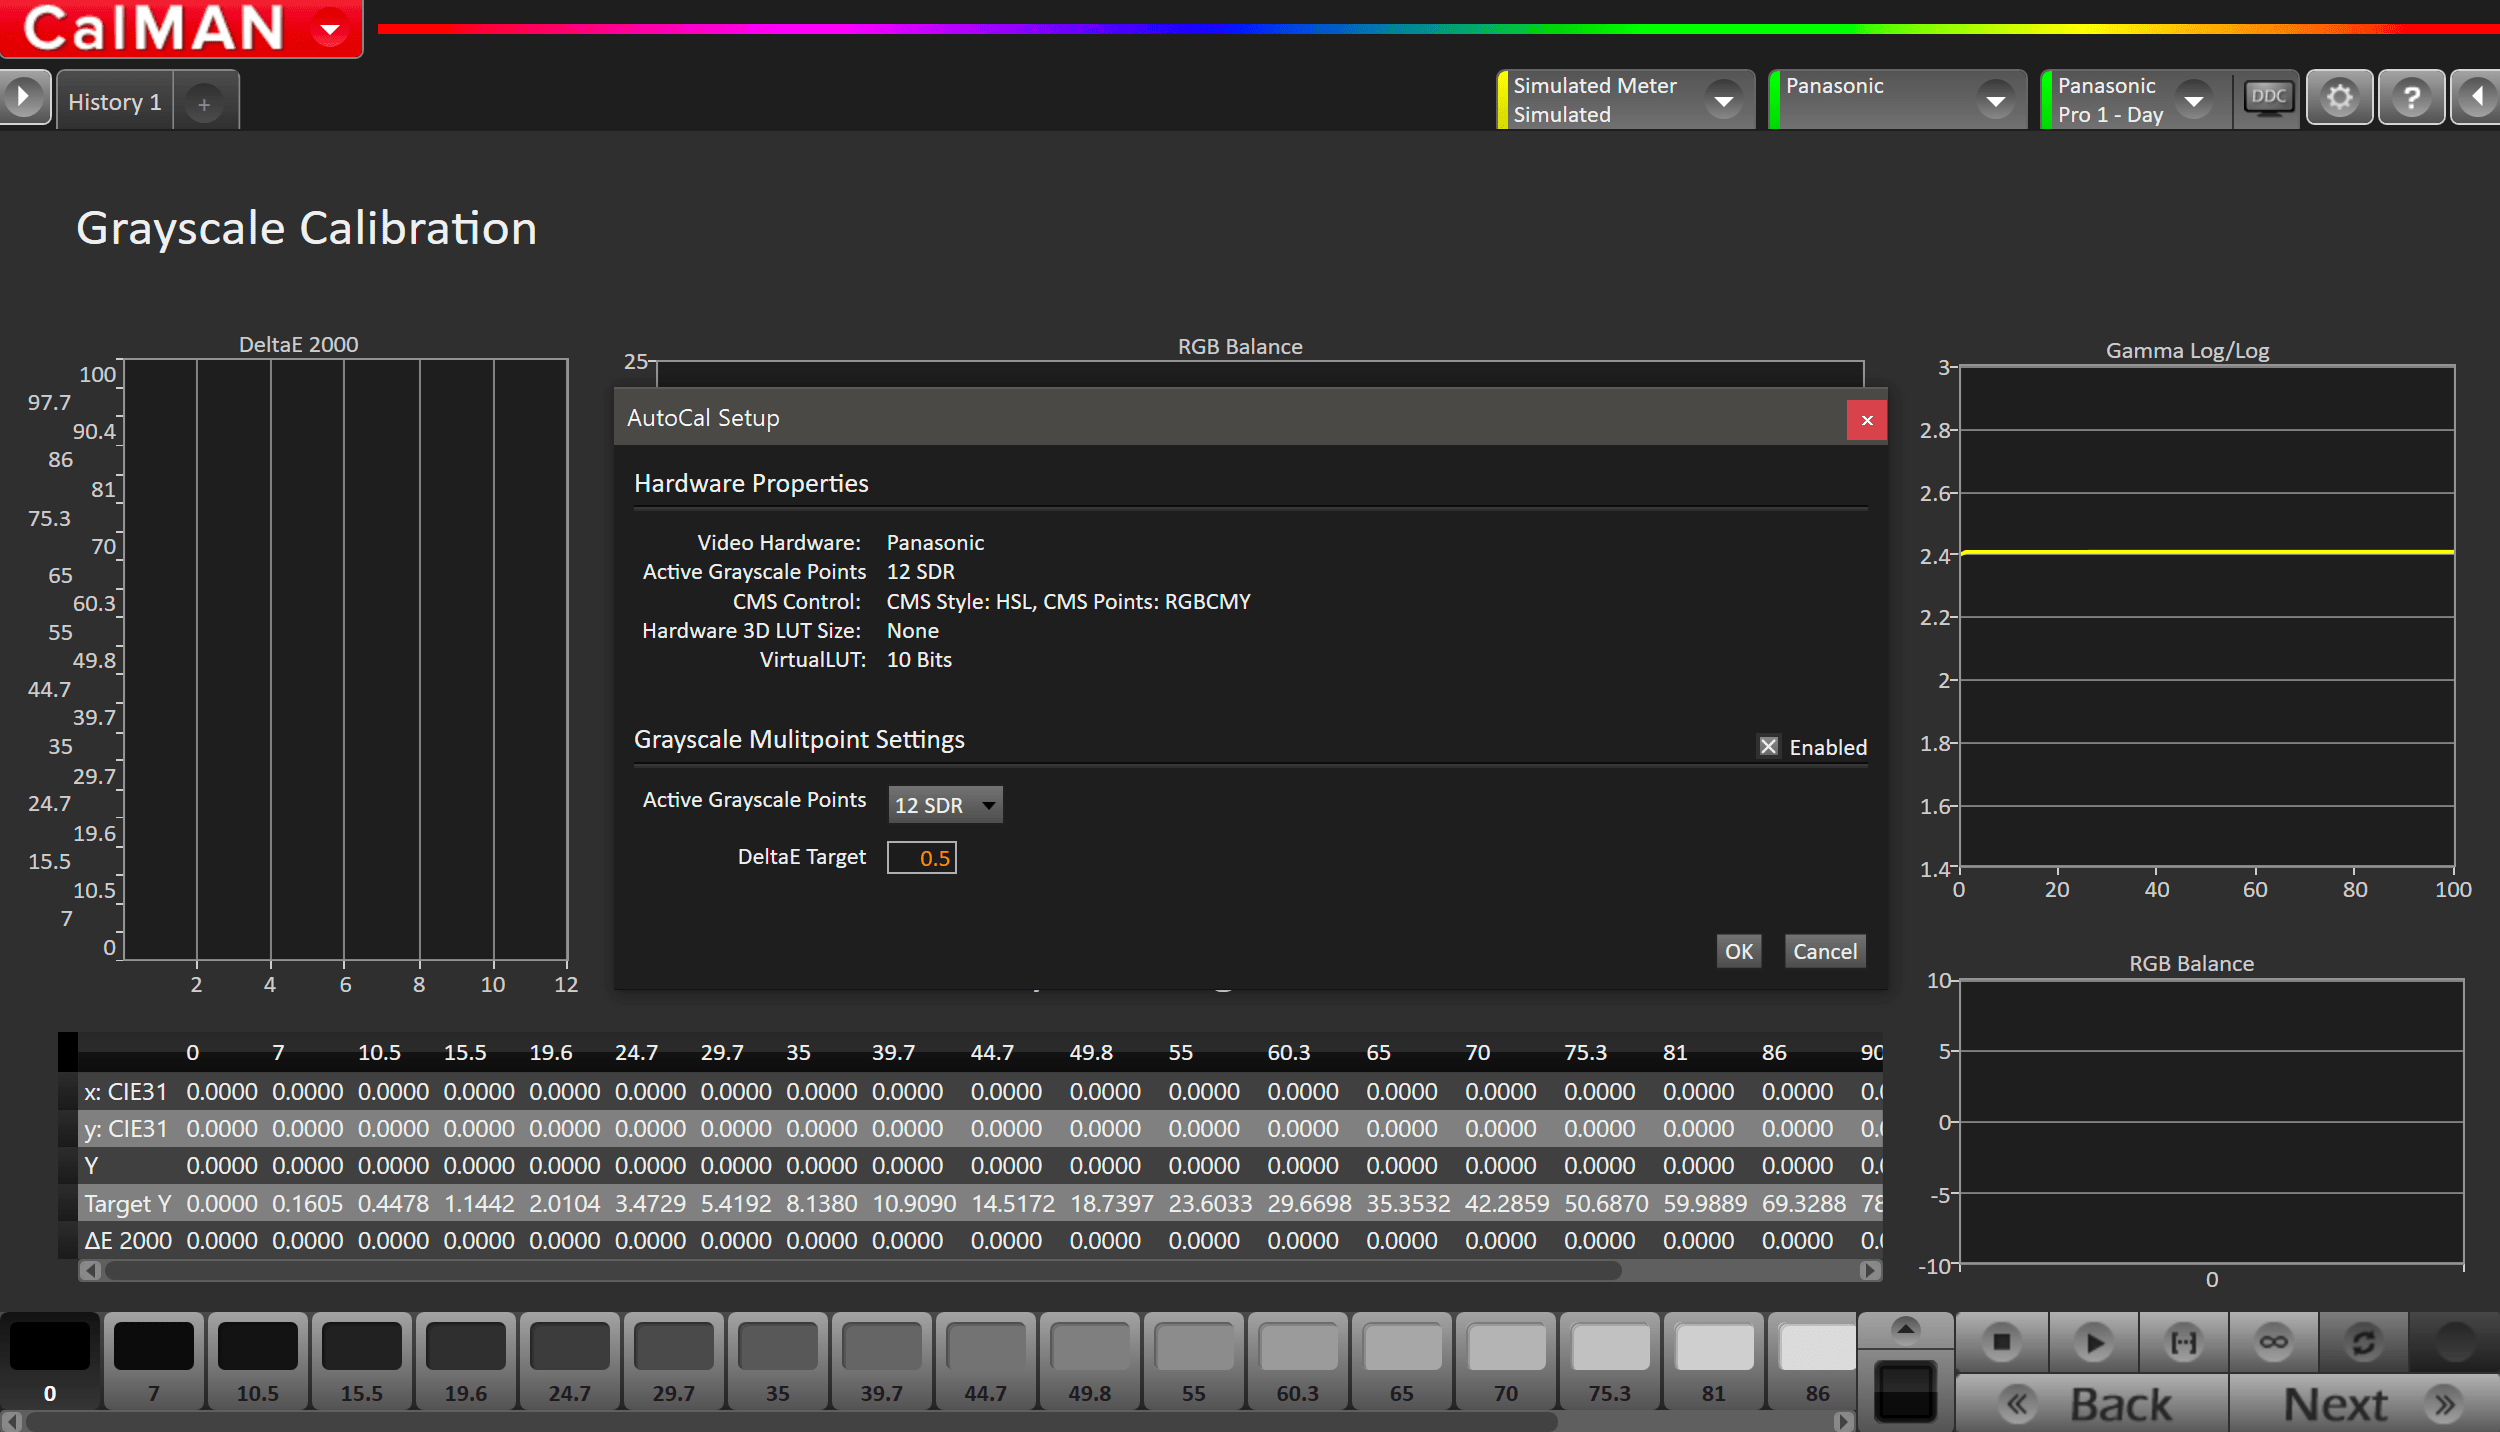
- Press the AutoCal button and select the SDR greyscale points on the AutoCal dialog
Step 8
Here you will be able to manually adjust your Brightness and Contrast to ensure the display is not clipping away any RGB values near white
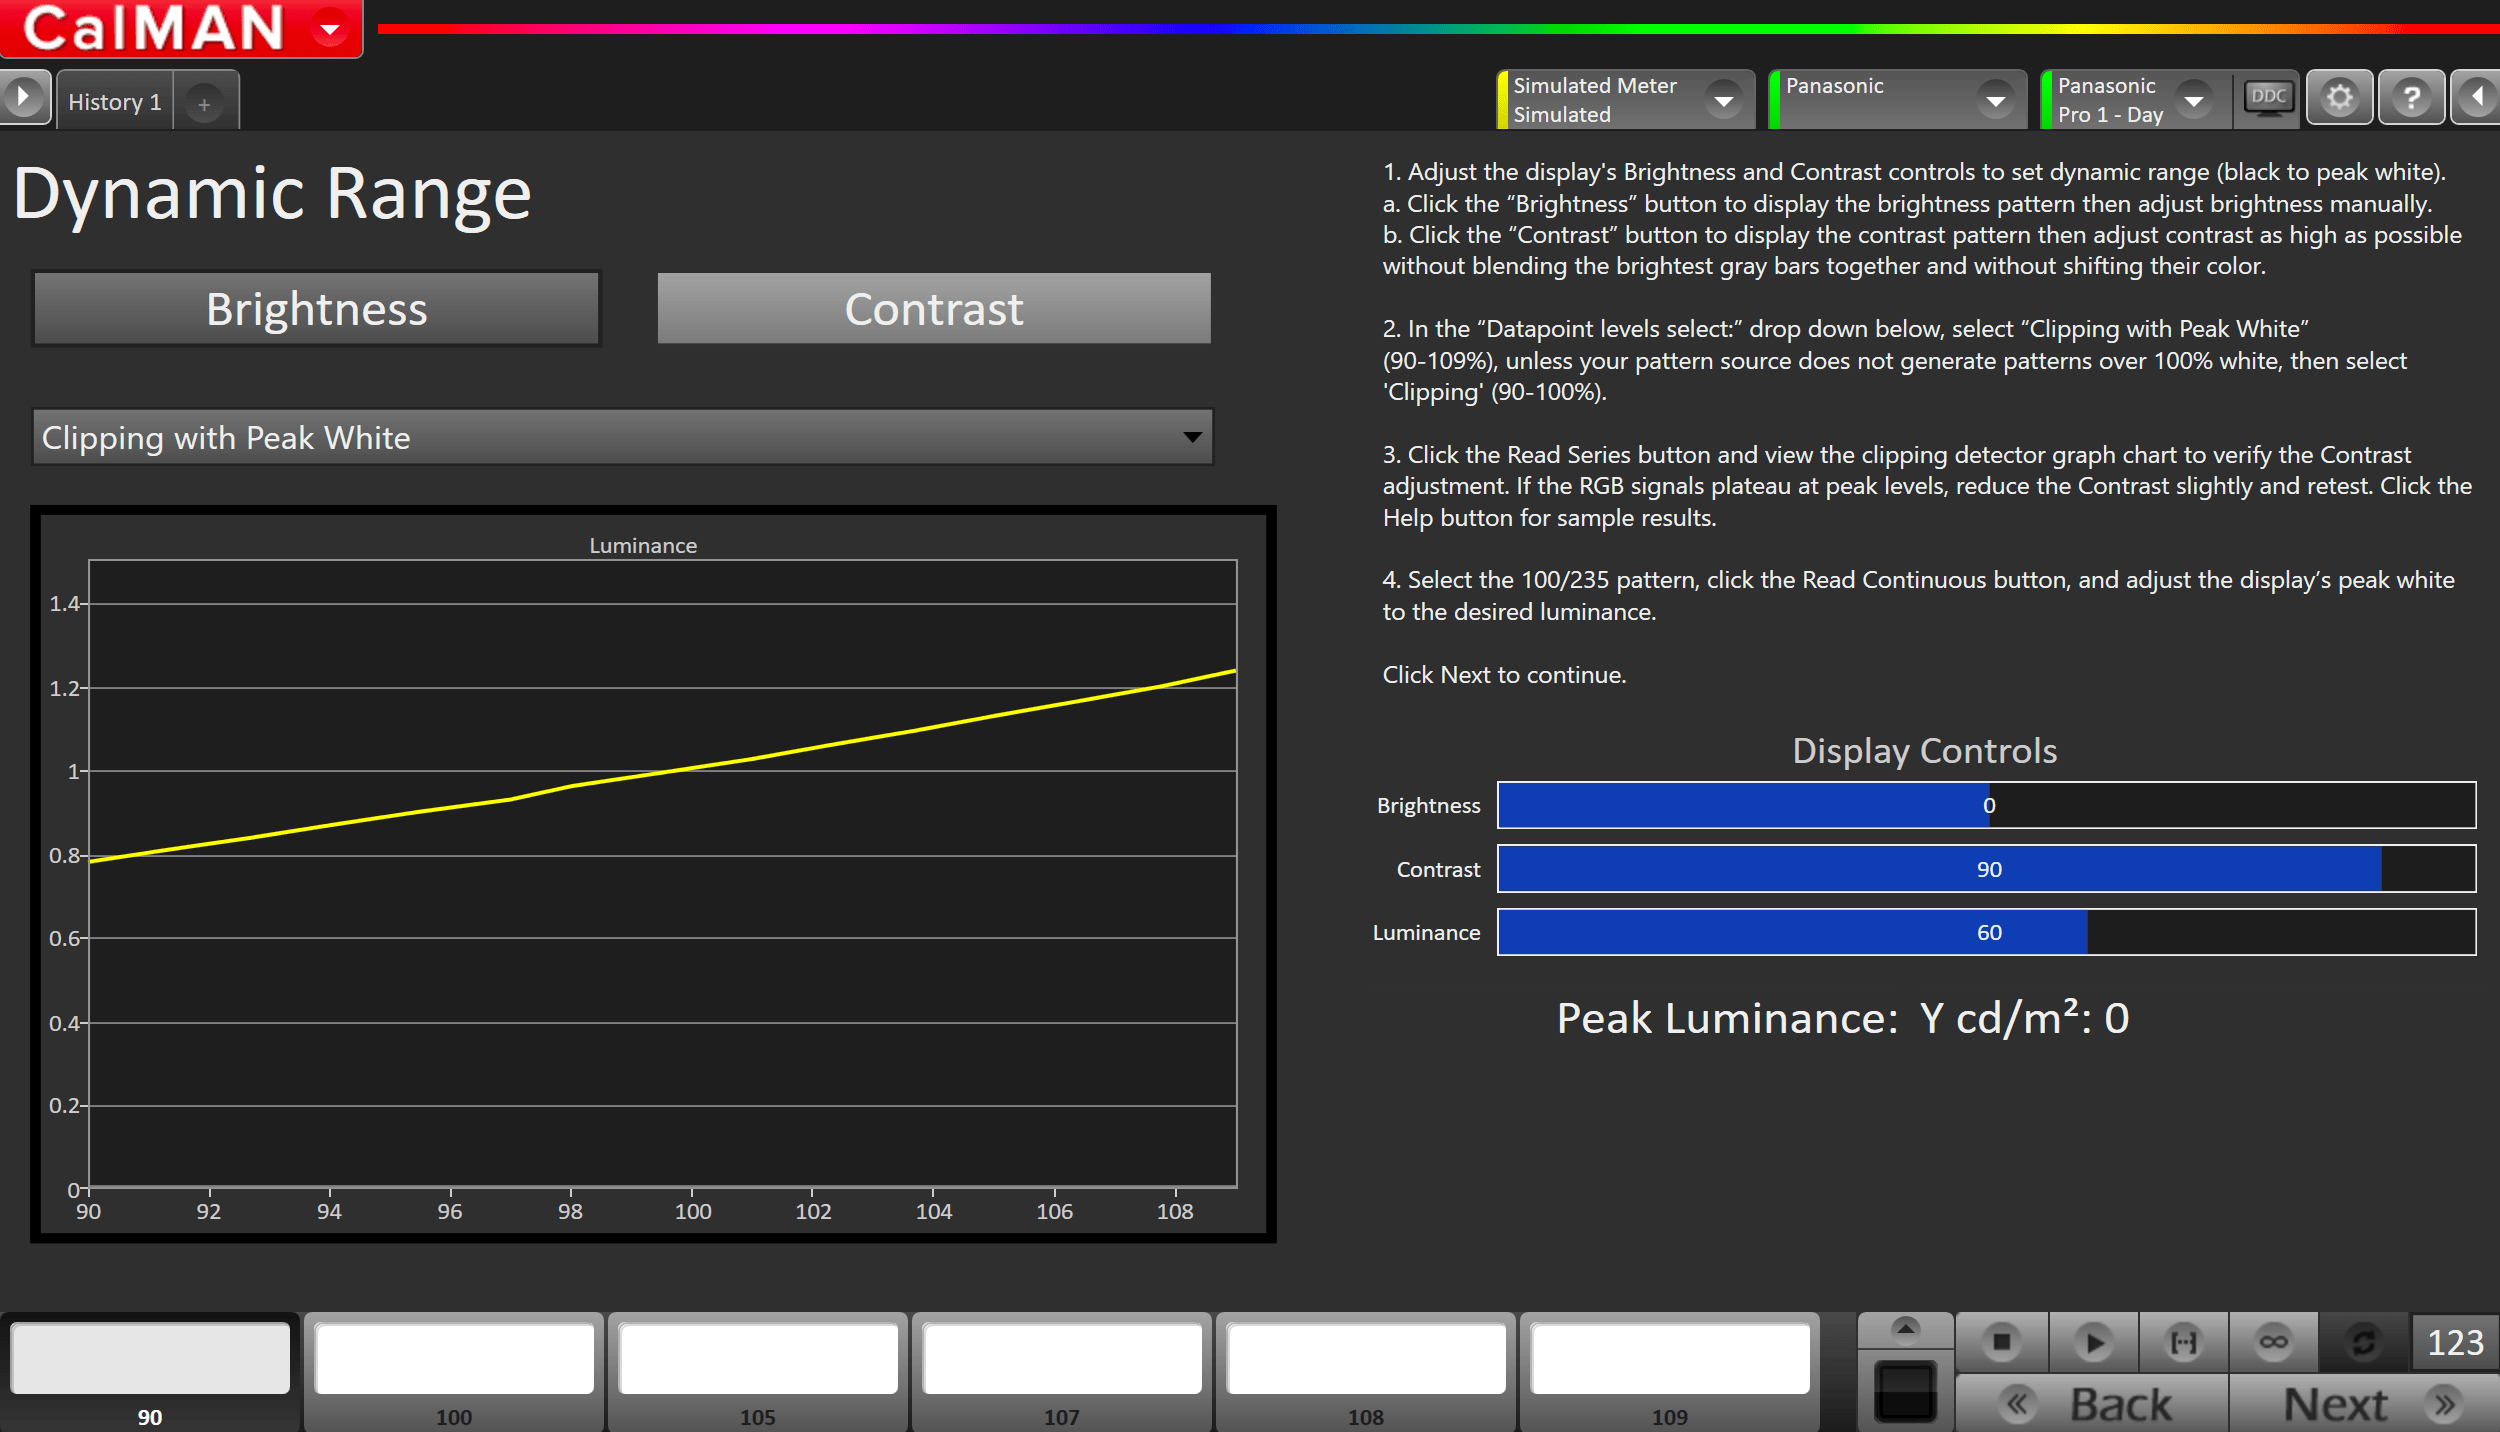
- Adjust the display’s Brightness and Contrast controls to set dynamic range (black to peak white).
- In most cases, the default brightness and contrast values are appropriate for calibration
- Click the Brightness button to display the brightness pattern then adjust brightness manually.
- Click the Contrast button to display the contrast pattern then adjust contrast as high as possible without blending the brightest gray bars together and without shifting their color.
- In the Datapoint levels drop-down, select Clipping with Peak White (90-109%), unless your pattern source does not generate patterns over 100% white, then select Clipping (90-100%).
- Click the Read Series button and view the clipping detector graph chart to verify the Contrast adjustment.
- If the RGB signals plateau at peak levels, reduce the Contrast slightly and retest.
- Select the 100/235 pattern, click the Read Continuous button, and adjust the display’s peak white to the desired luminance from Step 5
Step 9
On this page, Calman will adjust the Colorspace/CMS controls on your display
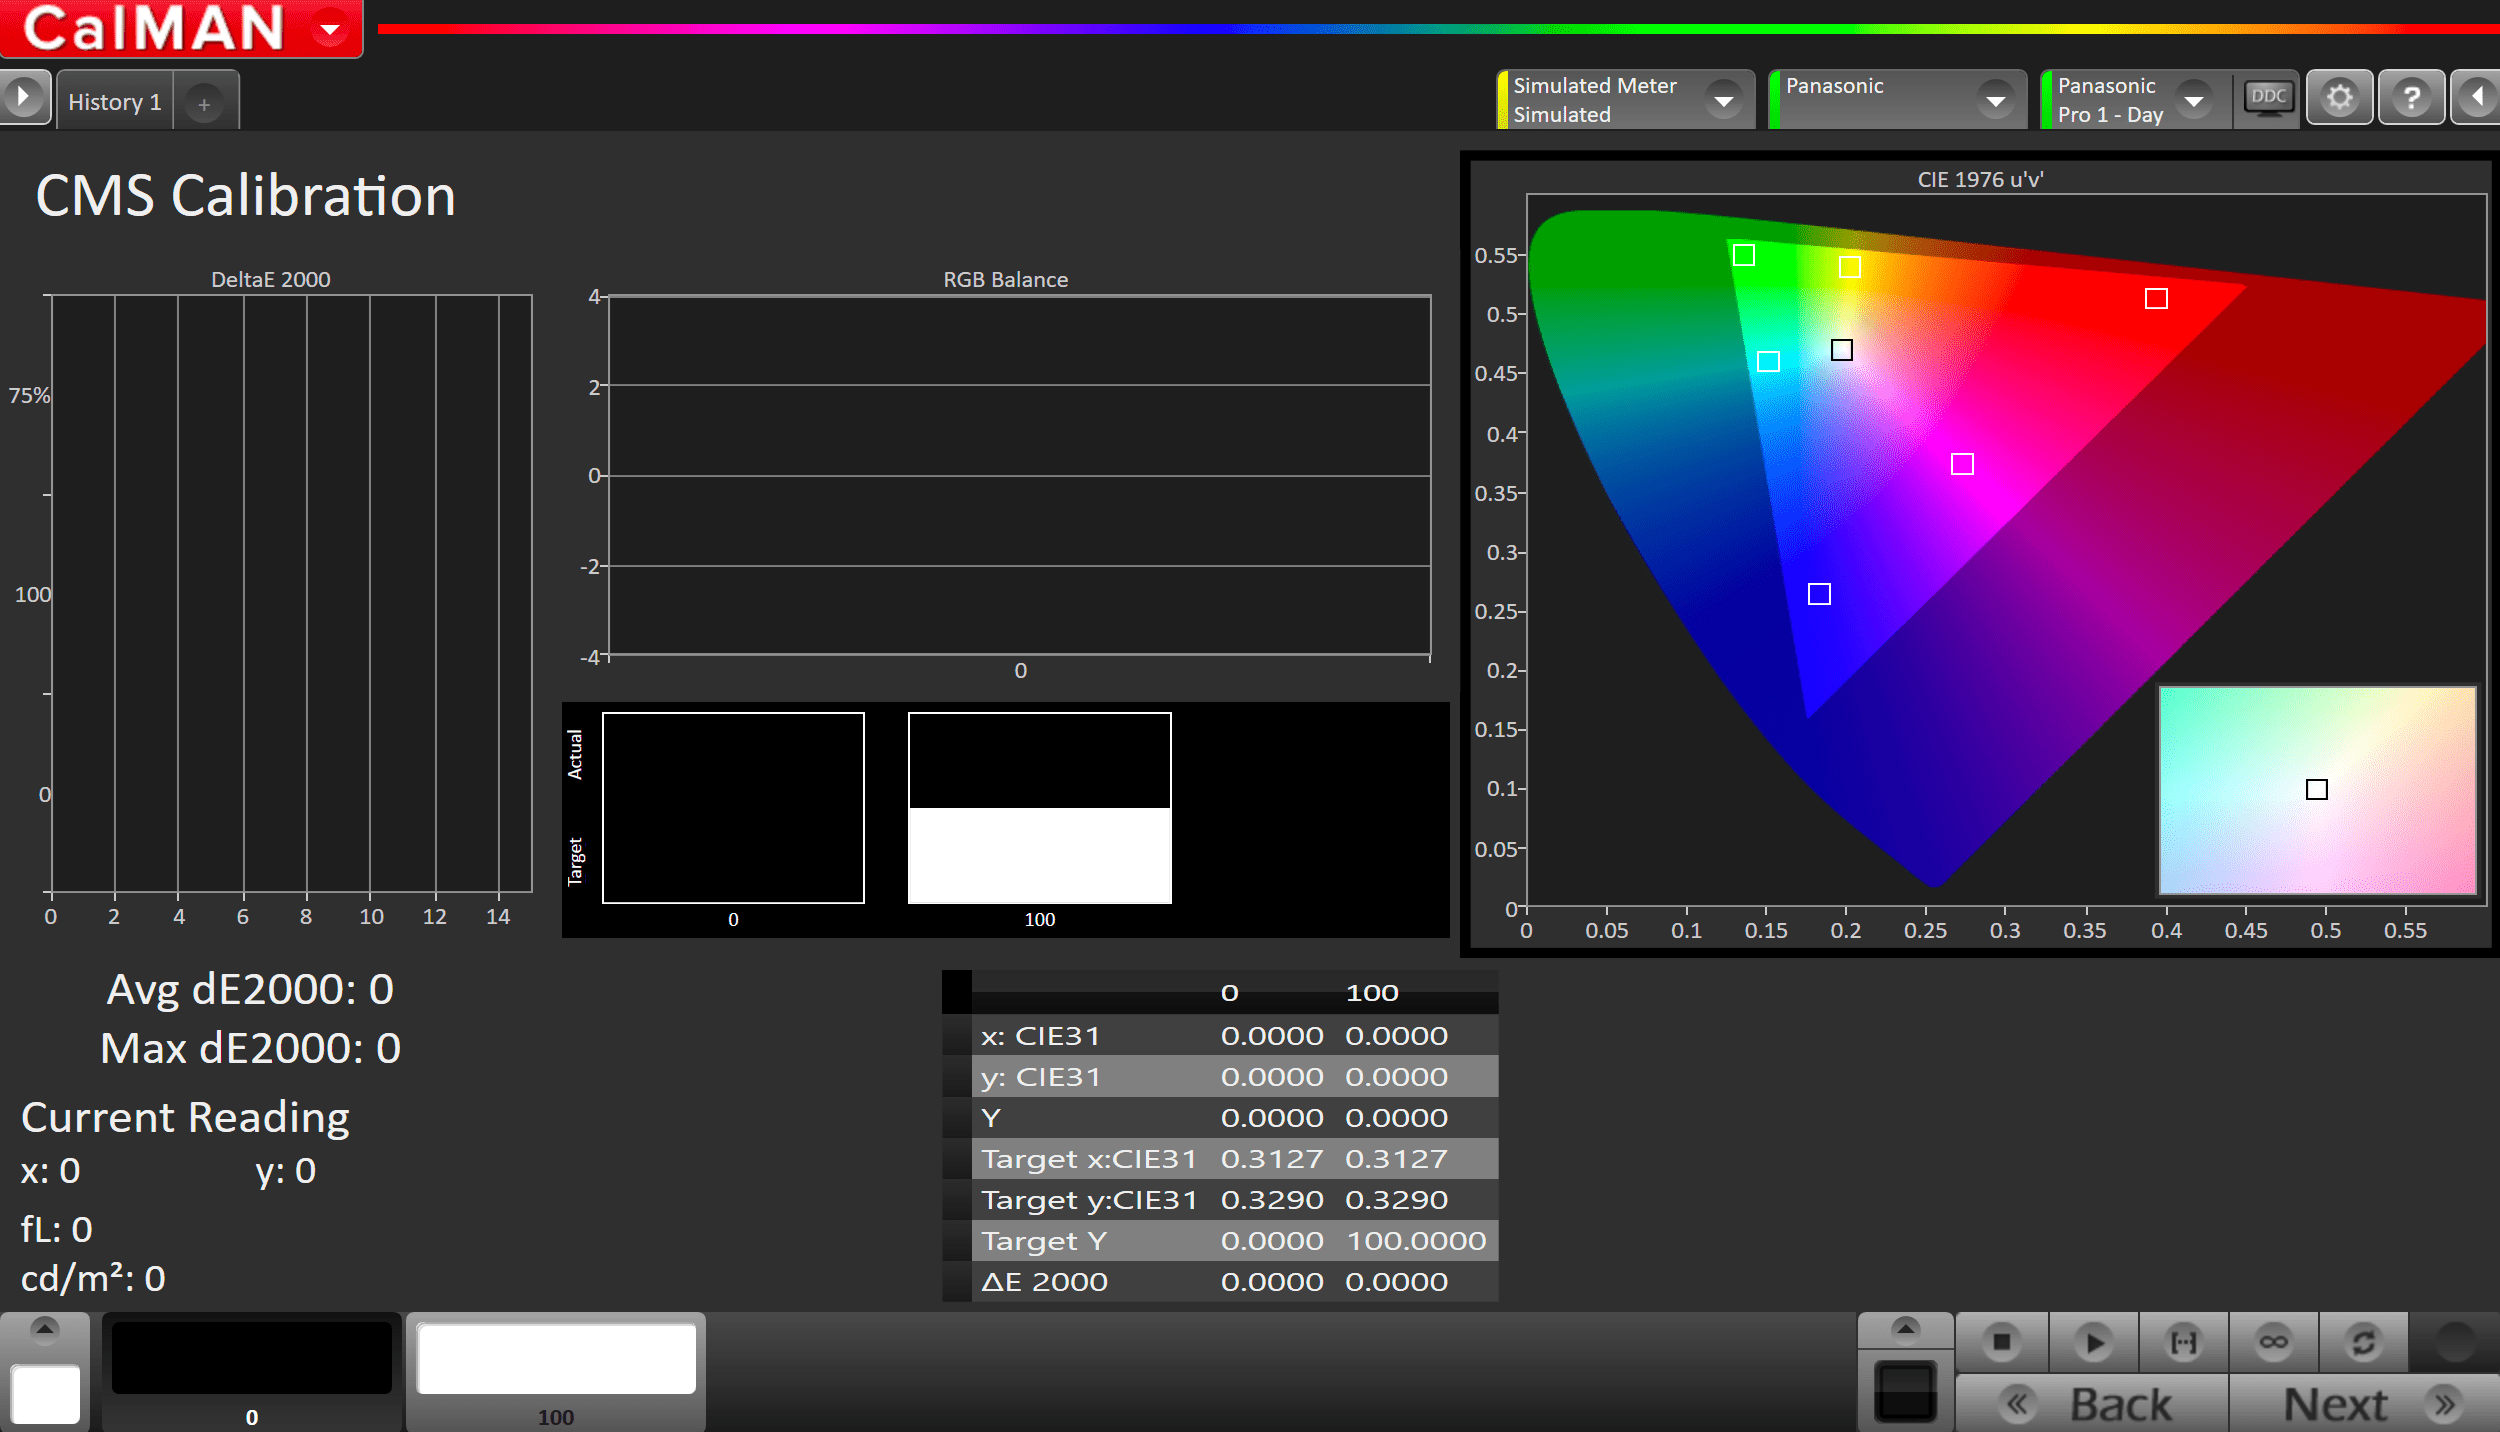
- Press the AutoCal button to open AutoCal dialog
- All options are preconfigured
- Click OK to begin colorspace AutoCal process
Step 10
In this step, you’ll take readings of your display after the calibration using the Pantone ColorChecker patterns
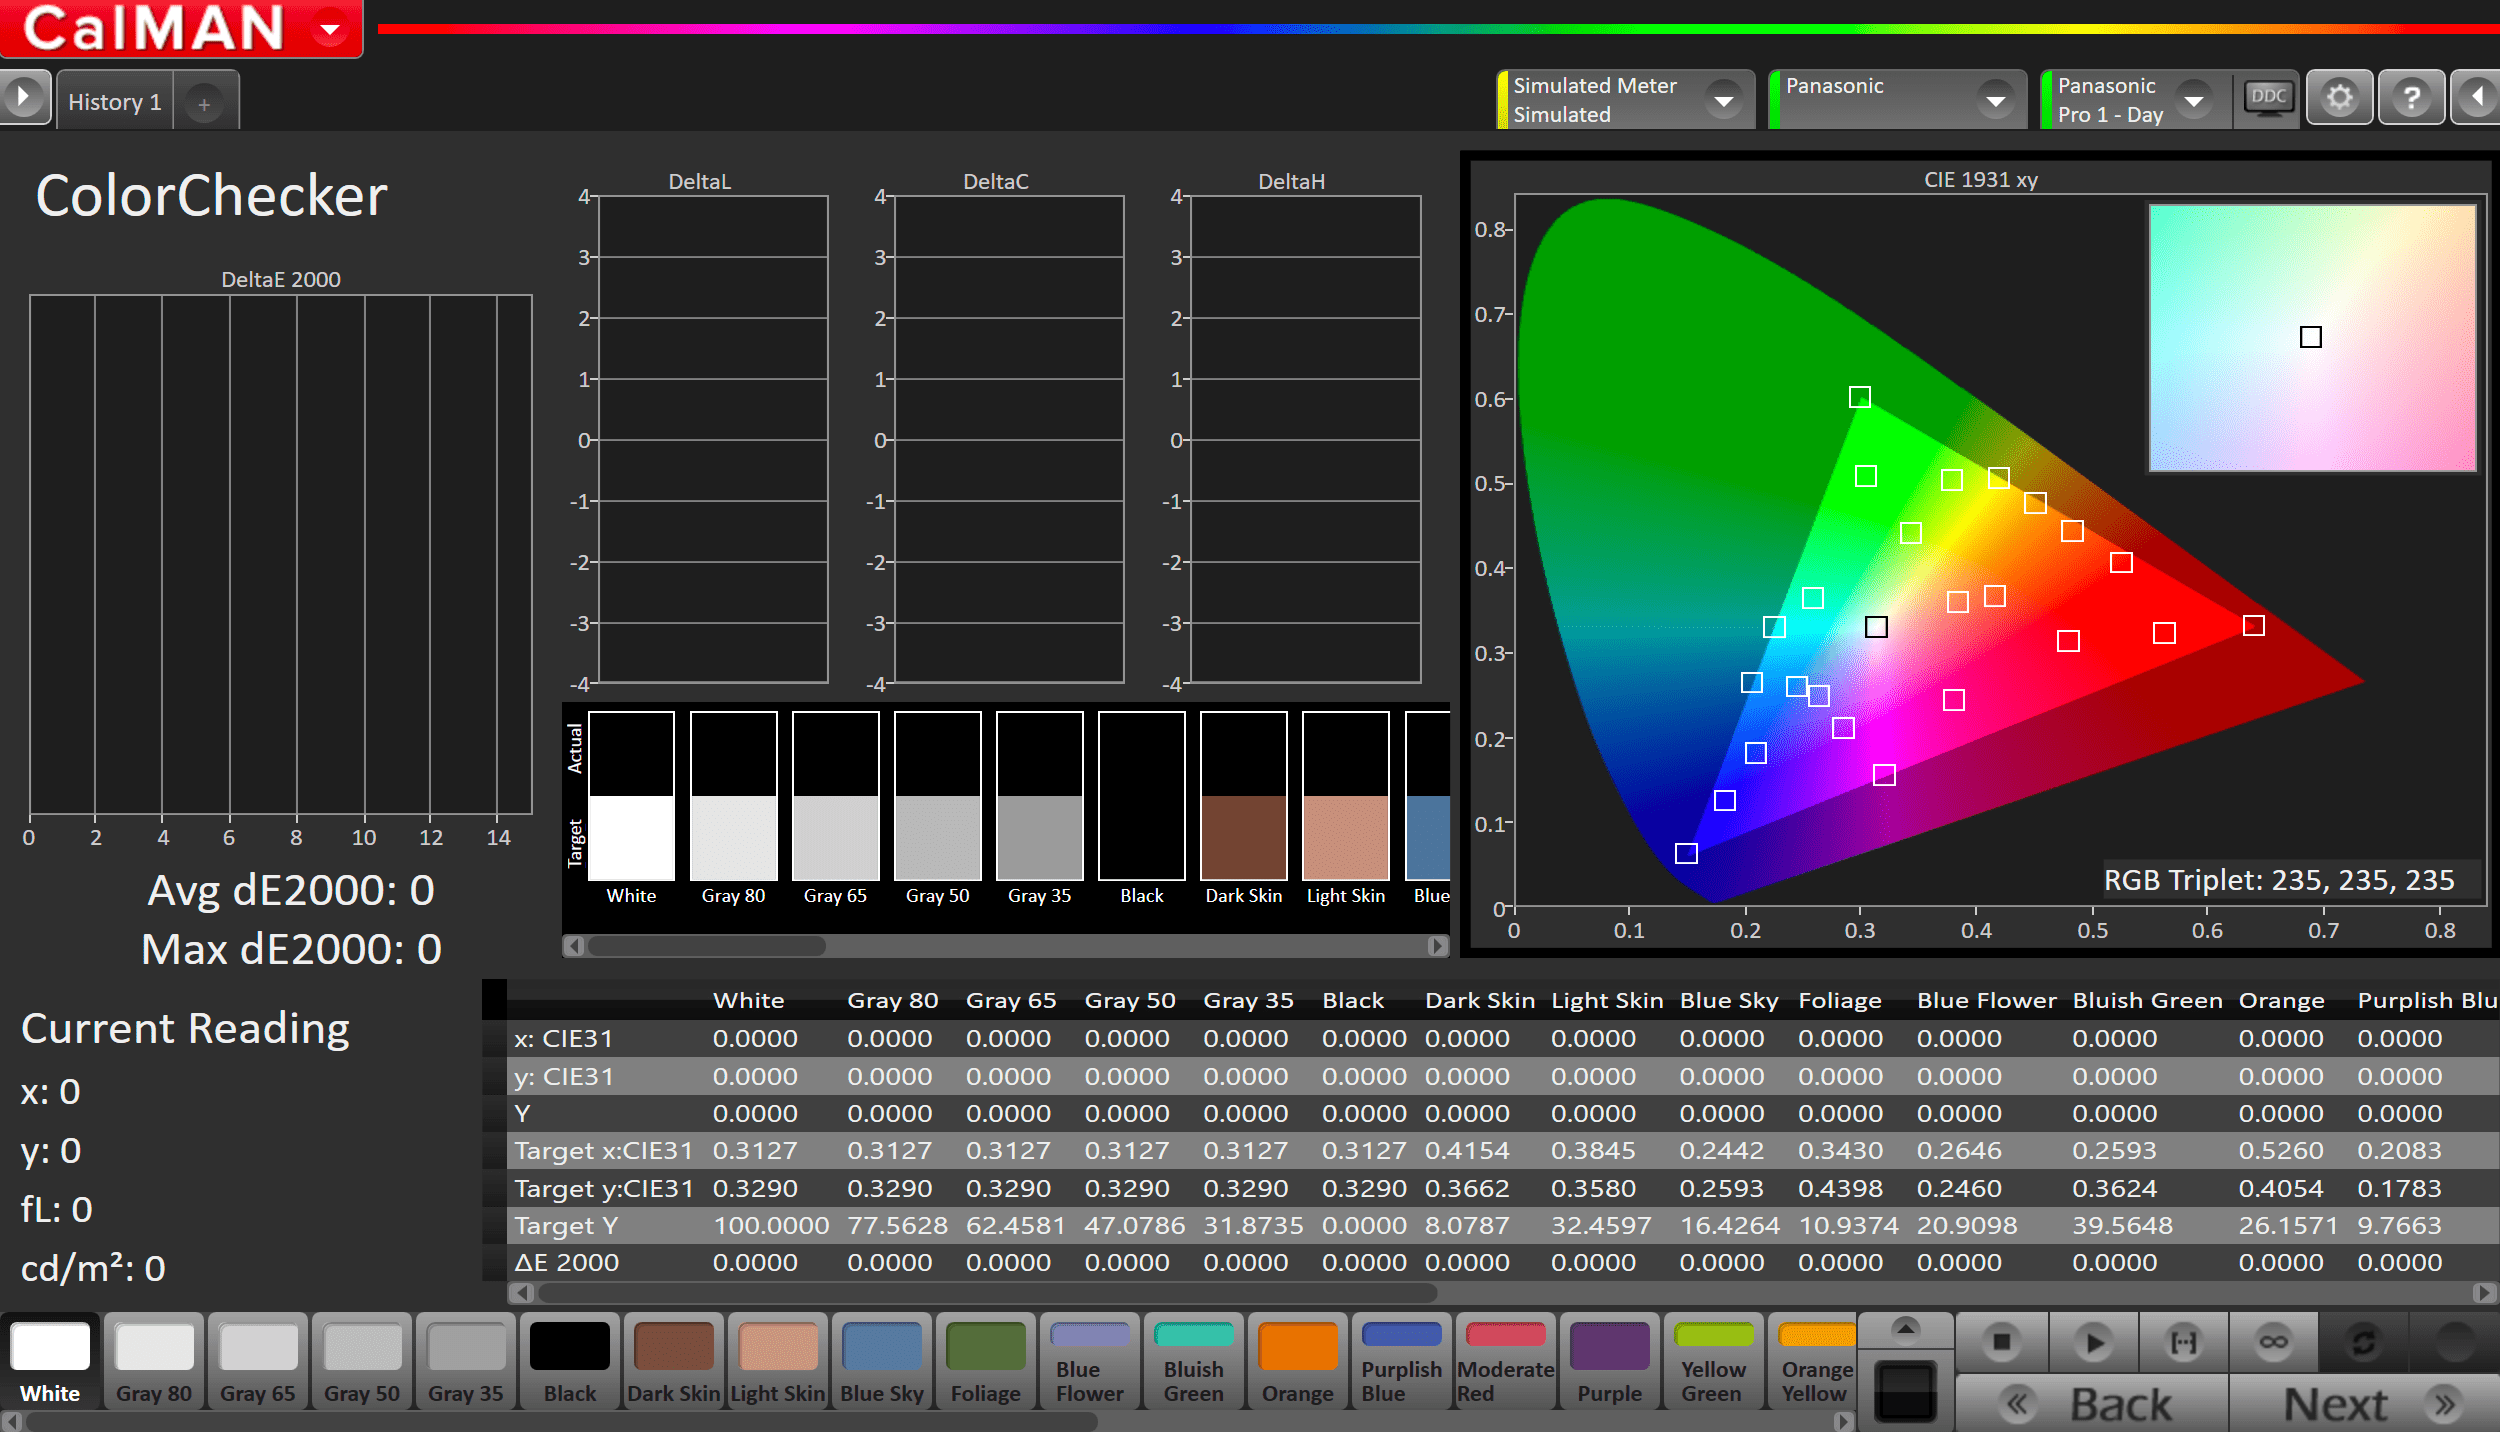
- Measure the display with Pantone ColorChecker patterns. This provides an accurate assessment of the display following calibration and will be represented along with the pre-calibration readings on the next page
- Click the Read Series […] button to measure the display’s grayscale and ColorChecker® response.
- Click Next.
Step 11
In this step, you’ll take readings of your display after the calibration using Saturation Sweeps
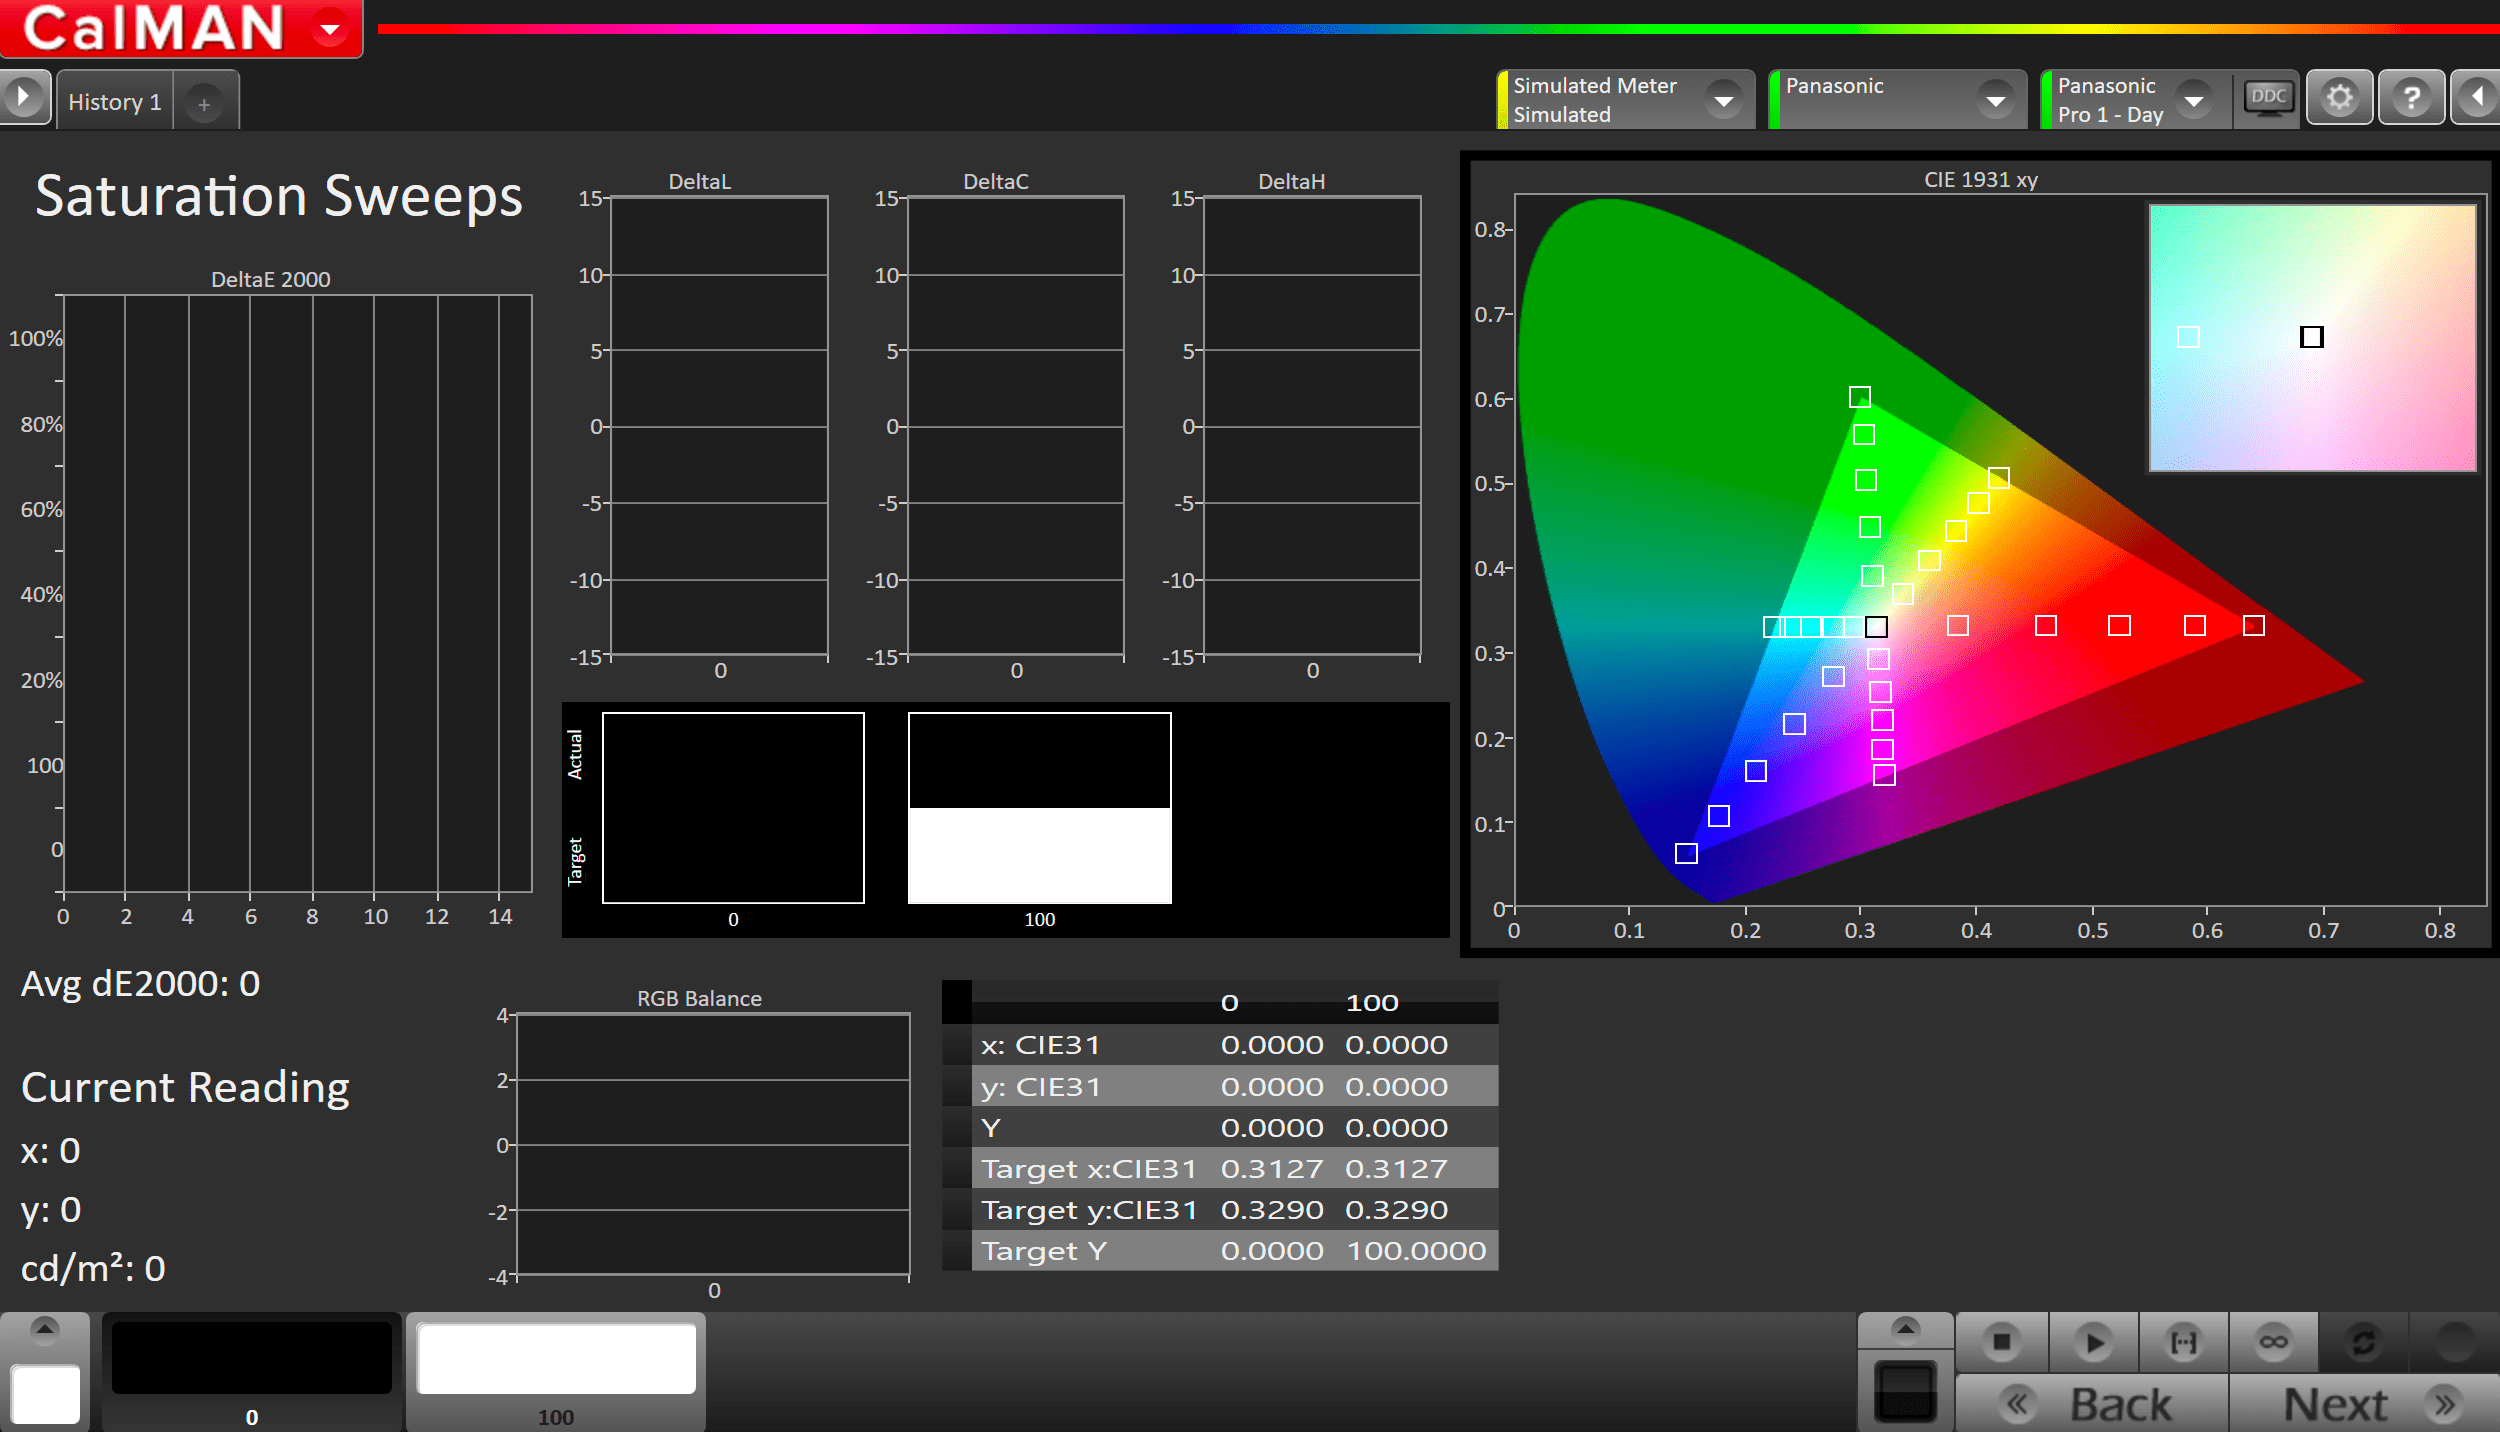
- Click the Read Series […] button
- Click Next to review calibratio
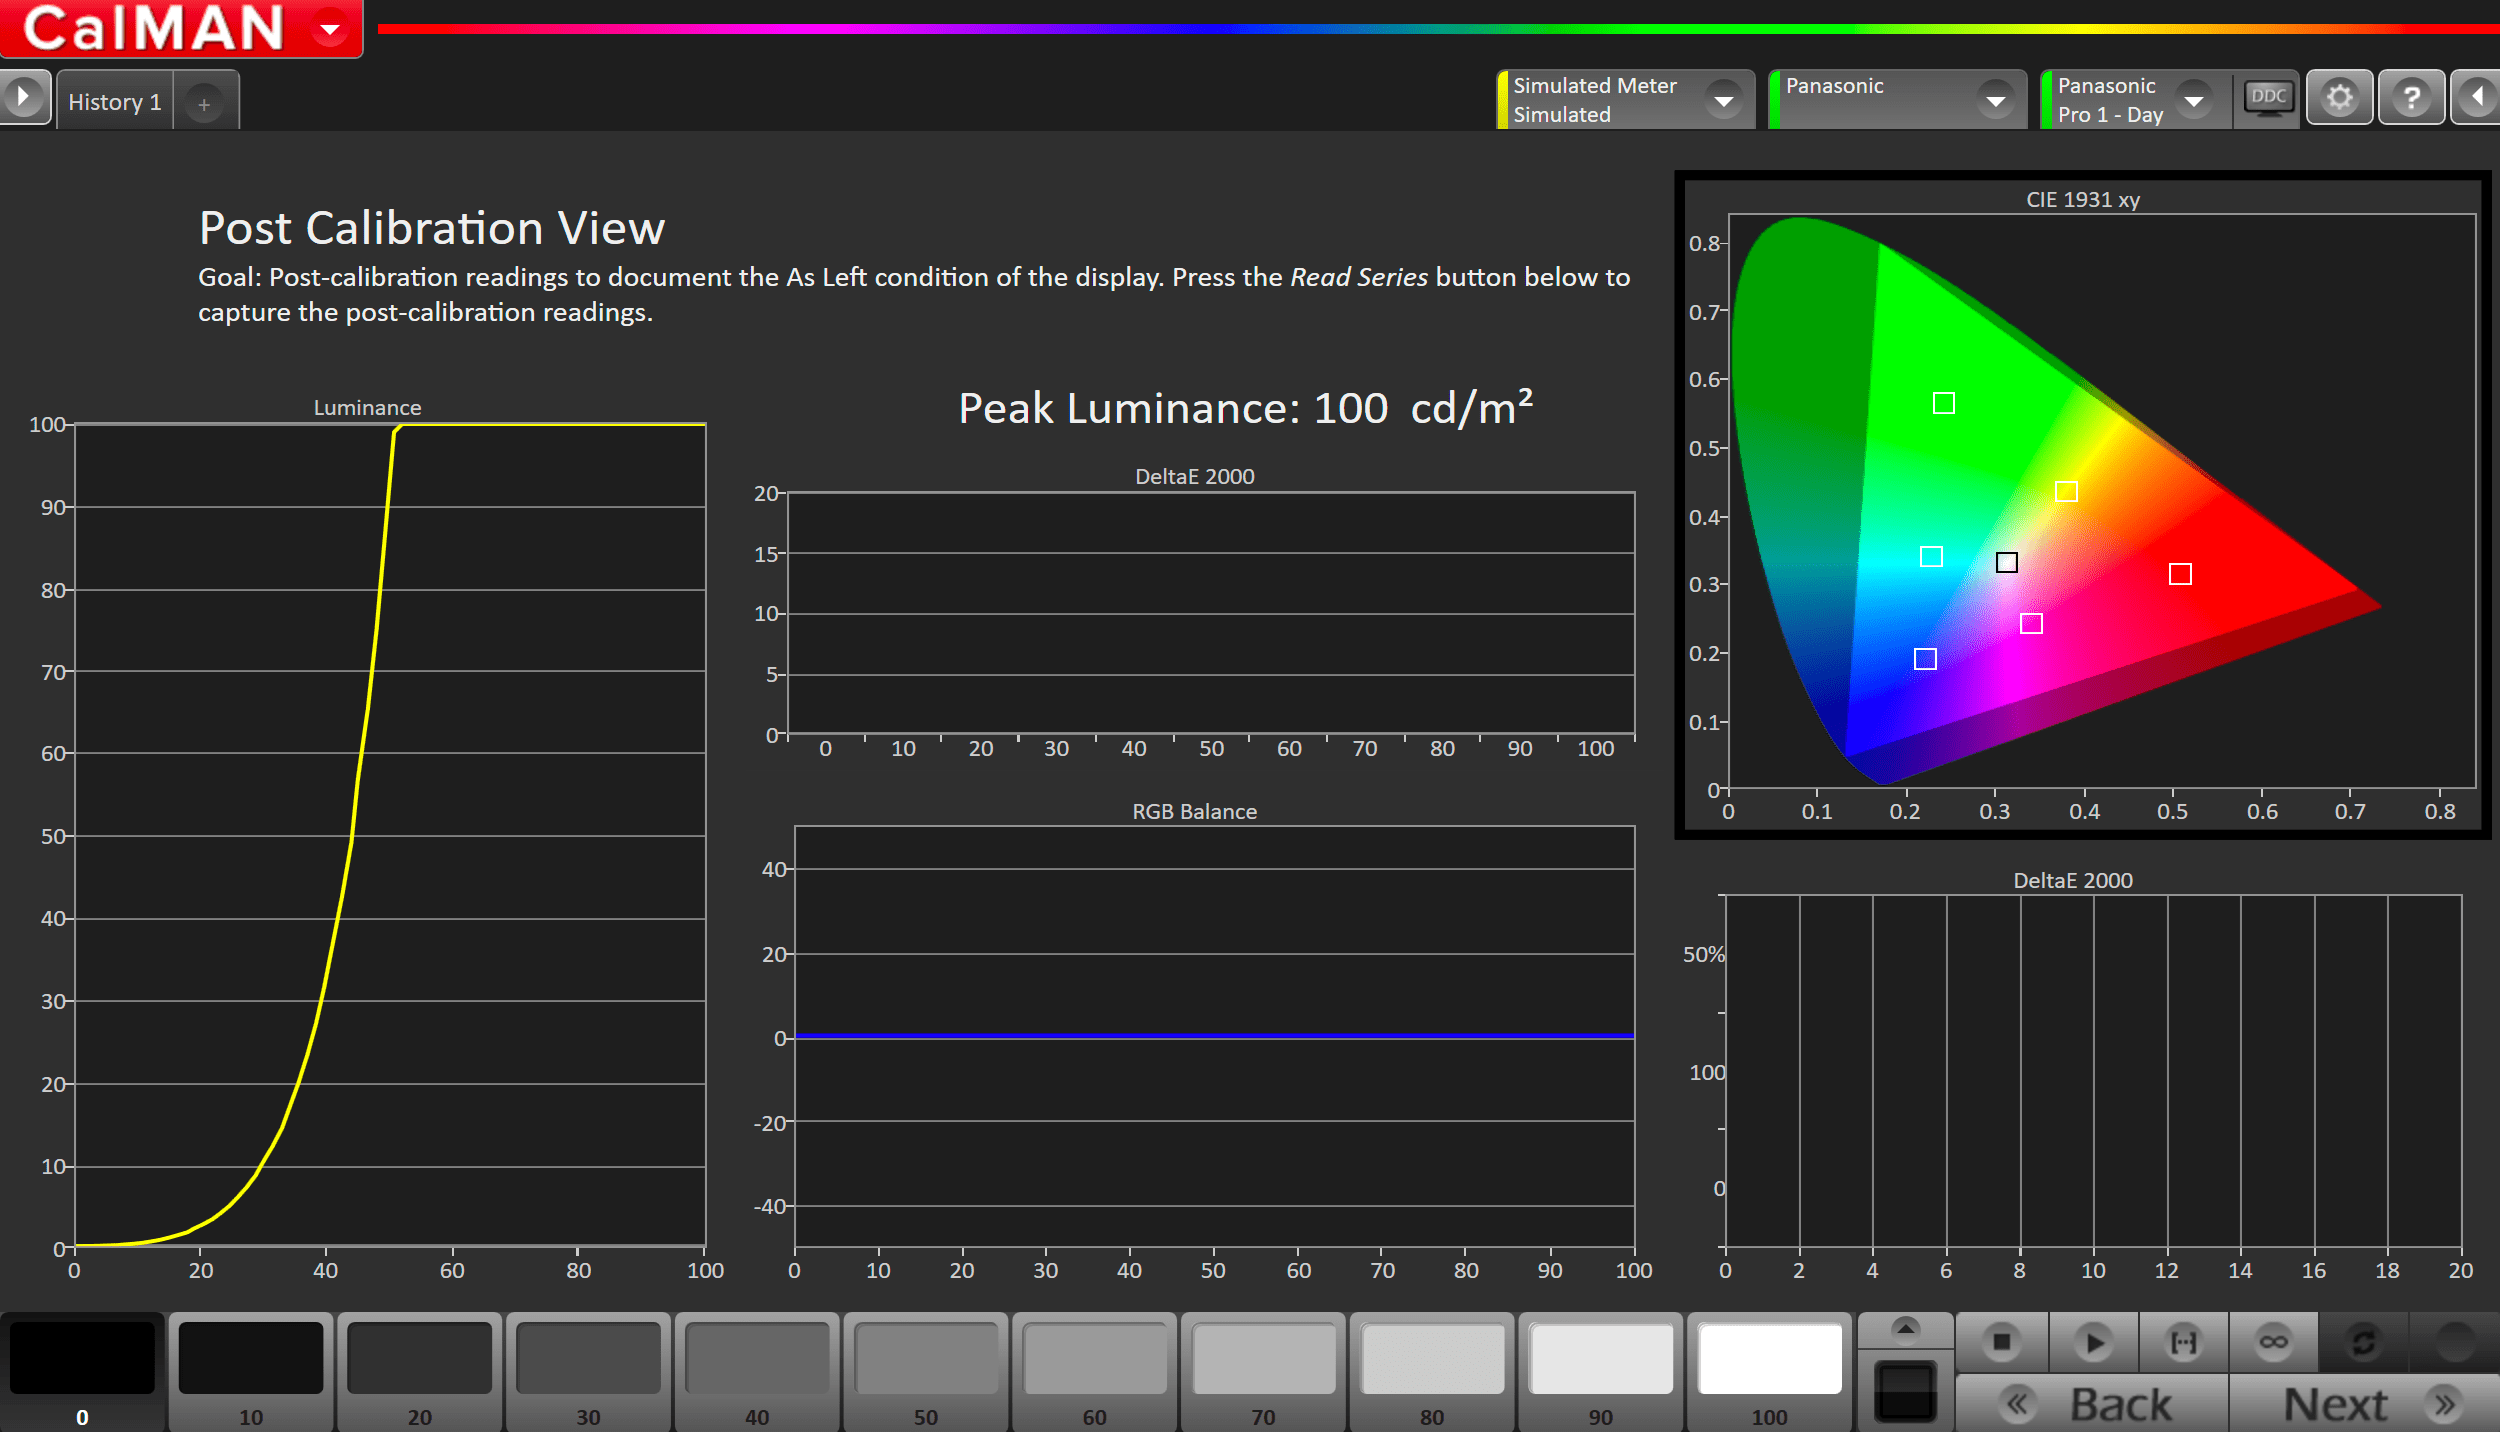
Step 12
Post-calibration readings to document the post-calibration condition of the display.
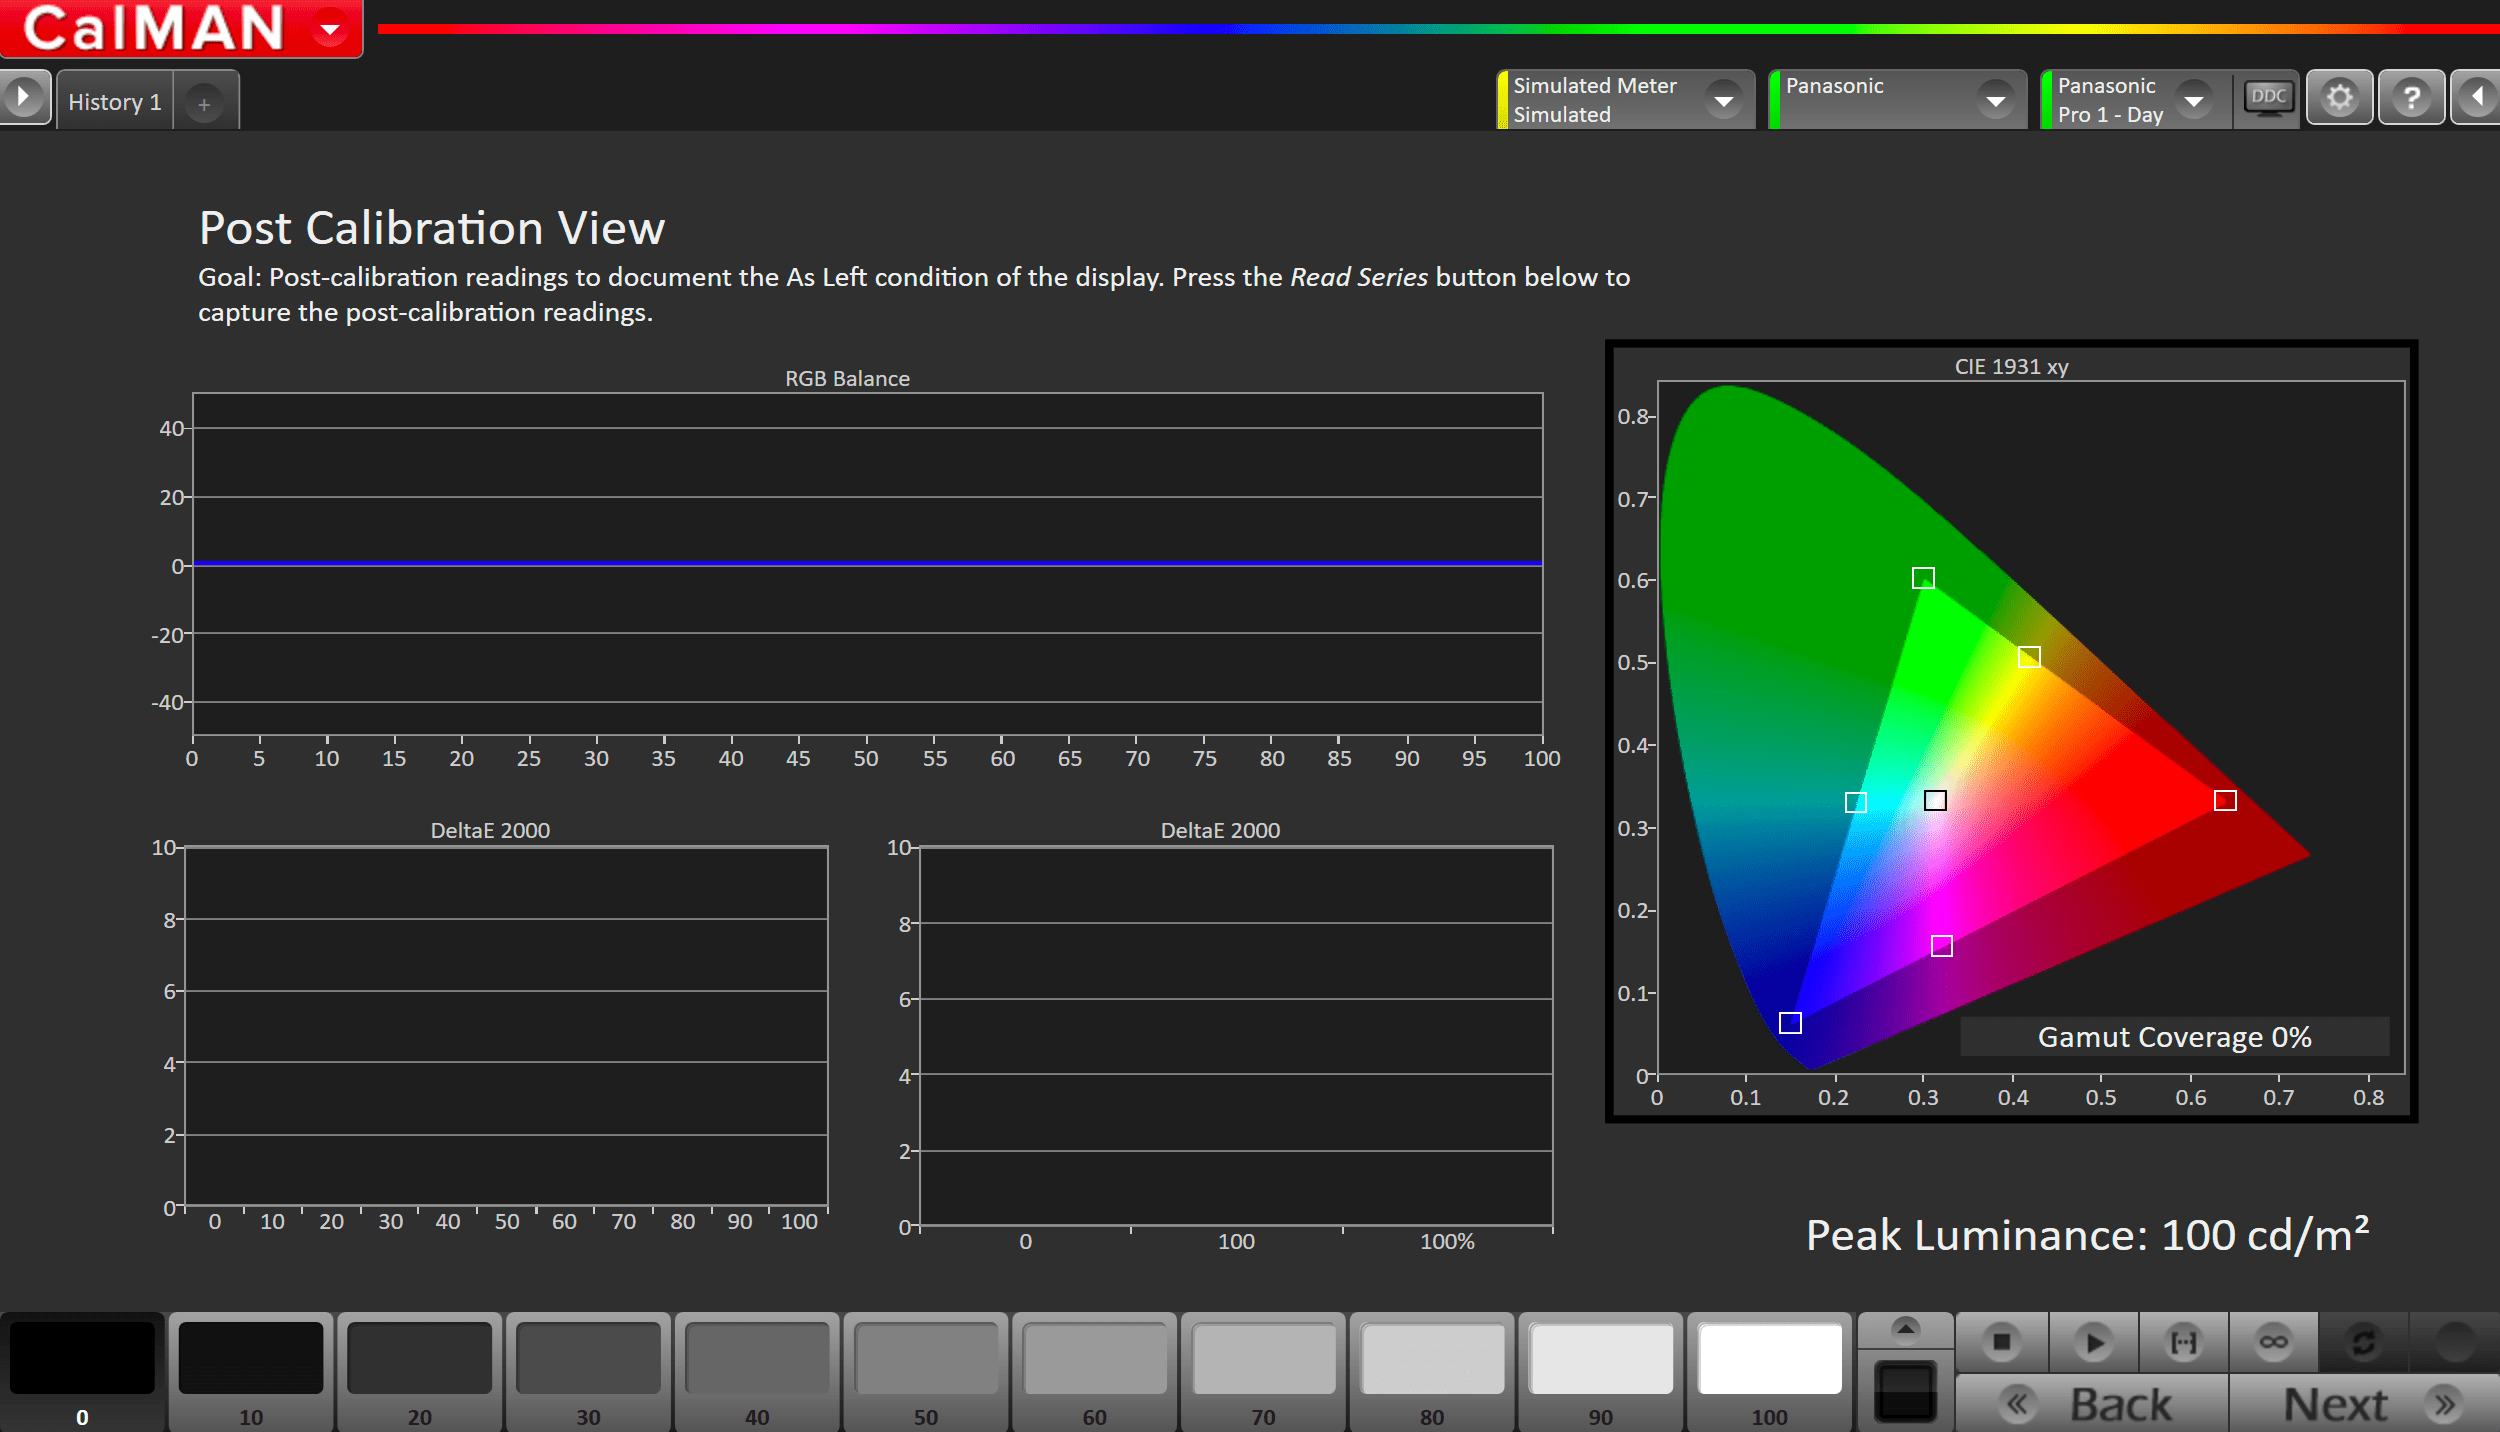
- Click the Read Series […] button
SDR Calibration is now complete
HDR Calibration
Step 1

- From the Calman Menu in the top-left, choose Open Workflow Template -> Display Specific and then AutoCal – Panasonic
- Click Next on the first page to proceed to hardware connection
Connect your Colorimeter and Pattern Generator to Calman.
- Plug your meter into a USB port on the computer and press the Find Meter button on the left
- When your meter is connected, select your display type from the dropdown (this will vary by meter)
- OLED: White-OLED (OLED (White) LG, Panasonic, FSI 2018 for C6 Meter)
- When your meter is connected, select your display type from the dropdown (this will vary by meter)
- Connect Pattern Source to your computer. If you are using the 2019 Panasonic internal pattern generator, see this article for setup instructions
- Click the Find Source button then select your source
- Select the pattern window size
- Window 10%
Connect to, and prepare your Panasonic TV for calibration
- Connect the Calman computer to the same network to which the Panasonic TV is connected.
- Under Menu\Network\Network Status\Status Details note the IP address.
- On the Panasonic TV, open the Picture menu
- Under Picture\Viewing Mode, select Professional 1 or Professional 2
- Under Picture\Lock Settings, enter PIN i-0-8-5
- Arrow down to ISFCCC Network and press OK on the remote.
- This option will be disabled if the PIN is not set to i-0-8-5
- In some regions, this option may be disabled in firmware. Contact Panasonic support for your region for more information.
- At this point, the TV will read “Waiting for Connection“
- Click on the Find Display button, select Panasonic – GZ Series
- Under Socket Connection, enter the TV’s IP Address that you noted above.
- Click Connect on the Find Display dialog.
- Select Picture Mode to Calibrate.
- Using the picture mode dropdown menu to the right, select which picture mode you would like to calibrate.
- Options are Pro 1 – Day or Pro 2 – Night
- Choose Color Gamut: BT.2020
- Check the HDR Checkbox
- Using the picture mode dropdown menu to the right, select which picture mode you would like to calibrate.
Step 2
Confirm your calibration targets and prepare TV
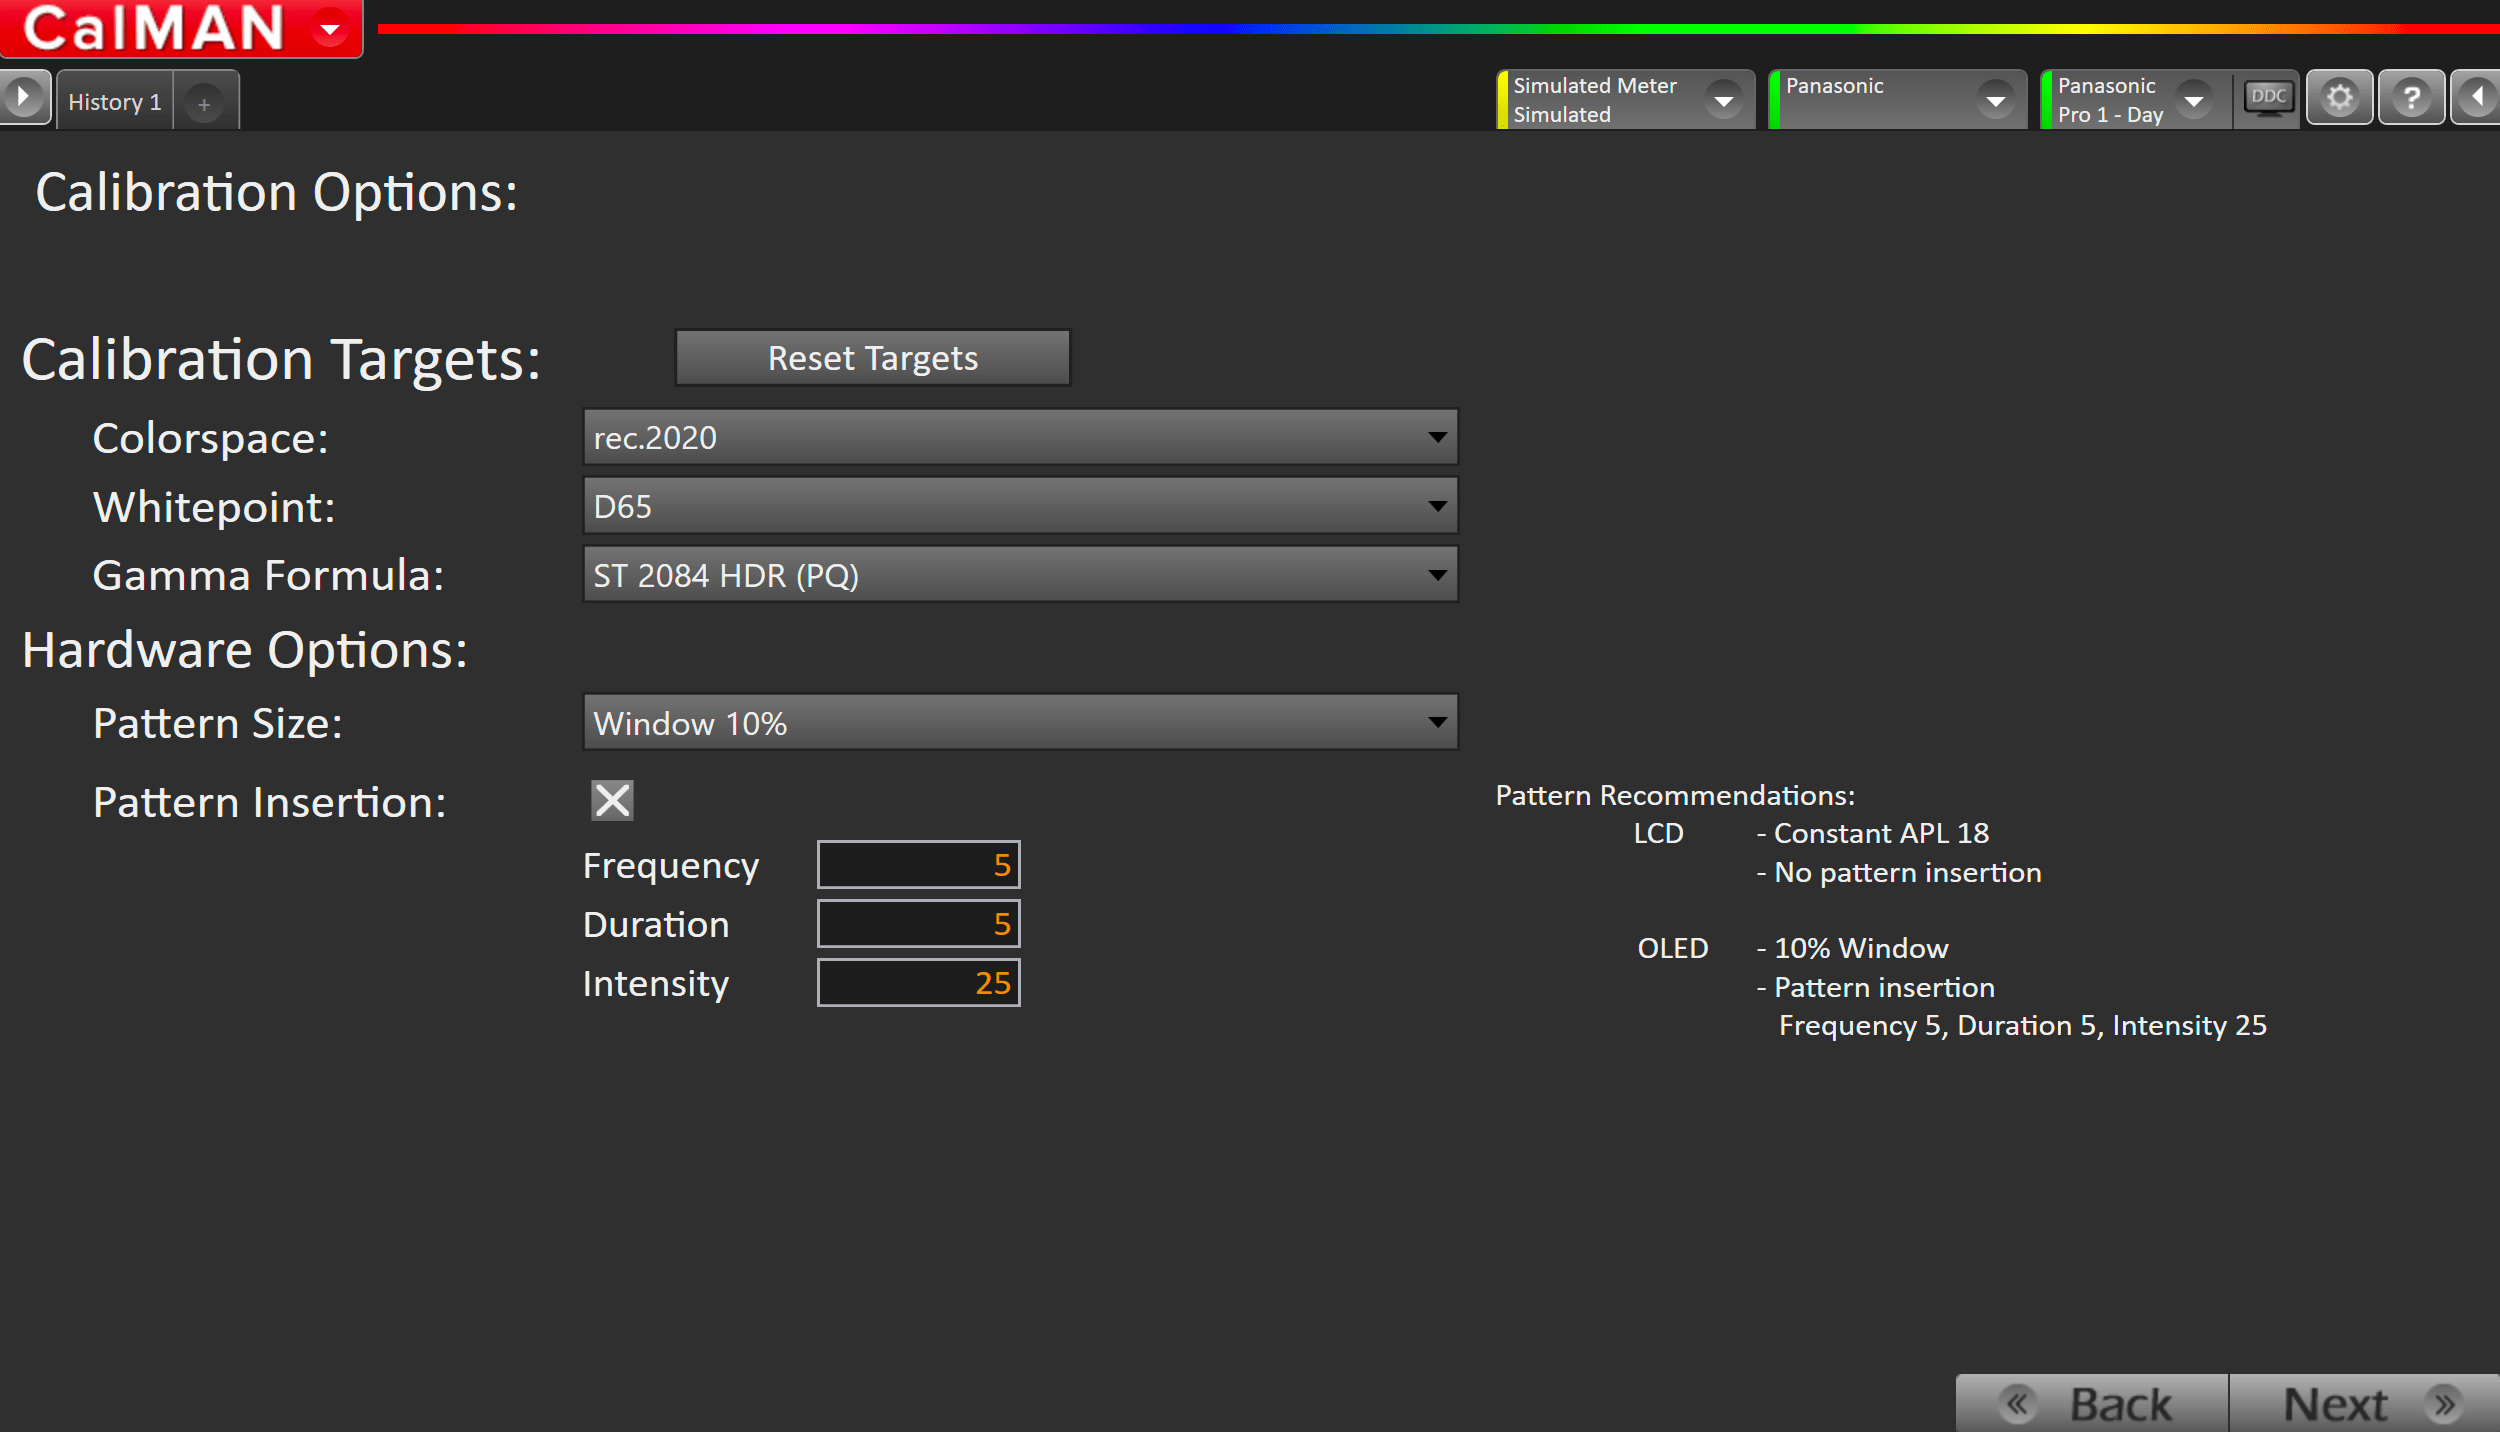
- Press Reset Targets
- For HDR, calibration targets should be:
- rec.2020
- D65
- ST.2084
- Hardware Options
- Pattern Size: Window 10
- Pattern Insertion: ON
- Frequency 5
- Duration 5
- Intensity 25
Step 3
In this step, you’ll take readings of your display before the calibration. These will be used to compare your calibration results

- To take Pre-Calibration Measurements click the Read Series […] button to measure the display’s grayscale and ColorChecker response
- This will provide a point of reference to compare your calibration results
Step 4
- Select your target picture mode
- Options are Pro 1 – Day or Pro 2 – Night
- Press Full DDC Reset
- This will configure several of the TVs settings to the ideal values.
- Note: If values are being reset to incorrect values, ensure HDR Checkbox is checked in Step 1
- This will configure several of the TVs settings to the ideal values.
Step 5
On this page, Calman will adjust your display’s White Balance
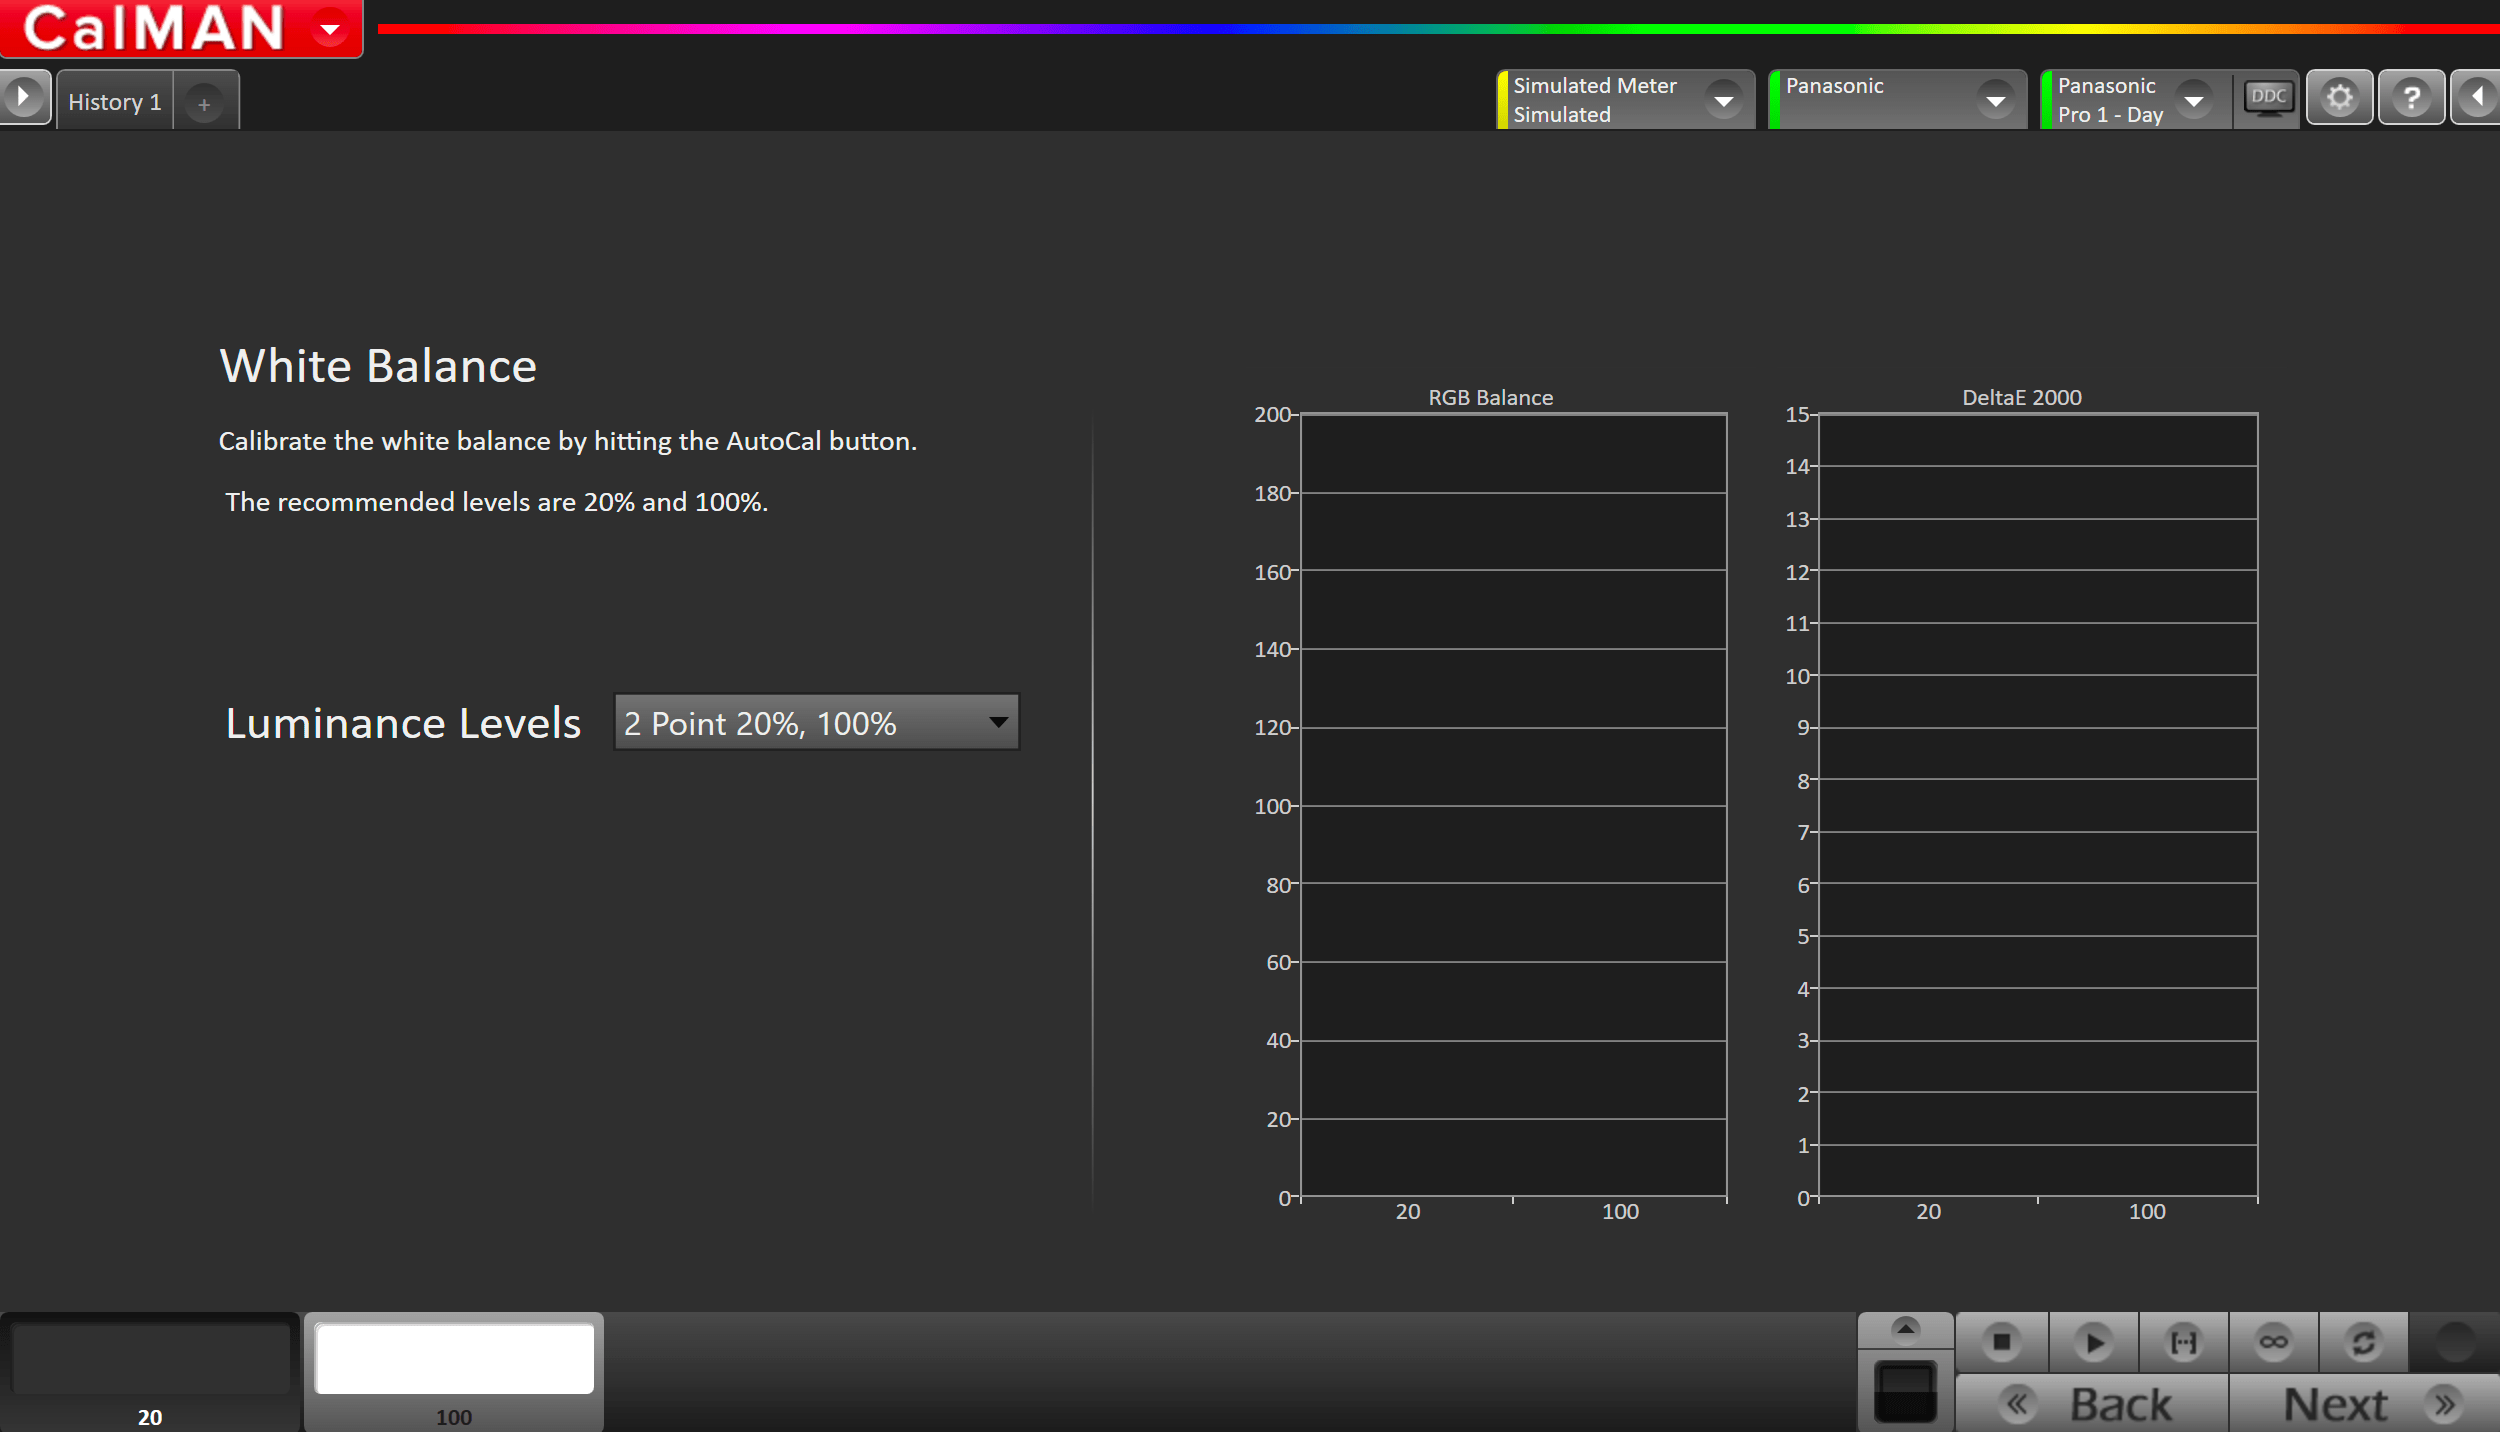
- Click the AutoCal button to perform the 2pt greyscale AutoCal
Step 6
Here Calman will adjust the Multipoint Greyscale of your display.
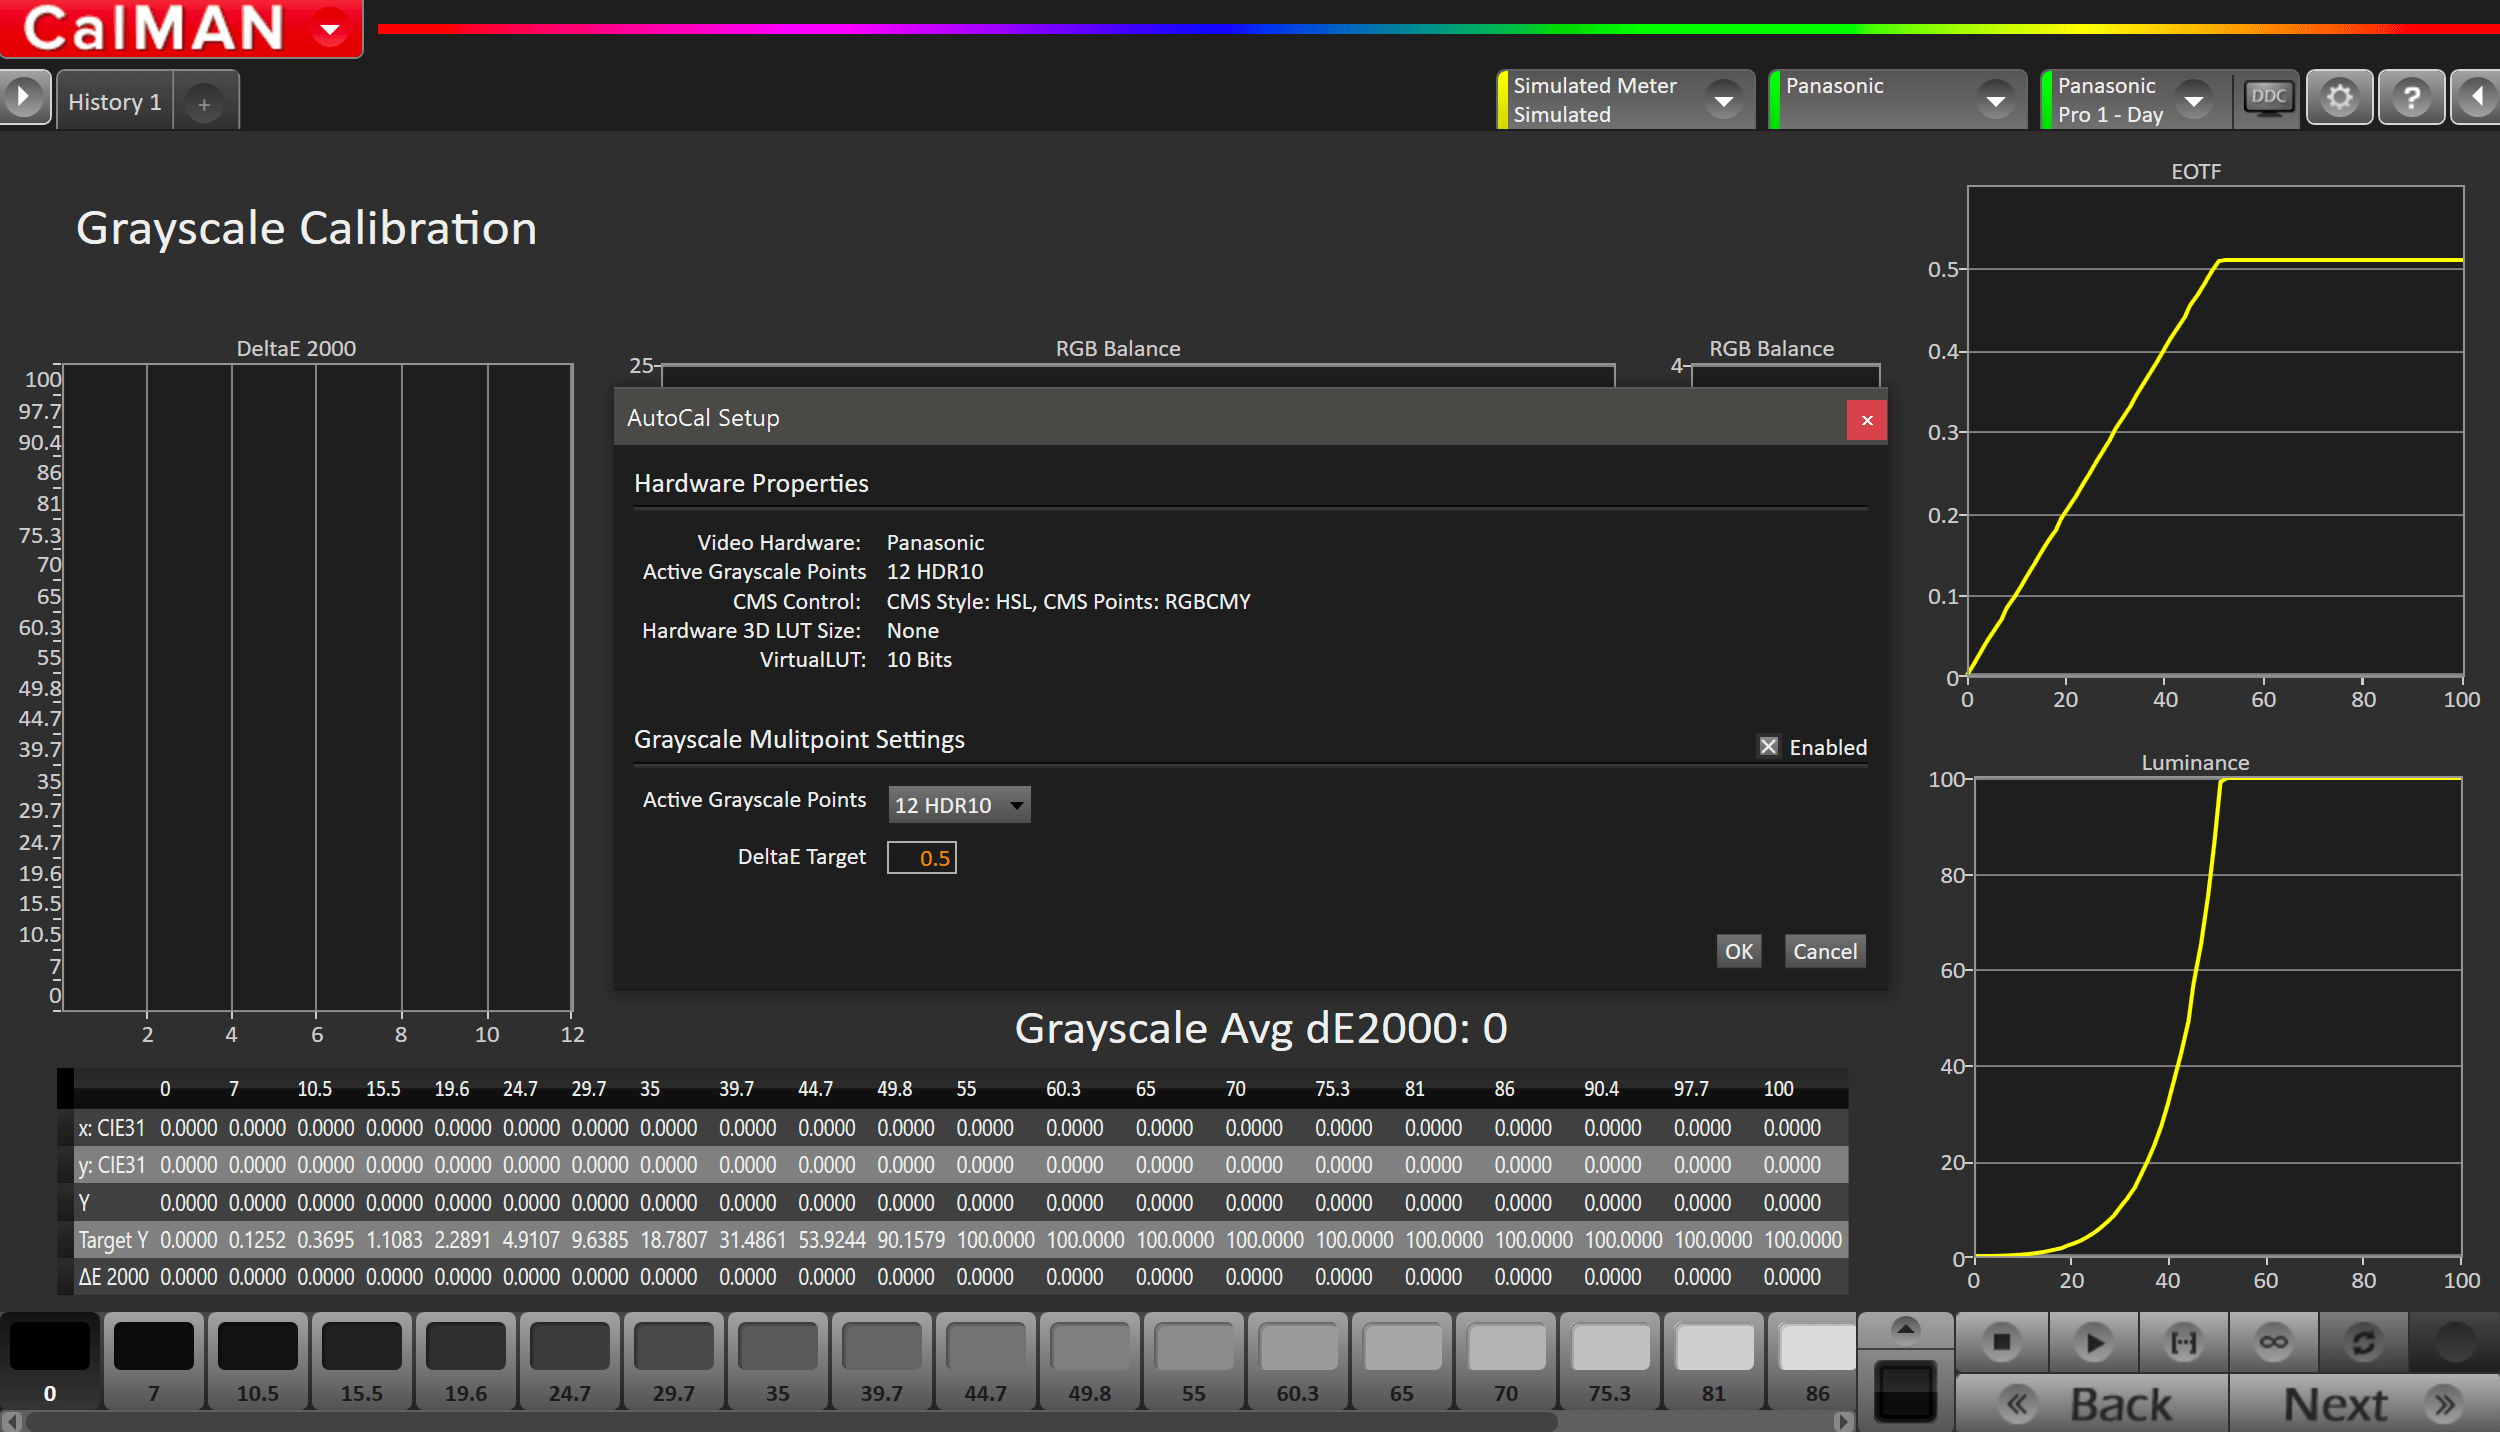
- Press the AutoCal button and select the HDR10 or HLG greyscale points on the AutoCal dialog, depending on your calibration targets
Step 7
On this page, Calman will adjust the Colorspace/CMS controls on your display
- Press the AutoCal button to open AutoCal dialog
- All options are preconfigured
- Click OK to begin colorspace AutoCal process
Step 8
In this step, you’ll take readings of your display after the calibration using the Pantone ColorChecker patterns
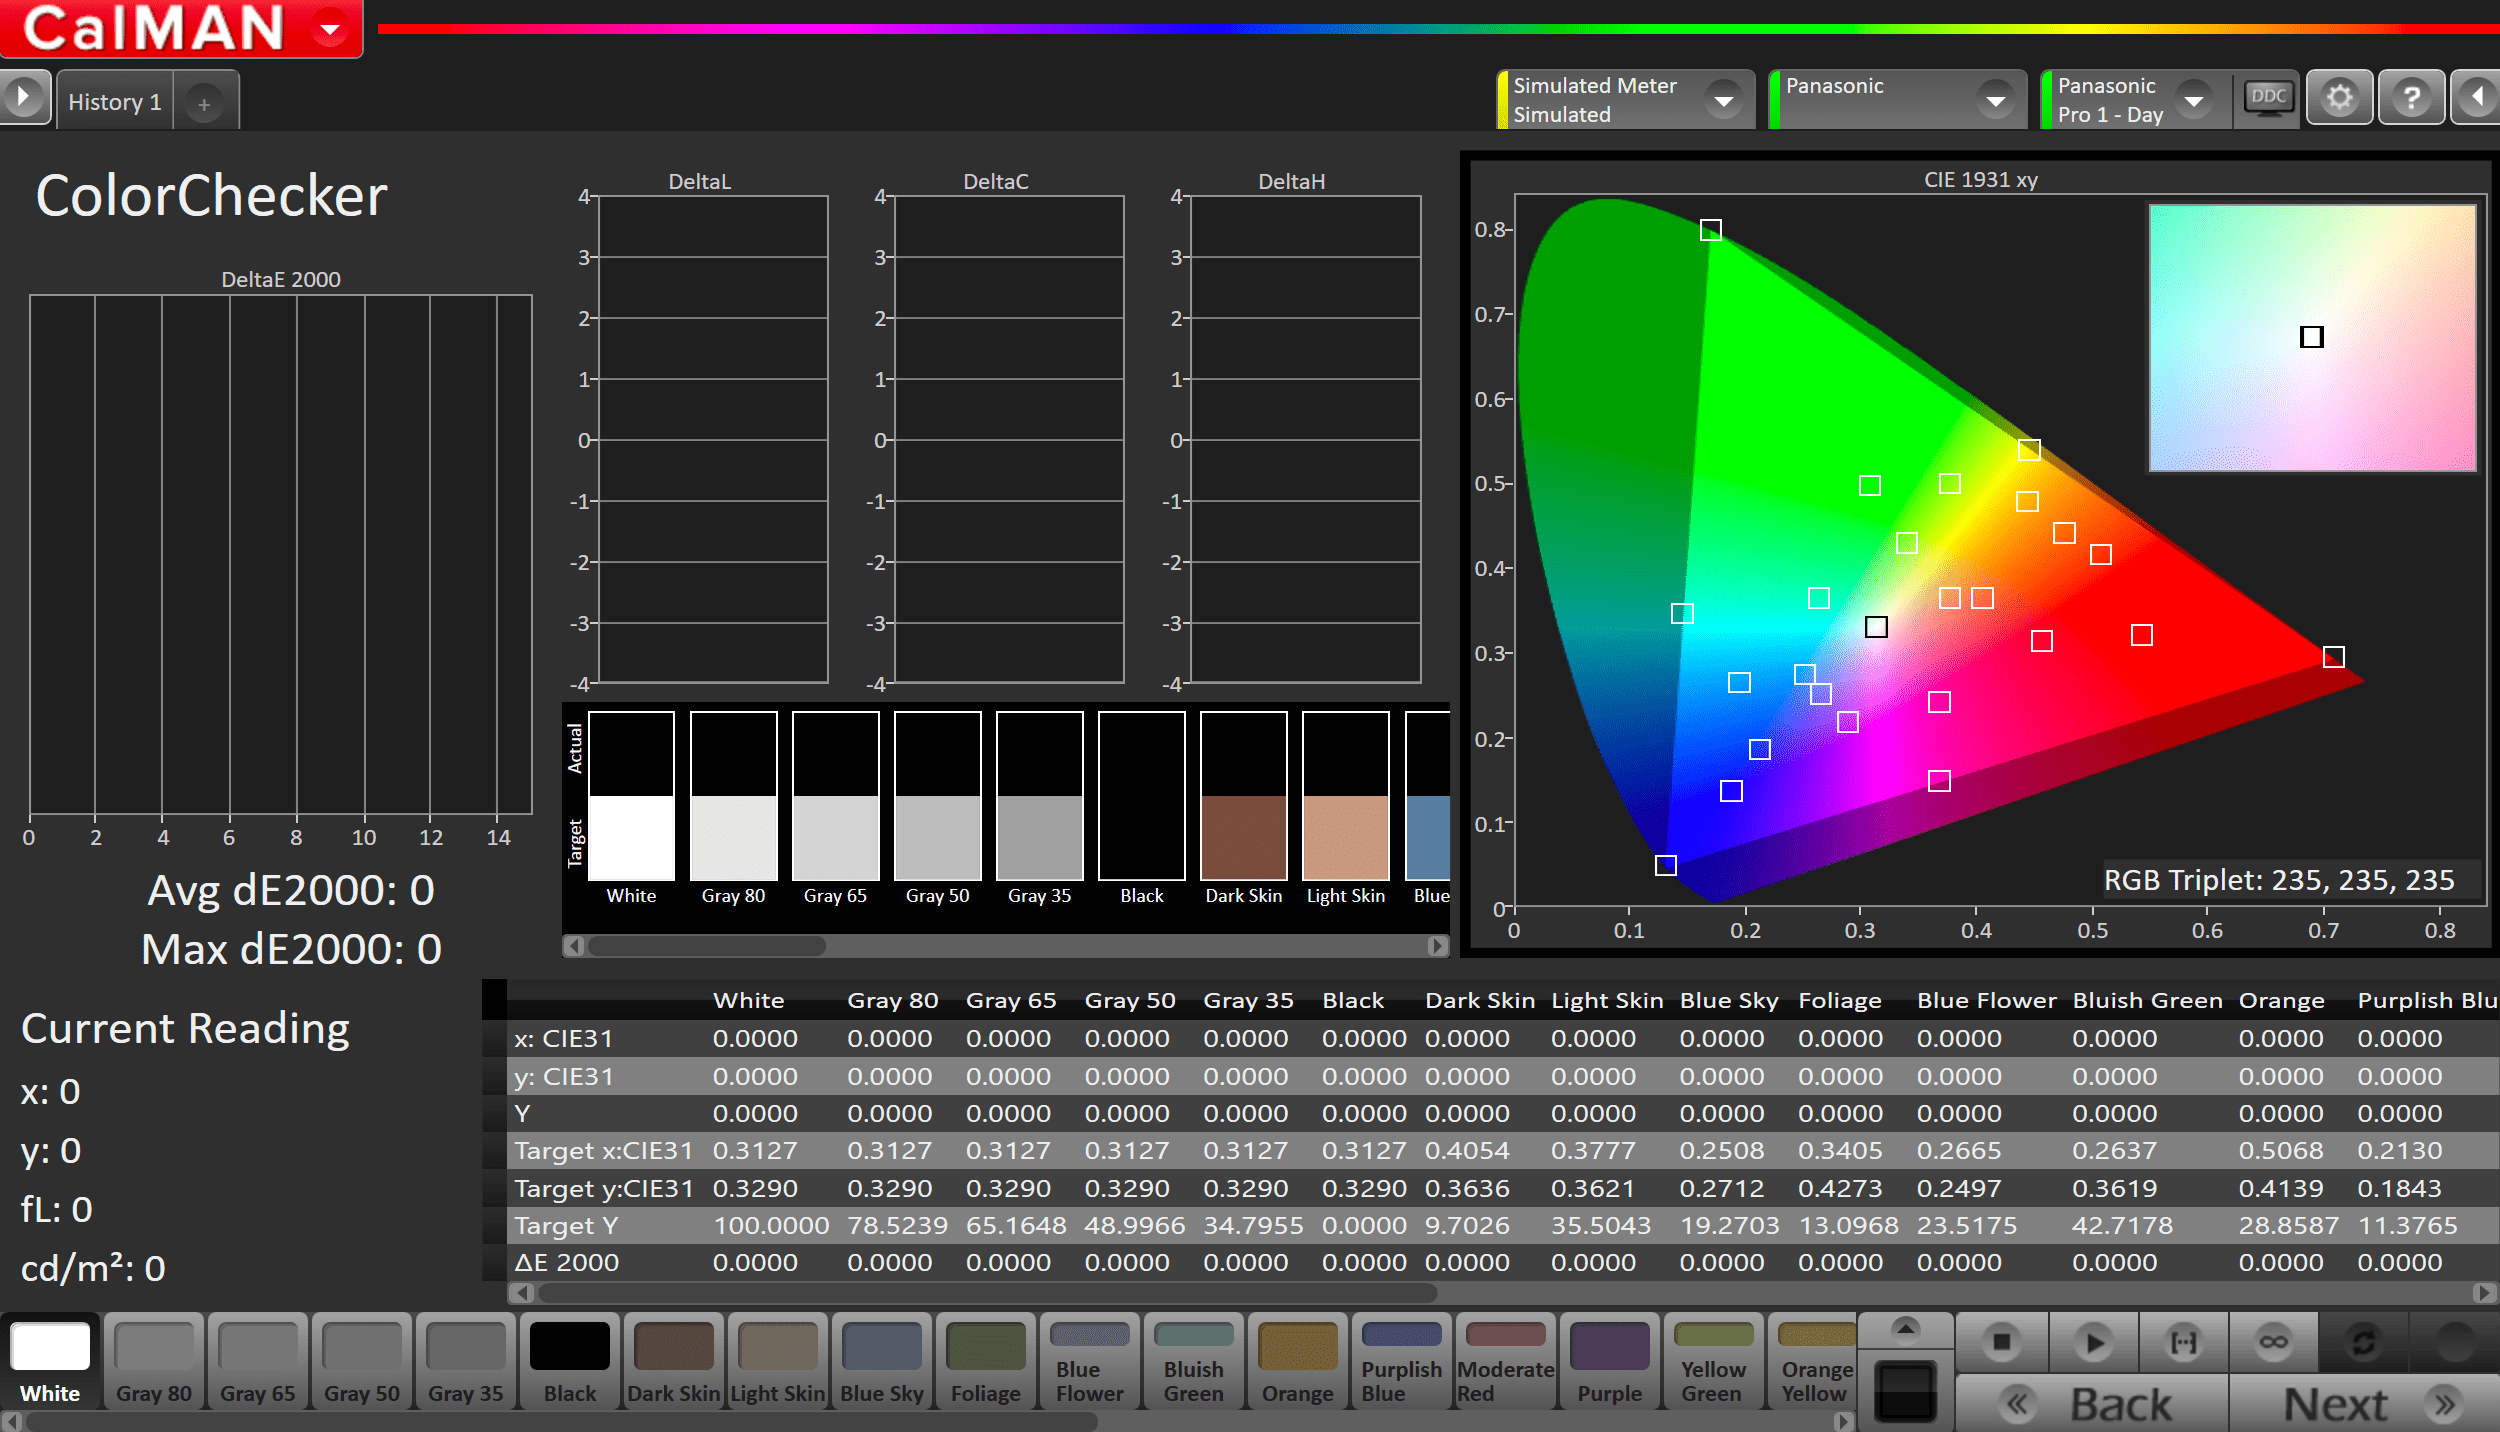
- Measure the display with Pantone ColorChecker patterns. This provides an accurate assessment of the display following calibration and will be represented along with the pre-calibration readings on the next page
- Click the Read Series […] button to measure the display’s grayscale and ColorChecker® response.
- Click Next.
Step 9
Post-calibration readings to document the post-calibration condition of the display.
- Click the Read Series […] button